Step-by-Step Guide to Installing a New Electrical Outlet in Hard-to-Access Areas
Home » Electrical »
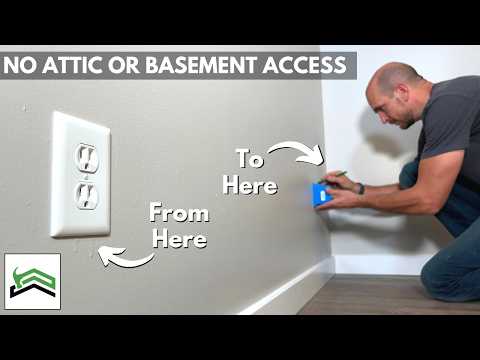
Adding a New Outlet in a No-Access Space
When setting up an Airbnb, it’s essential to anticipate the needs of your guests, including convenient access to power outlets. In this scenario, the challenge was to add a new outlet in a location that lacked direct attic or basement access for easy wiring. This situation is quite common in many homes, making it a valuable skill for DIY enthusiasts to master, ensuring the addition remains purely an electrical project without necessitating extensive drywall or paint repairs.
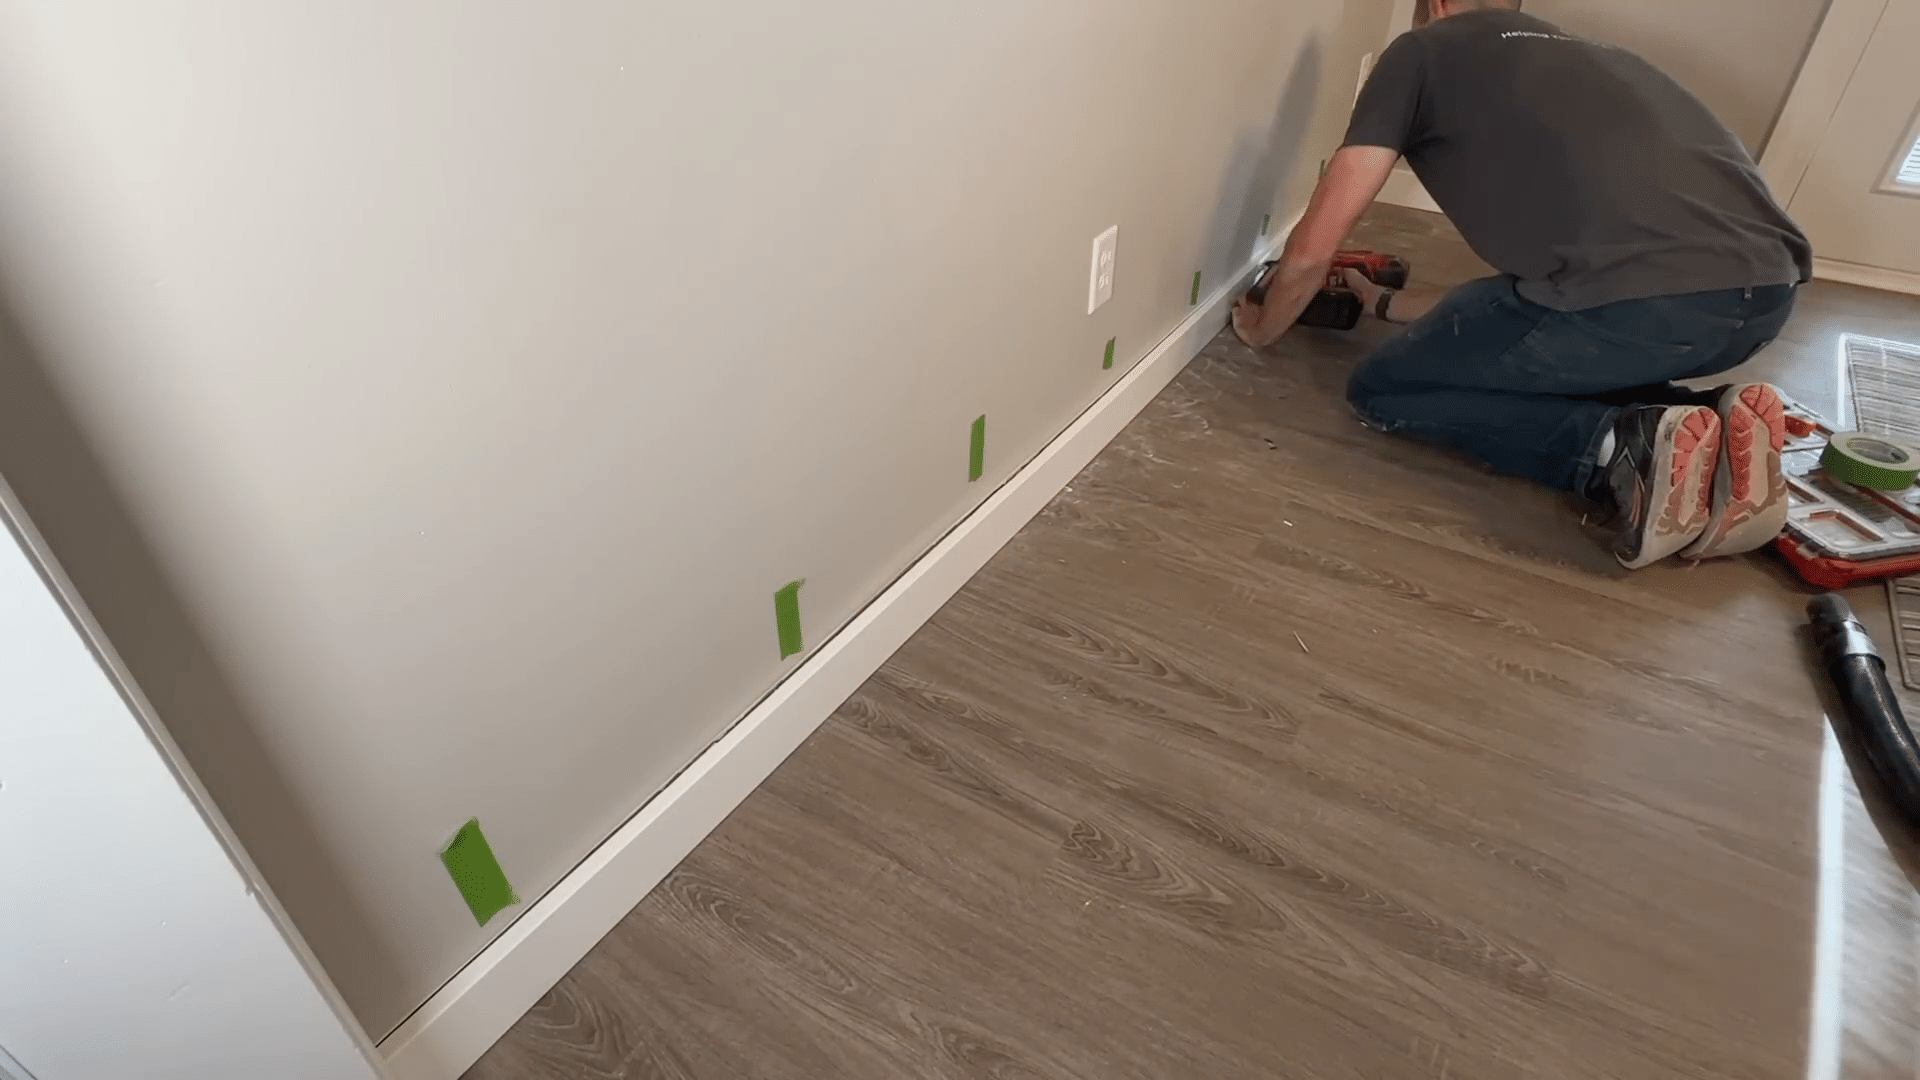
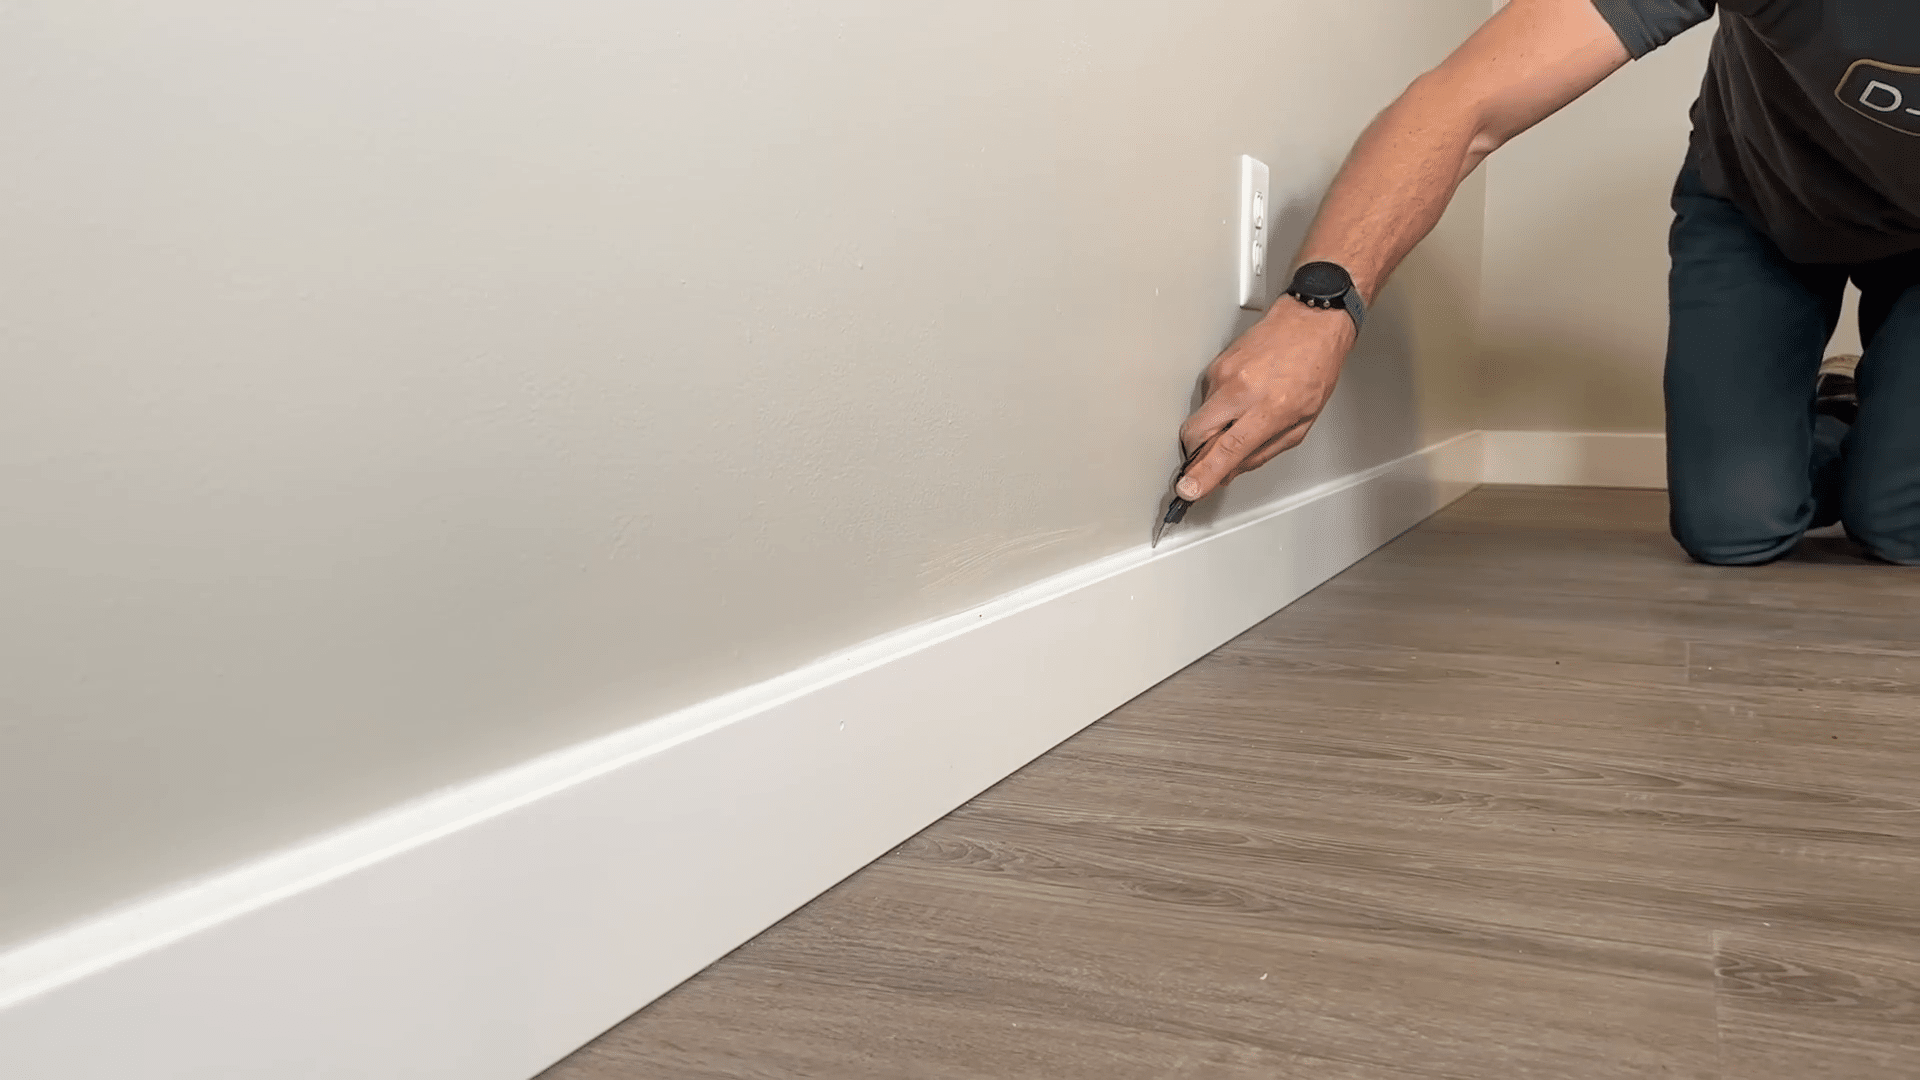
The first step involved carefully removing the existing wall trim to protect the wall surface during the process. Using a utility knife, the caulk line between the trim and the wall was scored. The next tool used was a Zenith trim puller, recommended for efficiently removing trim without causing damage. This tool proved to be very effective and was noted as a valuable addition to the regular rotation of tools.
Preparation for the New Outlet Installation
After removing the trim, the focus shifted to the existing power source, which was the outlet from which power would be drawn. A strategic approach involved cutting the drywall just below the trim line to ensure that any signs of alteration would be concealed once the trim was reinstalled. With the trim sitting 3.5 inches off the floor, the cut was made at 3.25 inches to hide it effectively.
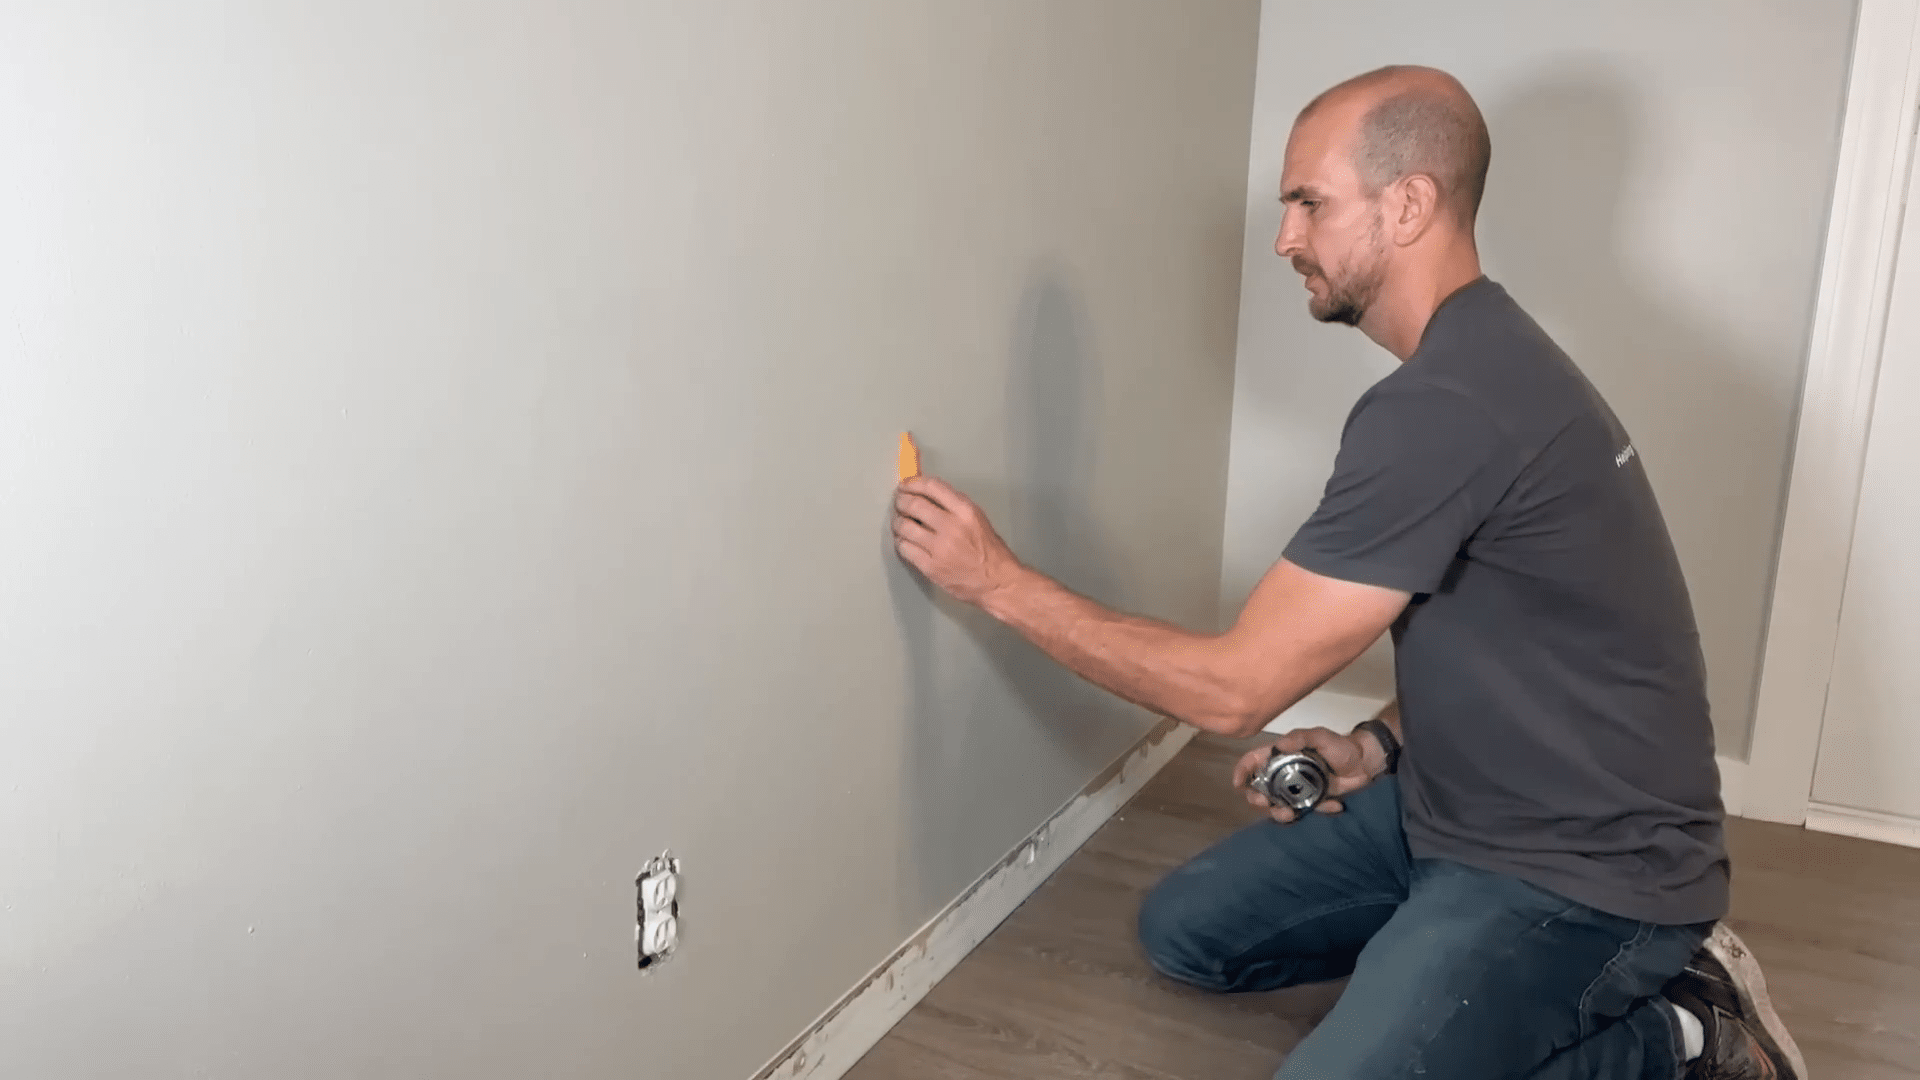
Identifying the location of studs is crucial before cutting into the drywall. A magnetic stud finder was used, which works by locating the fasteners that attach the drywall to the studs. This provided the necessary information to plan the path for the new wiring without guesswork. Knowing the stud locations and the standard spacing helped in mapping out where to drill through the studs to extend the wiring.
Executing the Drywall Work and Wiring
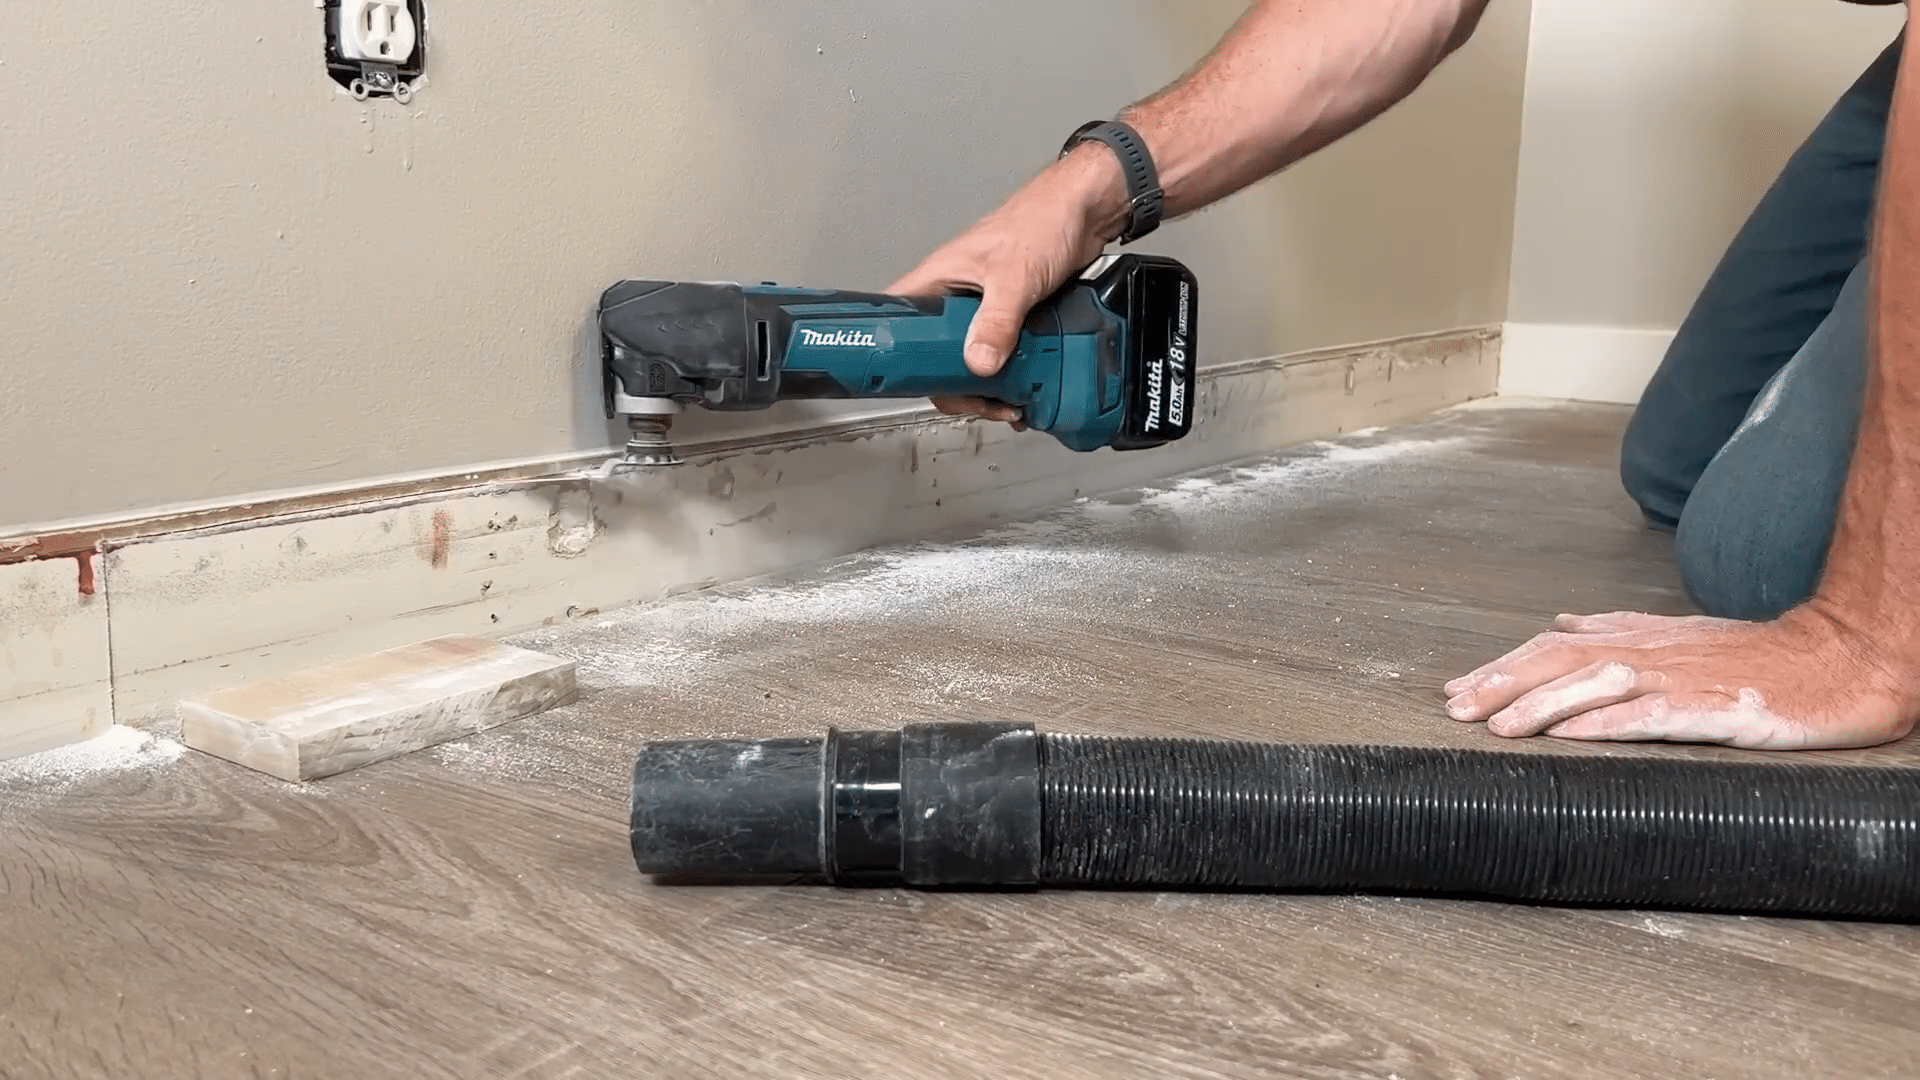
The tool of choice for cutting the drywall was an oscillating tool, known for its precision and effectiveness in making plunge cuts and flush cuts. A small wooden block served as a guide to maintain the correct height for the cut line, ensuring a neat and uniform opening. Once the drywall was cut, any remaining fasteners were carefully removed to prepare for the installation of new wiring and the old work box.
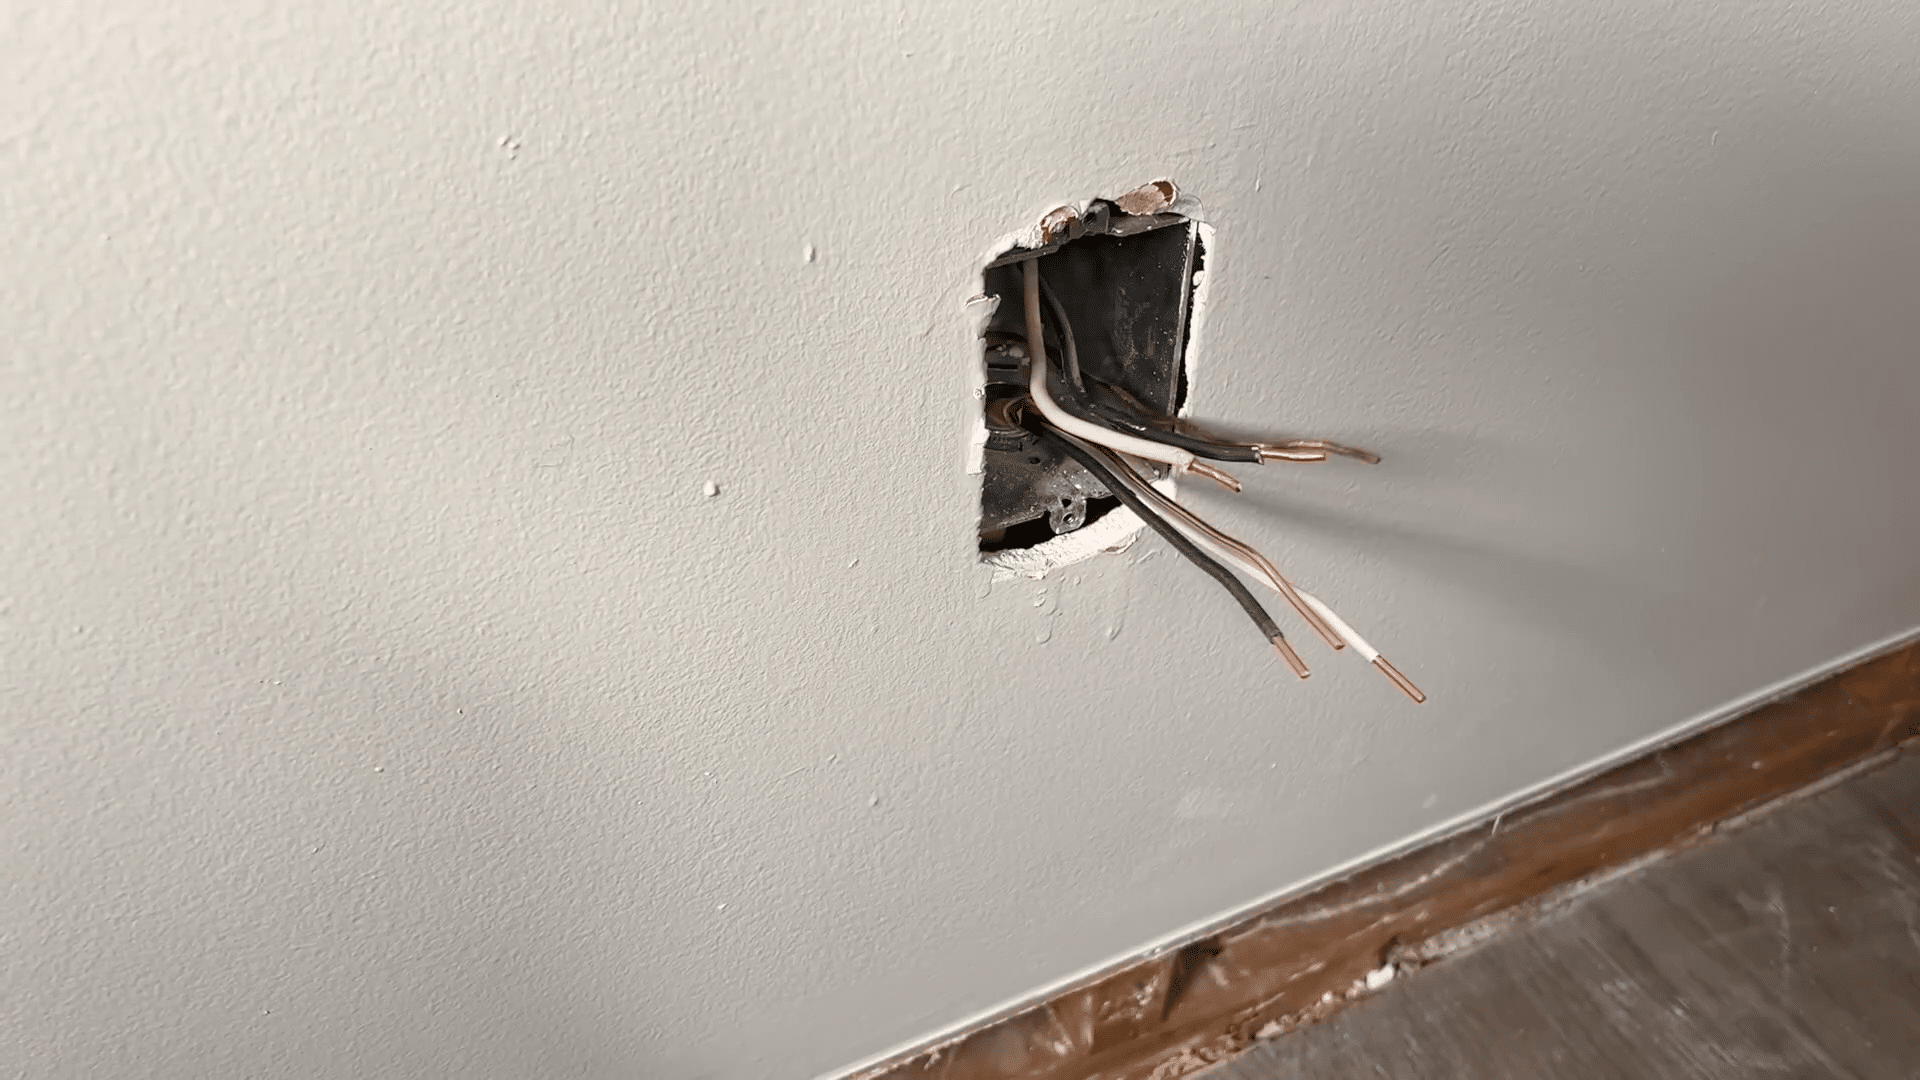
Running the new wiring involved careful planning to ensure safety and compliance with electrical codes. A significant emphasis was placed on avoiding shortcuts, like ensuring that the new cables were adequately protected by connectors when passed through metal junction boxes. This step is critical to prevent any potential damage to the insulation of the wires, which could lead to electrical hazards.
Installation and Finishing Touches
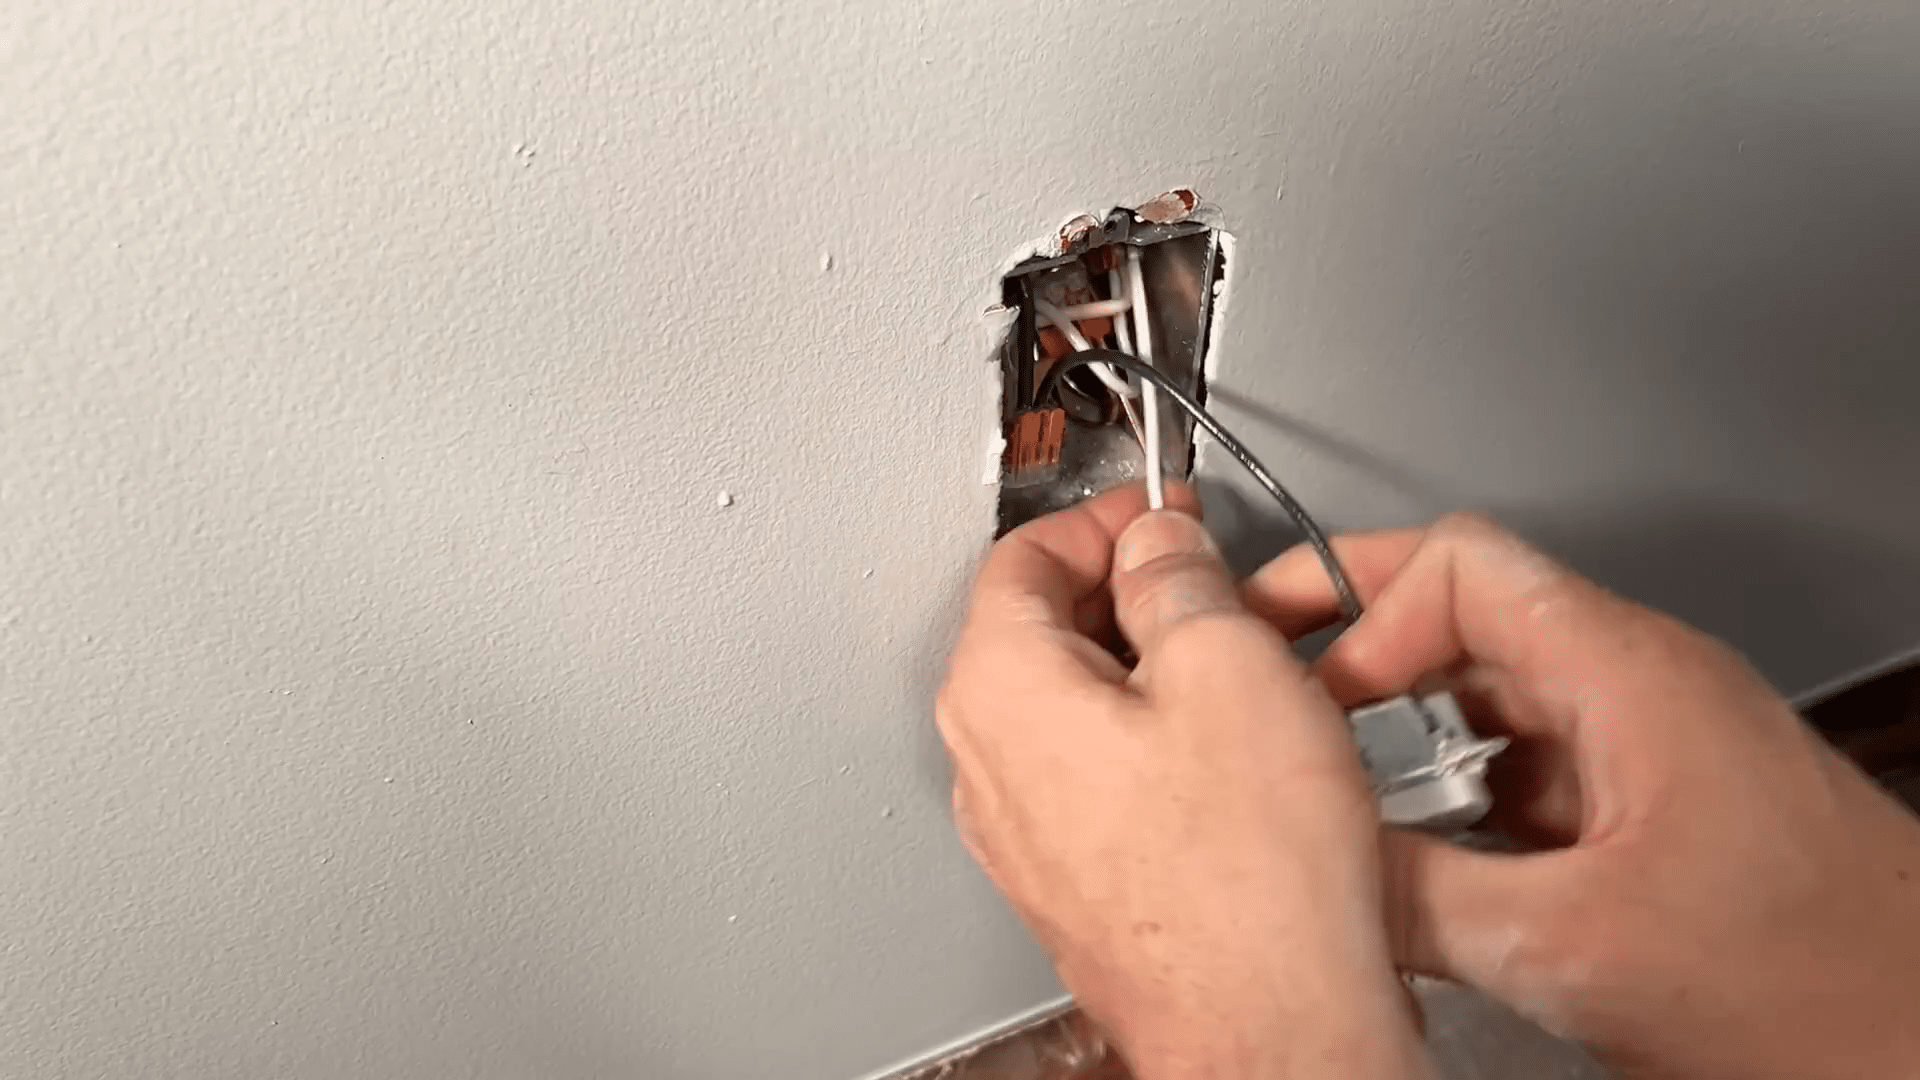
Once the pathway for the new wiring was prepared, the actual wiring could begin. Connections were made using WAGO 221 lever nuts, noted for their reliability and ease of use. The existing outlet was configured with a pigtail setup to facilitate the connection of the new wires without overloading the terminal screws. This setup not only ensures a secure connection but also makes future maintenance or changes easier to manage.
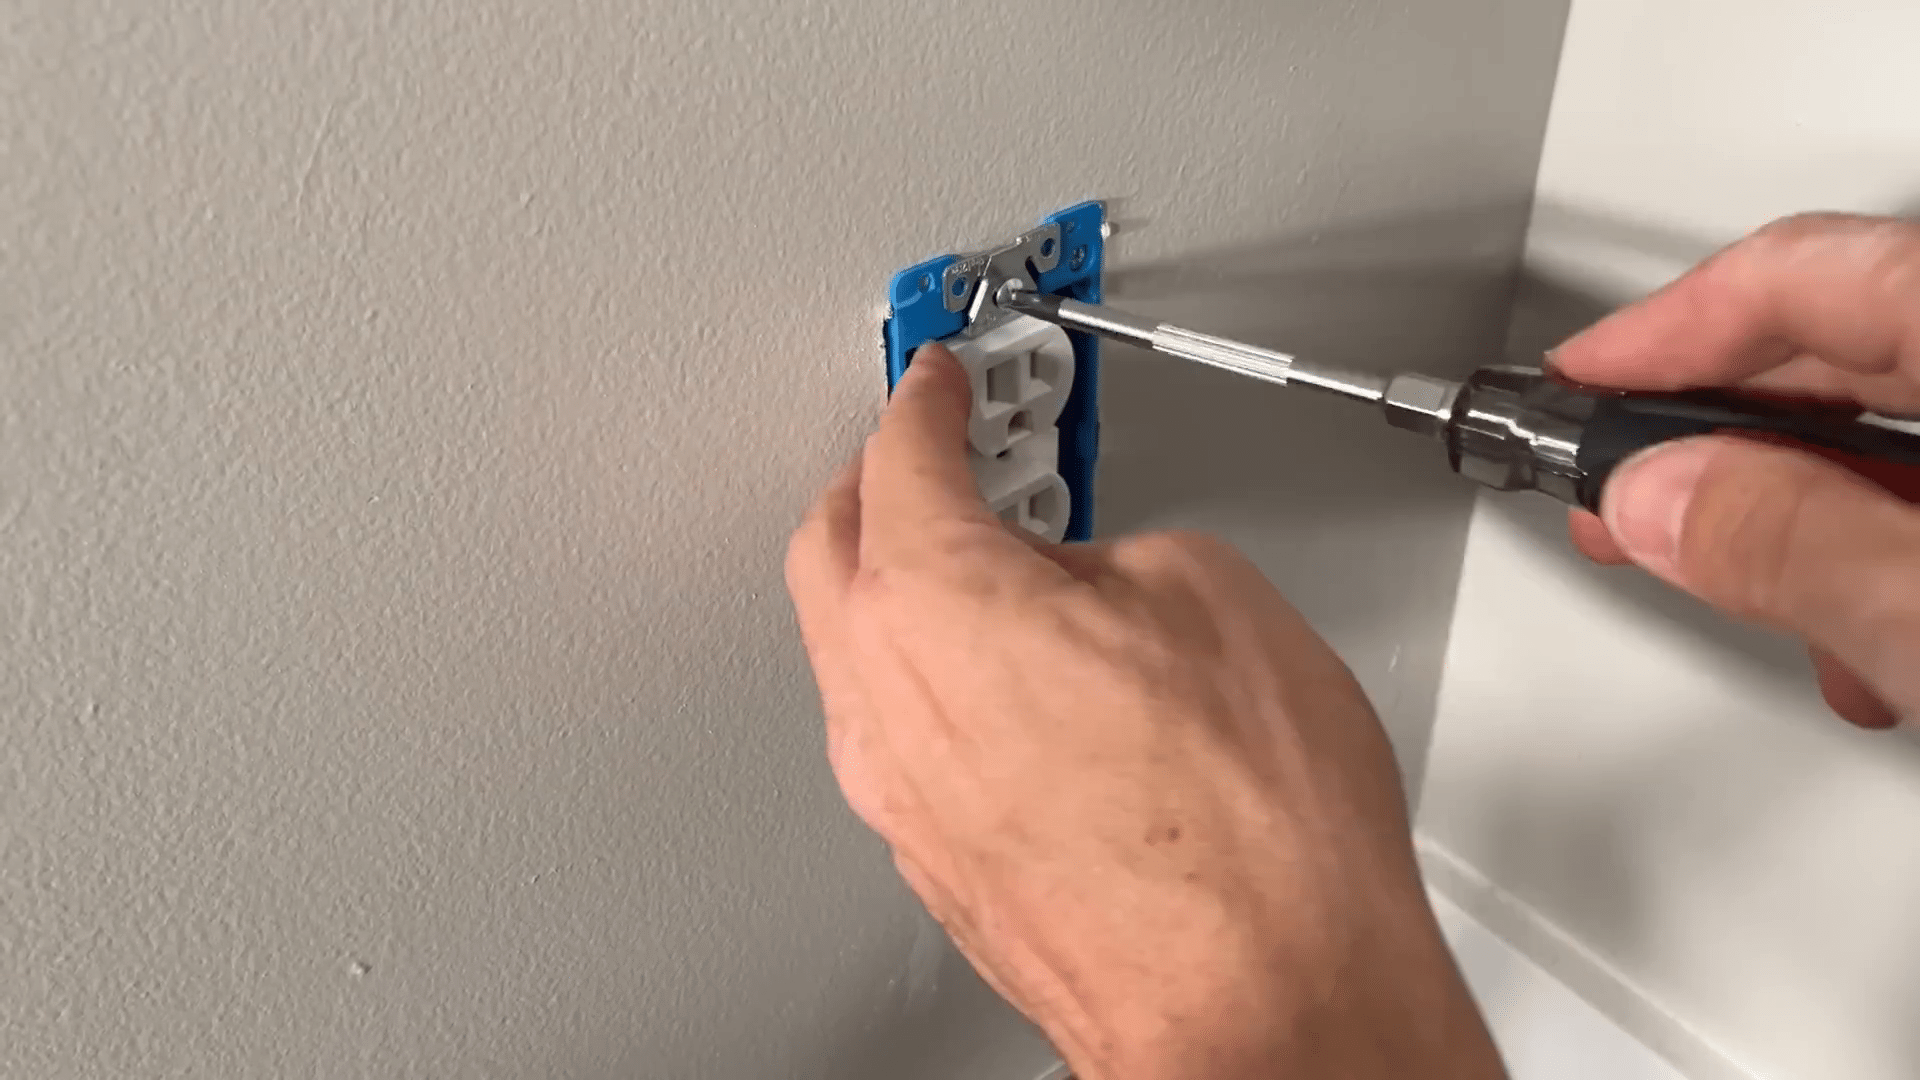
After wiring, the new outlet was secured in an old work box positioned between two studs. The positioning and securing of this box are crucial as it must firmly attach to the drywall to support the outlet and faceplate. Finally, cover plates were installed, with particular attention to aligning the screws uniformly for a professional finish. The power was then restored, and the functionality of the new outlet was tested to confirm everything was set up correctly.
Restoration and Cleanup
The replaced piece of drywall was secured back into place using drywall screws, ensuring it sat flush with the existing wall. The trim was then reattached using brad nails, taking care not to penetrate any of the new wiring. A small amount of caulking was applied to seal the trim and cover any nail holes, which helps in giving a completed look to the project. For those less experienced with caulking, there are plenty of resources available to learn this skill to ensure a clean, professional finish.
This project highlights the importance of careful planning and execution in home improvement tasks, particularly when adding new electrical outlets. By understanding and utilizing the correct tools and methods, even complex installations can be handled efficiently, enhancing the functionality of any space without extensive renovations.


Additional Resources
-

-
-

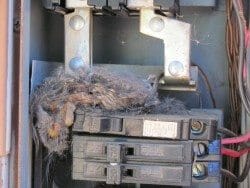
It is amazing how rodents can get into an electrical panel. Keeping rodents, bees and and other vermin out of an electrical panel is wise.