Understanding and Repairing Drywall Settlement Cracks: Effective Techniques and Tools
Understanding and Repairing Drywall Settlement Cracks
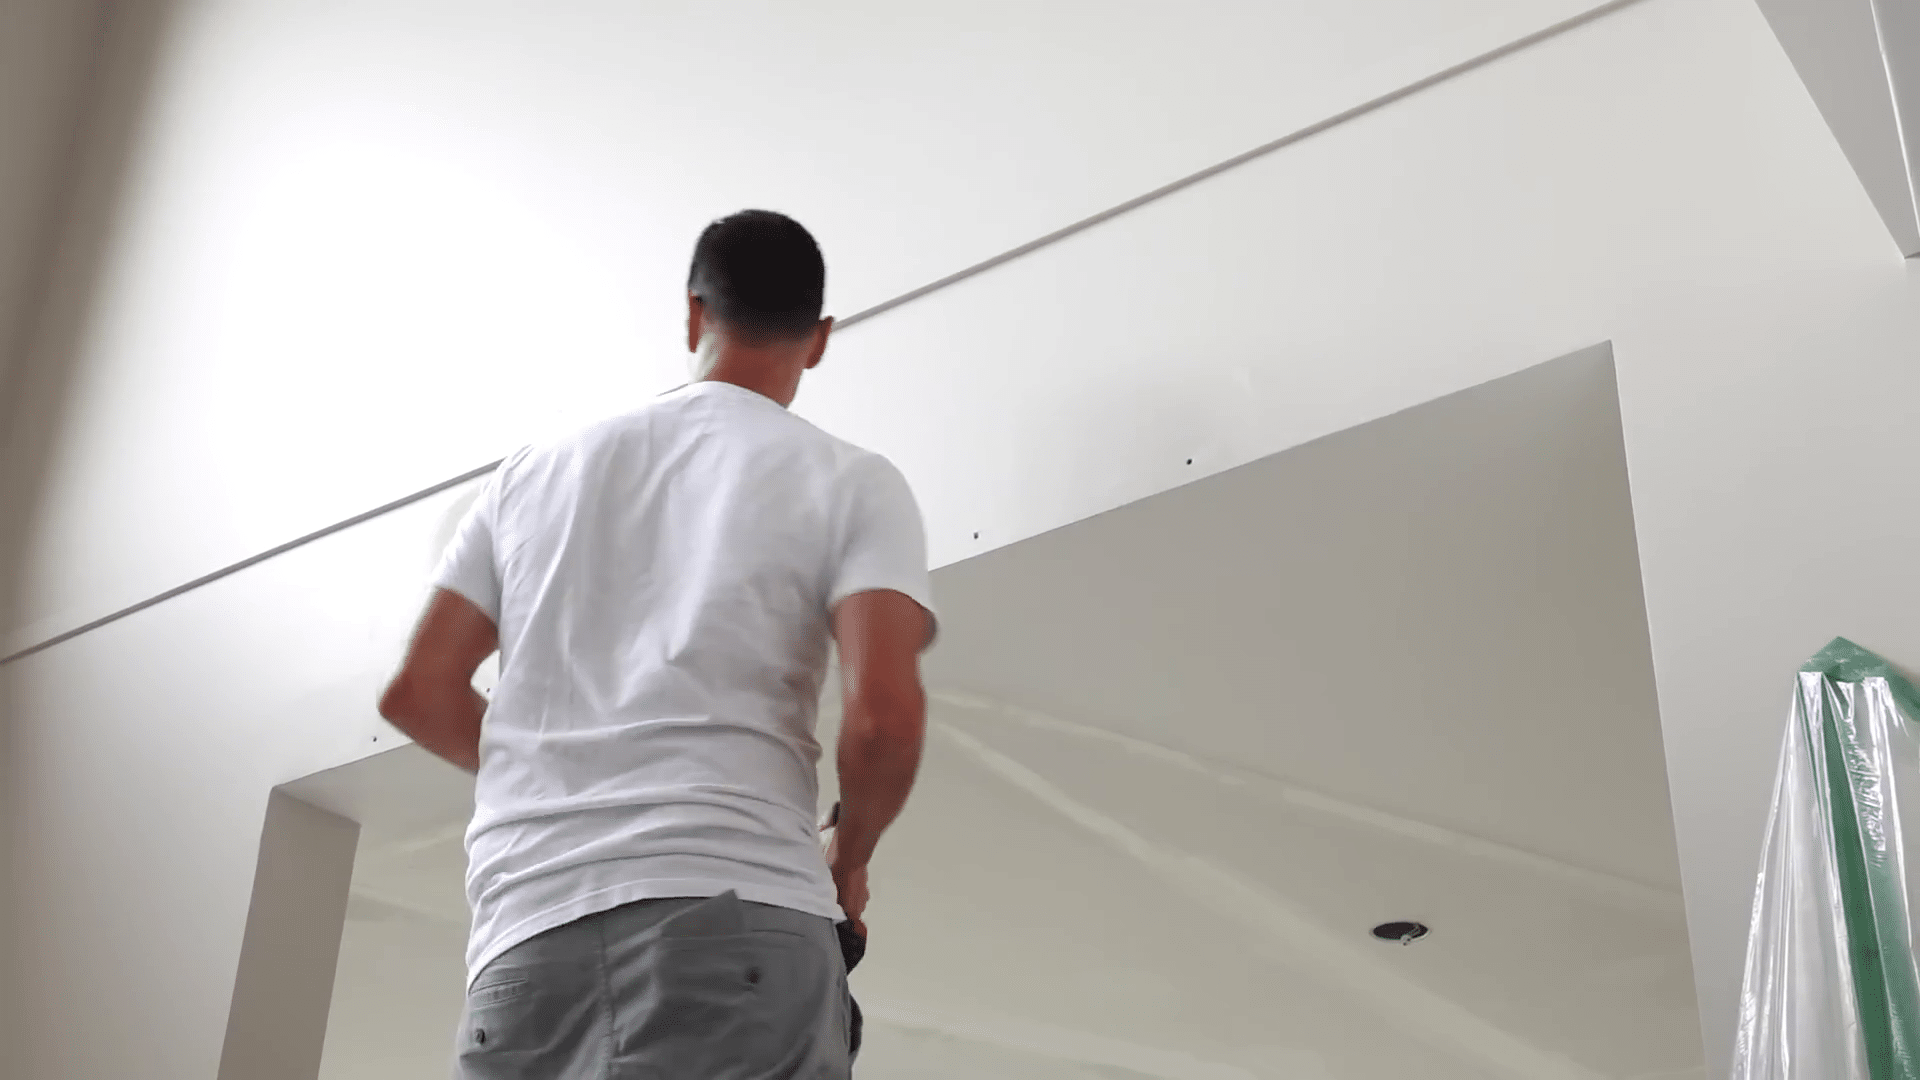
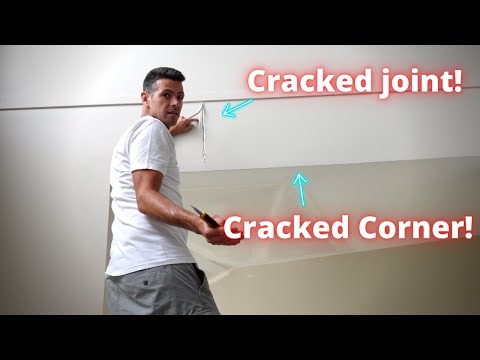
Drywall cracks are a common issue in buildings as they age and respond to environmental changes. Recently, a detailed examination and repair process was conducted to address a significant settlement crack linked to a corner bead. This type of crack typically occurs due to the shifting of the building’s foundation, seasonal temperature variations, and moisture changes, all of which can cause the drywall to move and crack.
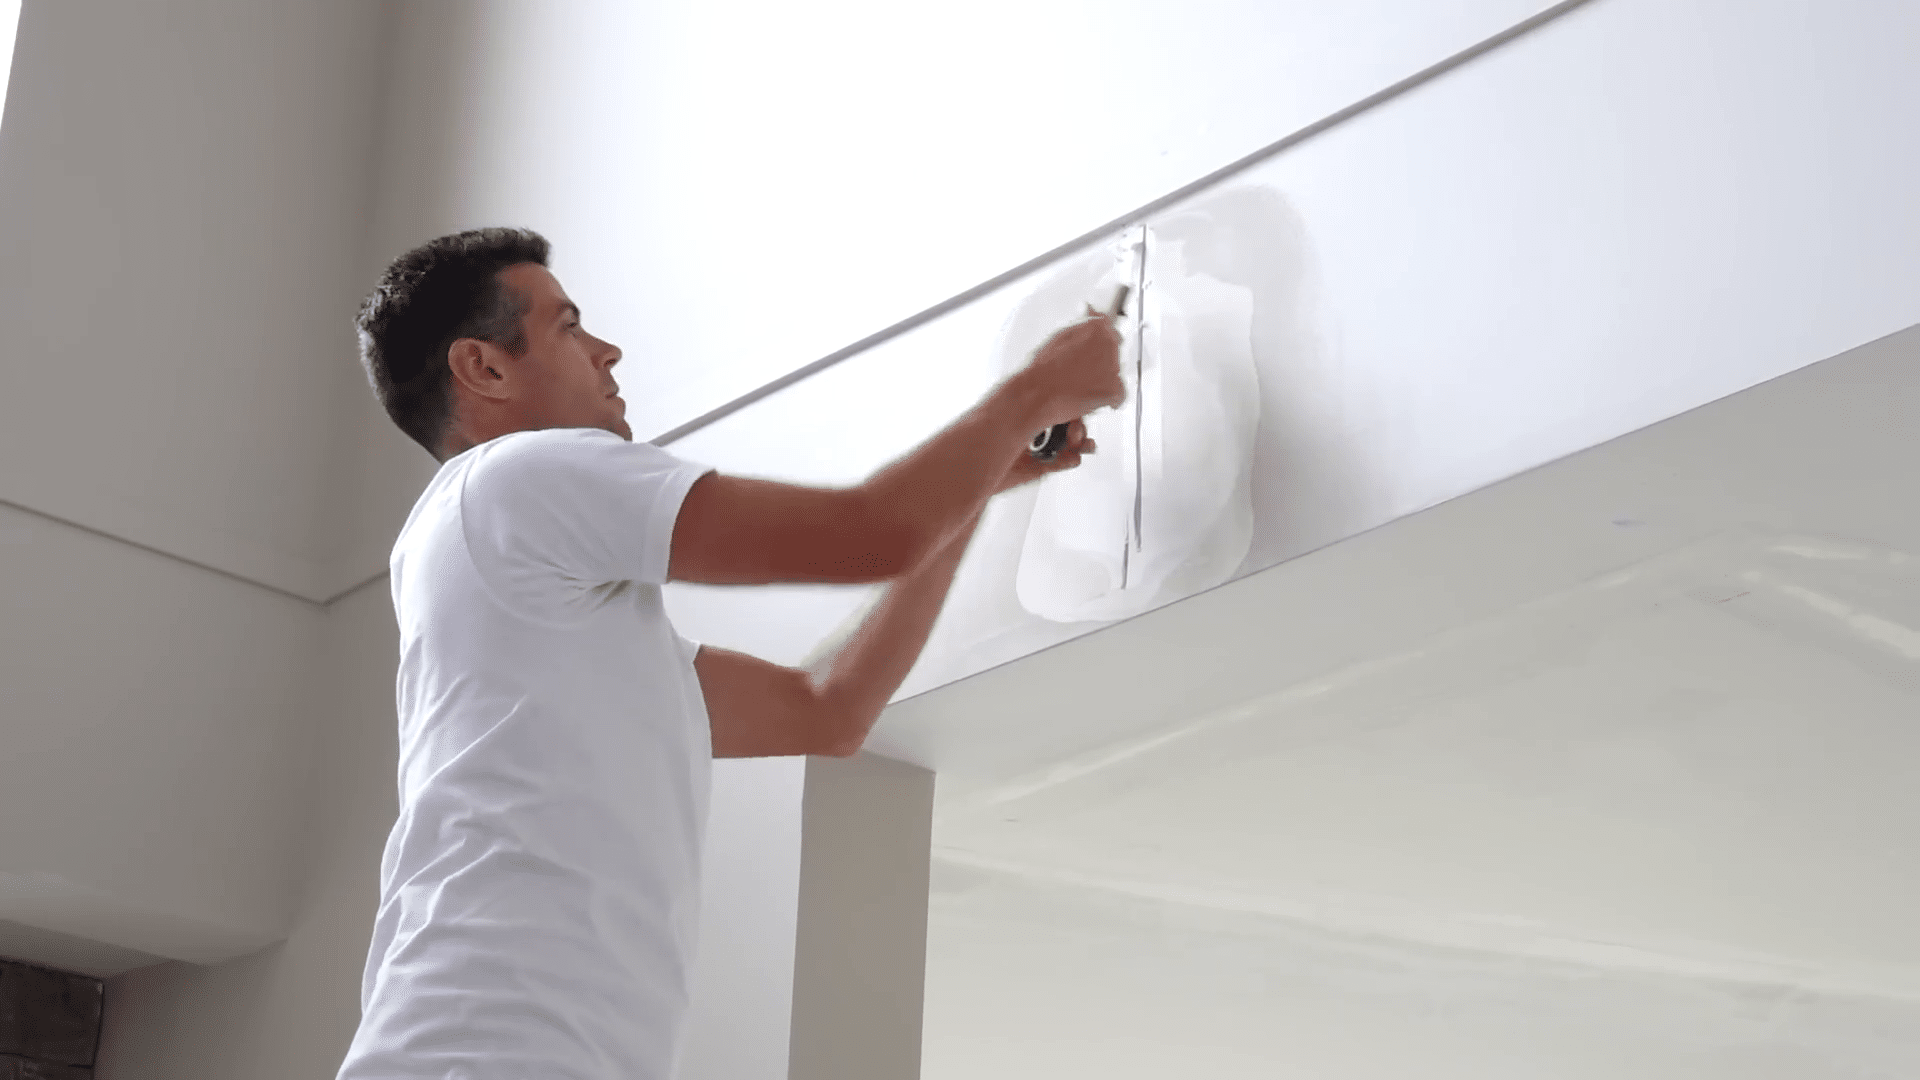
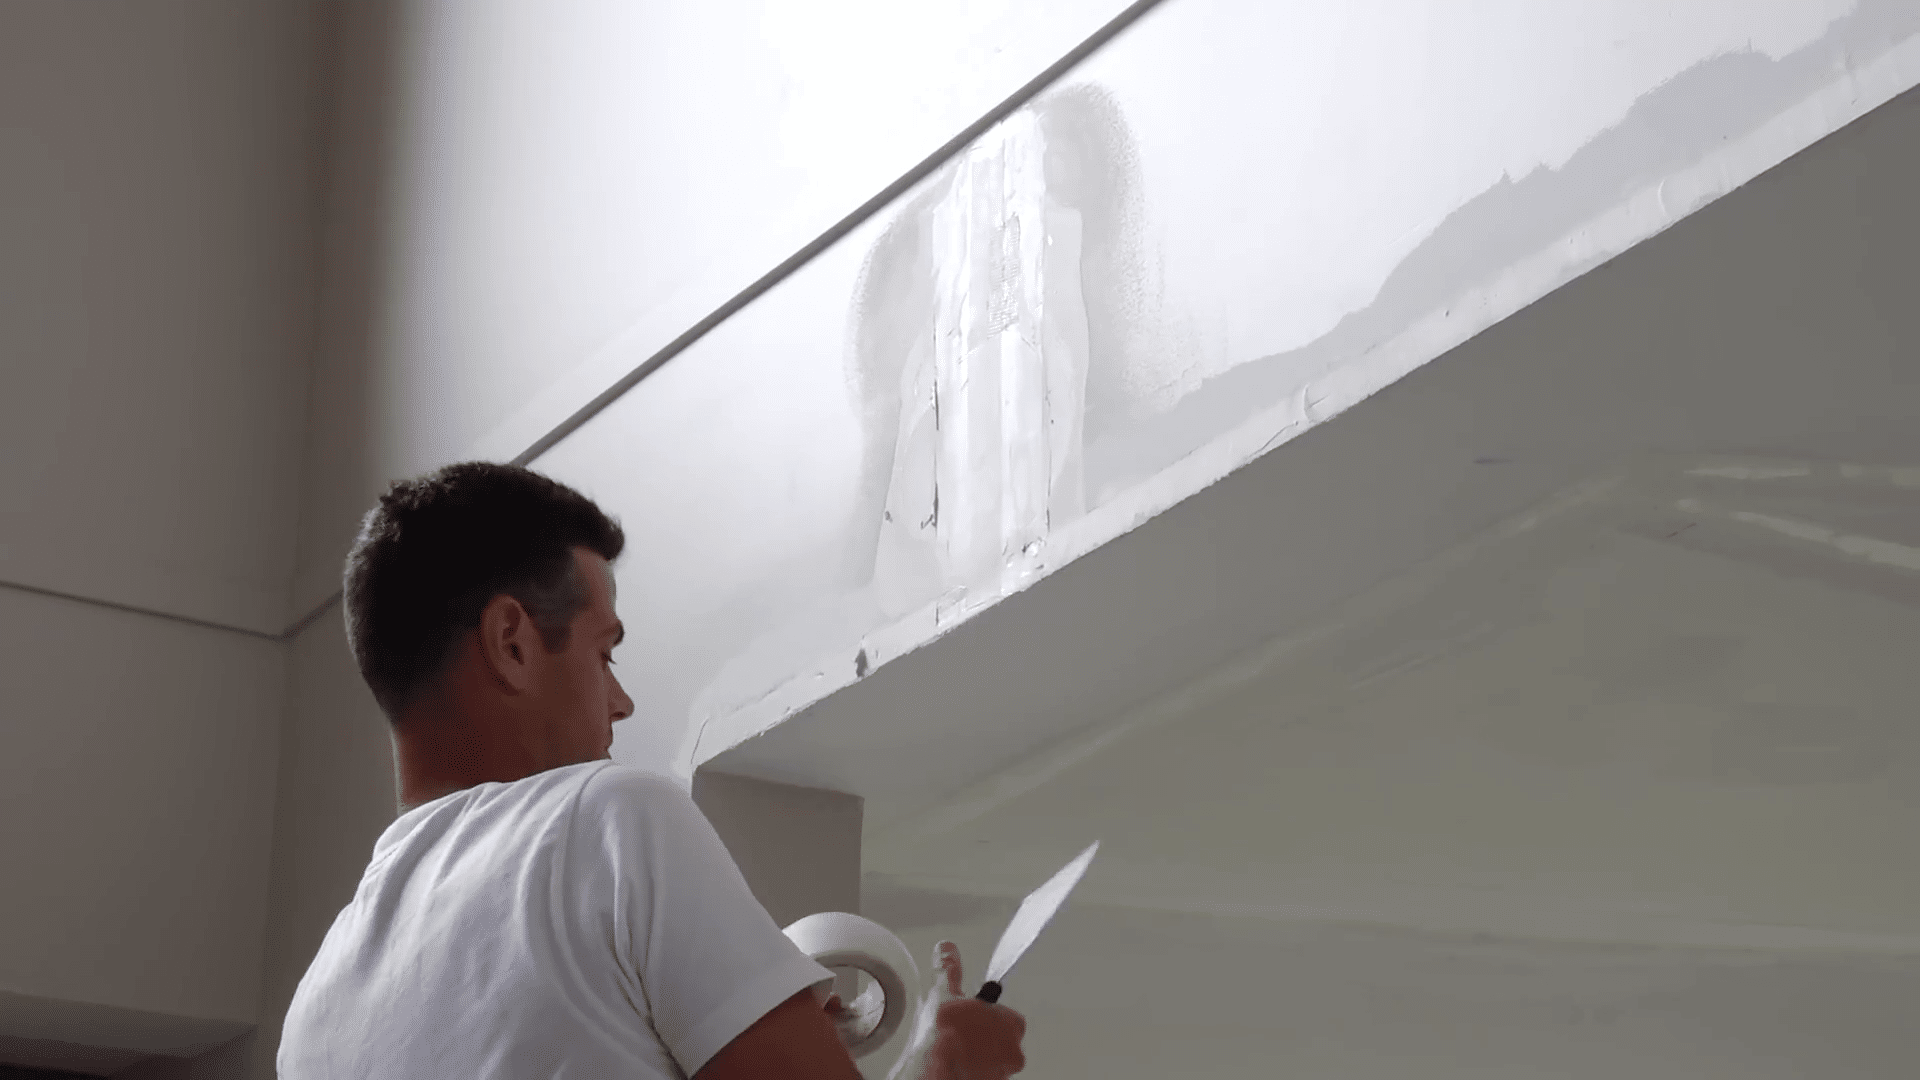
The initial step in this repair involved a careful exploration of the crack to determine its cause and extent. The area felt empty and soft, indicating a lack of support behind the drywall, which is not surprising given the presence of a crack. The lack of adhesive mud in the joint had contributed to the separation of the two drywall panels, ultimately leading to the crack.
The repair process began by carving out the crack to remove any loose material and assess the depth of the underlying issues. It was found that previous repairs had not adequately addressed the structural problems, necessitating more intensive corrective measures. The approach was to secure the area without removing significant sections of the drywall or installing new boards, which involved adjusting the existing materials to restore stability.
Effective Techniques for Stabilizing Drywall
Stabilizing the drywall involved inserting screws into the corner bead and the adjacent areas to firm up the structure. This method helps by anchoring the drywall panels and reducing the likelihood of further movement that could cause new cracks to form. During this process, care was taken not to over-tighten the screws, which could potentially pull through the drywall or create new weak points.
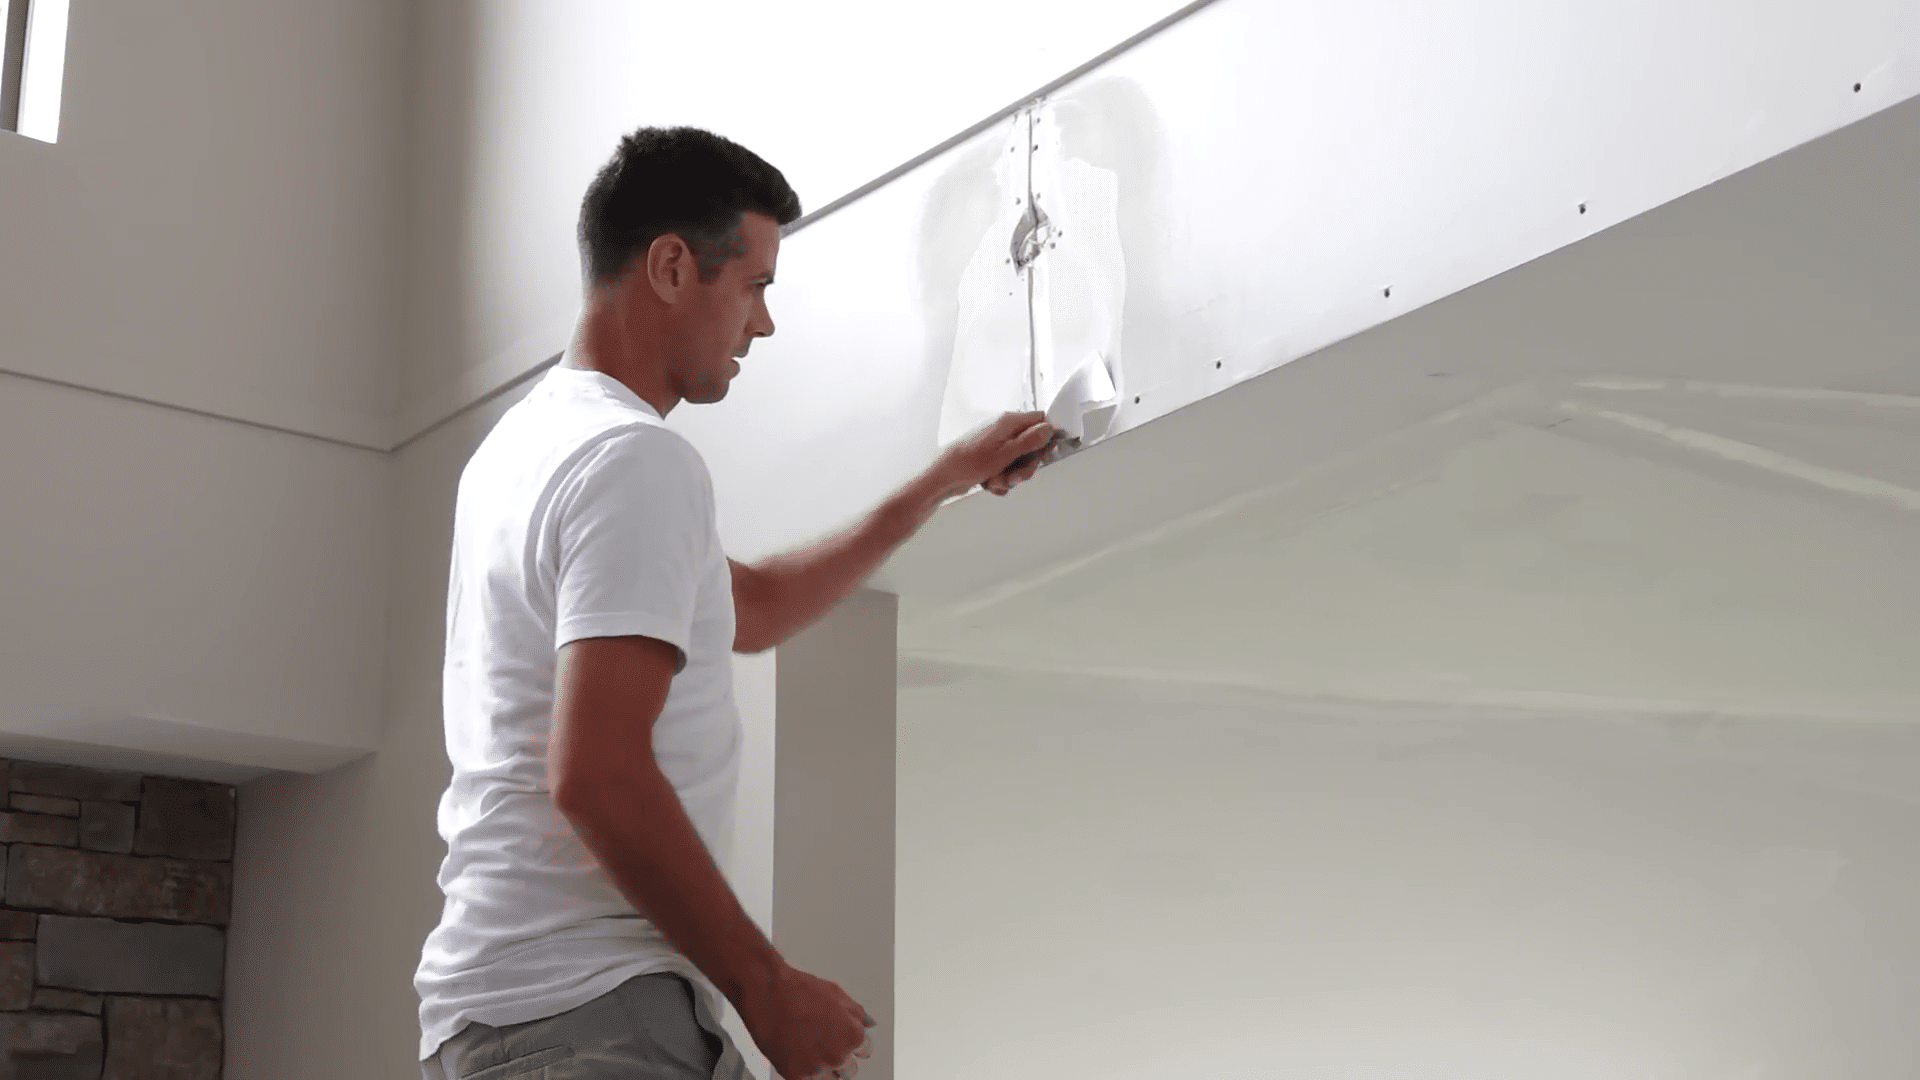
The area surrounding the crack was then cleaned and prepared for the application of new drywall compound. The goal was to create a smooth surface that would not only cover the crack but also blend seamlessly with the existing wall. This was achieved by carefully sanding down excess drywall compound to ensure the repaired area would not protrude or create uneven surfaces.
Although it’s challenging to guarantee a permanent fix due to the inherent movement of building materials over time, by using the right techniques and materials, the repair was expected to last several years. This expectation is based on the improved structural integrity and the careful application of new materials designed to bond strongly and resist cracking.
Tools and Materials for Optimal Drywall Repair
Key tools that were utilized in this repair process included a paint scraper and a specialized sander. These tools allowed for precise removal of loose or damaged material without creating excessive dust or debris. The use of a high-suction setting on the sander was particularly effective in ensuring that the area was thoroughly prepared for the application of new drywall compound.
Additionally, the use of quick-setting drywall compound was crucial in this scenario. This type of compound dries rapidly, which is beneficial in a repair context as it allows for multiple layers to be applied in a shorter timeframe. The compound was also mixed with additional adhesive to enhance its bonding properties, ensuring a durable repair that would be less susceptible to re-cracking in the future.
The selection of drywall tape also played a role in the repair. Paper tape was chosen over alternatives like mesh tape because of its superior bonding capabilities with the drywall compound and its ability to create a smoother finish. Paper tape, while traditional, remains a reliable choice for professional-grade drywall repairs due to its strength and adaptability.
Final Steps and Preventative Measures
Once the initial stabilizing and filling steps were completed, the final phase involved applying multiple layers of drywall compound to build up a smooth, flat finish. Each layer was carefully sanded down before the next was applied to avoid any texture differences or thickness variations. This meticulous attention to detail is critical in achieving a professional-quality repair that is not only functional but also aesthetically pleasing.
Preventative measures were also discussed to help minimize the likelihood of future cracks. These included ensuring that any new drywall installations are properly secured and that environmental factors such as humidity and temperature are controlled as much as possible. Regular inspections and maintenance were recommended to catch and address any potential issues before they develop into significant cracks.
By understanding the causes of drywall cracks and applying precise repair techniques, it is possible to extend the life of drywall installations and maintain the structural integrity and appearance of a building. Whether dealing with older structures prone to movement or newer constructions settling into their foundations, the right approach to drywall repair can make a significant difference in the longevity and safety of the building.


Additional Resources
-

Do you believe that tree roots can really cause the drywall to crack in a home?
-

Cracks develop in wall and ceiling areas. What are they a sign of and what can be done?
-

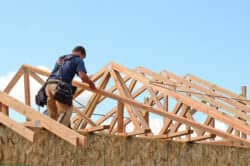
Roof trusses will arch if the attic has significant seasonal temperature and humidity changes, especially in the winter.