Step-by-Step Guide to Plumbing a Coffee Machine to Home Water Supply
Understanding the Basics of Plumbing a Coffee Machine
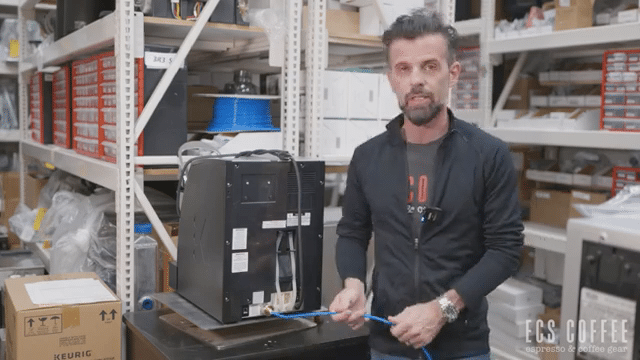
Plumbing a coffee machine may seem daunting, but with the right tools and a bit of know-how, it’s quite manageable. Whether you’re setting up a machine at home or in an office, the process involves a few basic components and steps that ensure you have a steady and reliable water connection to your coffee maker. Today, we’re focusing on how to install a coffee machine using a popular kit designed for models like the Keurig, although the general principles apply broadly to other machines as well.
Essential Tools and Parts
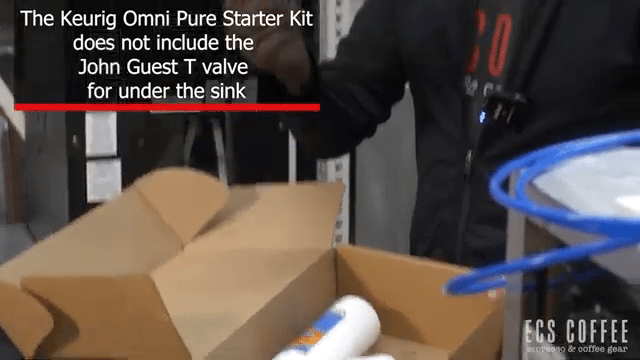
The primary components for plumbing your coffee machine include a connector for attaching to the machine’s intake, flexible tubing for the water supply, and a T-connector for branching off from your cold water line. In our demonstration, the connector is a standard garden hose fitting compatible with a quarter-inch line, which is a common setup for many coffee machines. Additionally, the use of an angle stop valve (3/8 by 3/8 by 1/4) is recommended as it facilitates an easy connection under your sink and minimizes the need for extensive plumbing modifications.
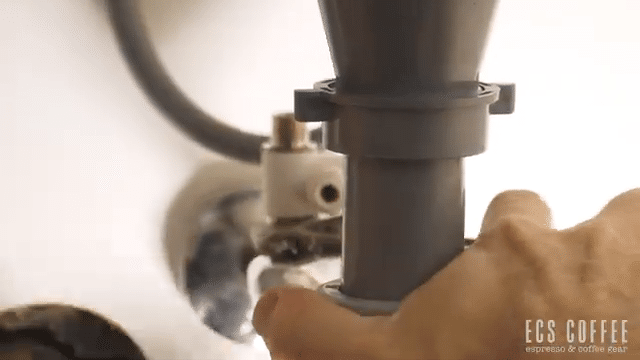
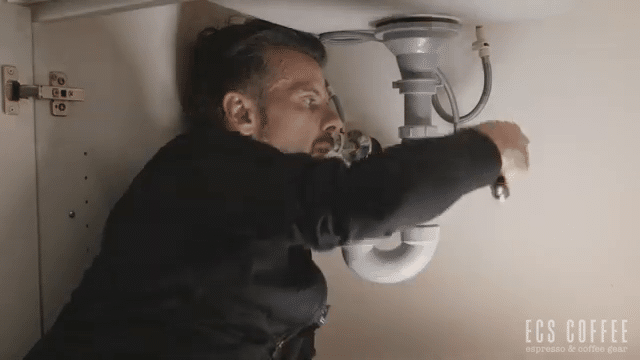
Setting Up Under the Sink
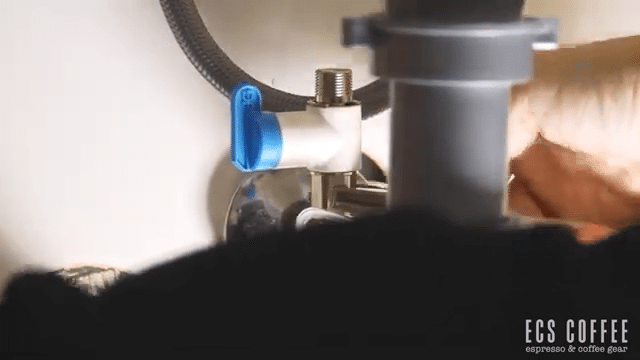
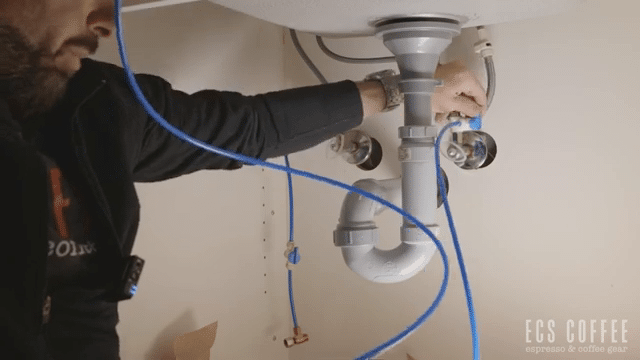
The installation begins under your kitchen sink. Start by identifying and turning off the cold water supply. This can be verified by turning off one valve at a time and checking which side of the faucet stops delivering water. Once identified and shut off, you can disconnect the cold water hose, which should ideally be a flexible type. If you find a rigid pipe instead, it might be safer to consult with a plumber, especially to avoid damaging your plumbing.
Installing the T-Connector
With the water supply turned off and the hose disconnected, the next step involves installing the T-connector. This fitting integrates seamlessly into your existing cold water line and provides an outlet for the quarter-inch line running to your coffee machine. Depending on the age and condition of your plumbing, using plumber’s tape on the threads of the connection can help prevent leaks. Once the T-connector is securely in place, you reconnect the main water line and attach the new line that will lead to your coffee machine.
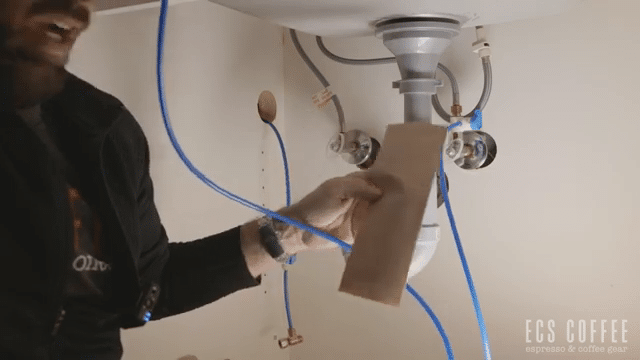
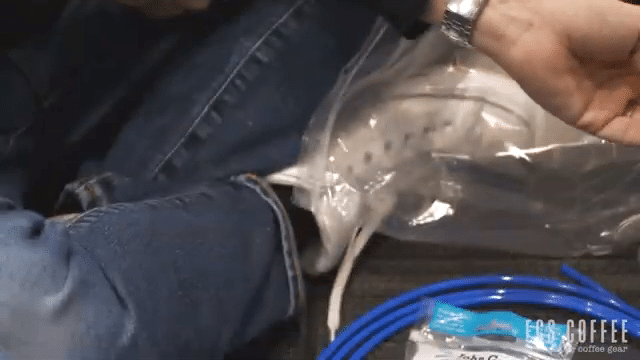
Running the Water Line
The quarter-inch water line that now stems from the T-connector under your sink needs to be routed to the coffee machine. It’s essential to ensure the tubing is cut cleanly and straight to avoid potential leaks at connection points. Route the tubing from beneath the sink to the location of your coffee machine, ensuring it’s neither kinked nor stretched tight. If your coffee machine sits a fair distance from your sink or across different cabinetry, careful planning of the route helps hide and protect the line.
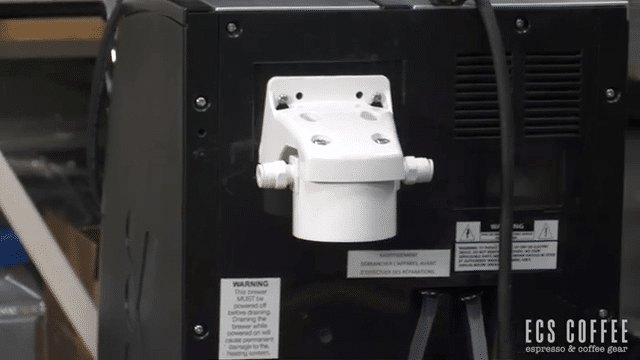
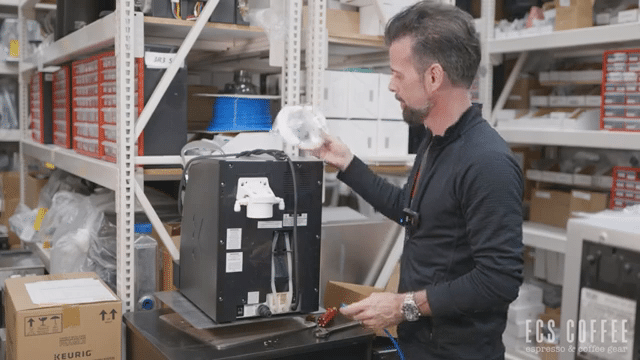
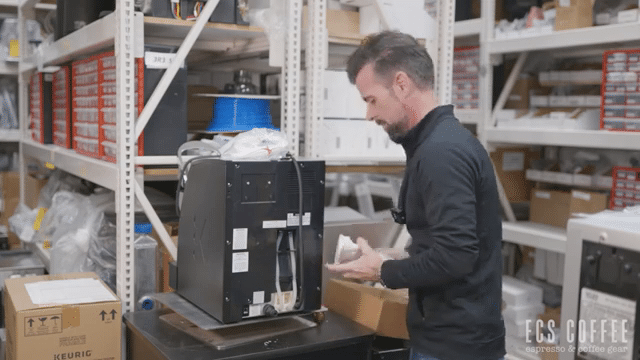
Attaching to the Coffee Machine
Once you have the water line in place, connecting it to your coffee machine is typically straightforward, especially with the quick-connect fittings common to many models. If your model uses a different connection type, such as a flare or compression fitting, you may need an adapter or different connector. After the connection is secure, it’s crucial to test for leaks before fully commissioning the machine. This is done by opening the water supply to the line and checking all connections for moisture or drips.
Additional Considerations
Some advanced setups may include installing an inline water filter between the sink and the coffee machine. This can improve the quality of your beverages by removing impurities and reducing scale buildup inside the machine. Installation of such filters follows similar principles but includes the additional steps of integrating the filter housing into the water line. It’s also important to consider future maintenance needs, such as how easily the filter can be replaced and whether shut-off valves are accessible for routine cleaning or troubleshooting.
Plumbing your own coffee machine can be a rewarding project that not only enhances your coffee experience but also adds value and convenience to your kitchen or office space. With the right preparation and a careful approach, you can achieve a professional-quality setup with minimal fuss. Always remember, if the project seems too complex or if you encounter unexpected issues, consulting with a professional plumber is a wise decision to ensure everything is installed safely and correctly.
In summary, while plumbing a coffee machine involves several steps, the process can be simplified with the right tools and a bit of knowledge about your specific coffee machine and home plumbing system. Taking the time to do it right will ensure you enjoy consistent and quality brews without any hassle.


Additional Resources
-

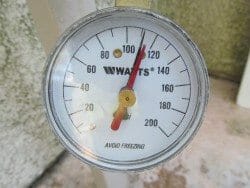
It's great to have high water pressure. But if too high, then a pipe or fitting may burst or leak.
-

Water temperature should be under 120 degrees or cooler, should be drained once a year and can explode under some circumstances.
-

When the water pressure seems too low ...