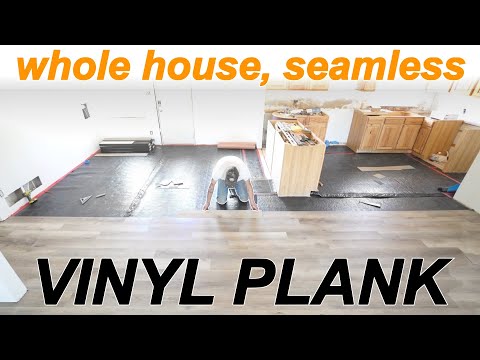
Step-by-Step Guide to DIY Luxury Vinyl Plank Flooring Installation
Understanding Luxury Vinyl Plank Flooring Installation
Luxury Vinyl Plank (LVP) flooring is a popular choice for modern home renovations due to its durability and aesthetic appeal. It’s designed to mimic the look of natural materials such as wood or stone while offering enhanced resistance to wear and moisture. One of the key advantages of LVP is its ease of installation, which makes it an excellent option for DIY enthusiasts. In this article, we explore the step-by-step process of installing LVP flooring seamlessly over various subfloors, including old hardwoods and tiles.
Preparation and Planning
The initial stage in installing LVP flooring involves thorough planning and preparation. This includes measuring the area to determine the amount of flooring needed. A crucial aspect of this preparation involves finding the center of the hallway or the room where the installation will start. This ensures the flooring is symmetrically aligned, creating a visually appealing finish. It’s common to use a chalk line to mark this central line across the space as a guide for laying the planks.
Another important preparatory step is to consider the width of the planks and calculate how they will fit across the room. This includes accounting for the tongue and groove of each plank that facilitates interlocking. The goal is to minimize the number of cuts needed and to ensure no narrow slivers of planks at the borders, which can compromise the visual symmetry and stability of the flooring.
Installation Techniques
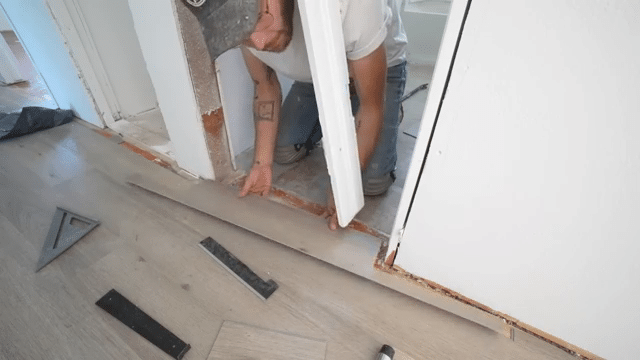
Installation begins at a strategic point, often at the front door or along the main hallway, to ensure a smooth flow of planks. Using spacers against walls helps maintain a consistent gap necessary for the natural expansion and contraction of the flooring material. Cutting the planks accurately is crucial and can be achieved with tools like table saws, circular saws, or even a simple utility knife for straight, clean cuts. Ensuring that planks are uniformly cut helps maintain alignment and a professional-looking finish.
Each row of planks must be carefully aligned and locked into place using a tapping block and a mallet. This tool helps secure the planks tightly together without damaging the edges, ensuring a smooth, seamless surface. One of the pro tips in handling LVP is to ensure the seams between planks are staggered at least 8-10 inches apart from one row to the next, enhancing the floor’s aesthetic appeal and structural integrity.
Addressing Subfloor Irregularities
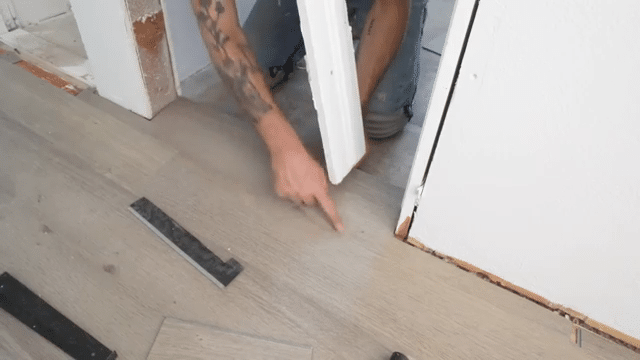
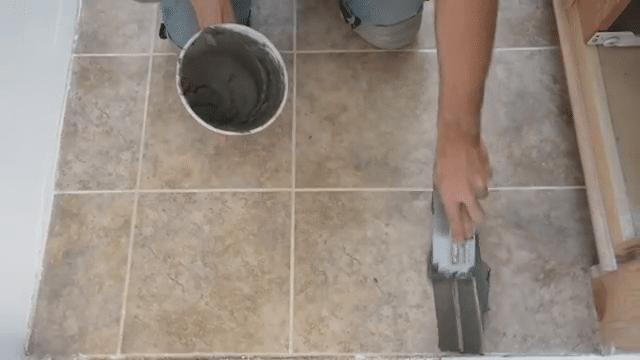
One challenge in flooring installation over existing surfaces is dealing with subfloor irregularities. For instance, transitioning from hardwood to tile can present height differences that need to be smoothed out. Tools like an electric hand planer can be used to level the subfloor, creating a flat base for the new flooring. For low spots or slight depressions, products like Henry Feather Finish concrete can be applied to even out the area, ensuring the LVP lays flat and secure.
It is also essential to manage the expansion around the floor perimeter properly. This involves leaving a small gap, typically around 1/4 inch, between the flooring edge and any permanent fixtures or walls. This gap can be concealed by the base molding or quarter round that is installed after the flooring.
Finishing Touches
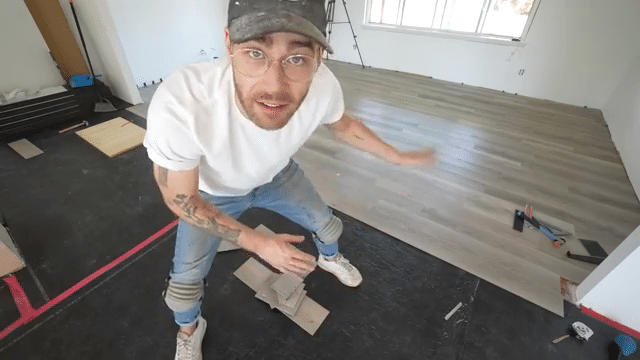
Once all the planks are laid out and secured, the final steps involve installing transition pieces at doorways or between different types of flooring to ensure a clean, professional look. Additionally, maintaining an organized workspace by keeping tools and materials neatly arranged can significantly streamline the installation process. For DIY enthusiasts, taking the time to measure, cut, and lay each plank carefully will reflect in the quality and appearance of the finished floor.
Finally, it’s essential to perform a thorough clean-up after installation, removing any spacers used and vacuuming up debris. The new floor should then be inspected for any gaps or misalignments, which can be corrected before adding the finishing trims. With careful planning and attention to detail, installing LVP flooring can be a rewarding DIY project that enhances the beauty and functionality of your home.
Additional Insights
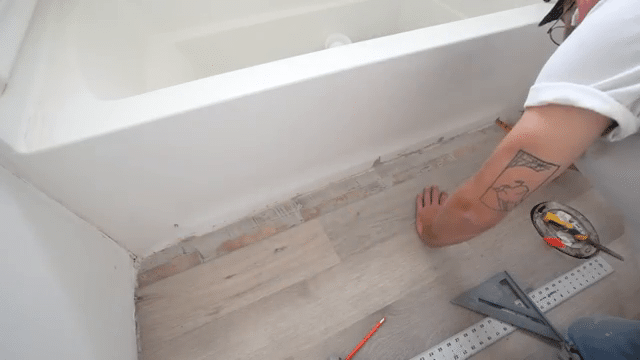
Luxury Vinyl Plank flooring not only provides a visually appealing look but also offers considerable durability and resistance to moisture, making it ideal for areas such as kitchens and bathrooms. The material’s versatility allows it to be installed over various subfloors, making it a practical choice for renovation projects. Moreover, the planks’ design typically includes a wear layer that protects against scratches and stains, ensuring the floor remains in excellent condition over time.
For those interested in sustainable home improvements, it’s noteworthy that many LVP products are made from recycled materials and are themselves recyclable. Additionally, the ease of maintenance, often requiring just regular sweeping and occasional mopping, makes LVP an excellent choice for busy households. When considering flooring options, the combination of style, durability, and ease of installation makes Luxury Vinyl Plank flooring a compelling choice for DIYers and professionals alike.