Solving Protruding Wall Issues for Flush Door Trim Installation
Hello and welcome to Vancouver Carpenter! Today, we’re tackling a common issue that many homeowners face: a wall that extends beyond the door jamb, creating a significant challenge when installing door trim. In this scenario, the wall protrudes out by about a quarter inch more than the door jamb. If this is not addressed, installing the trim could result in unsightly gaps or misaligned casing, which can detract from the overall aesthetics of the door installation.
Initial Assessment and Assembly
The first step in addressing the protruding wall issue is to assemble the door casing. Using a modern adhesive method, the casing components are securely bonded together. This innovative approach not only simplifies the assembly process but also enhances the structural integrity of the casing. Once assembled, the casing is ready to be maneuvered into place, setting the stage for the necessary adjustments to the surrounding wall.
Marking and Adjusting the Wall
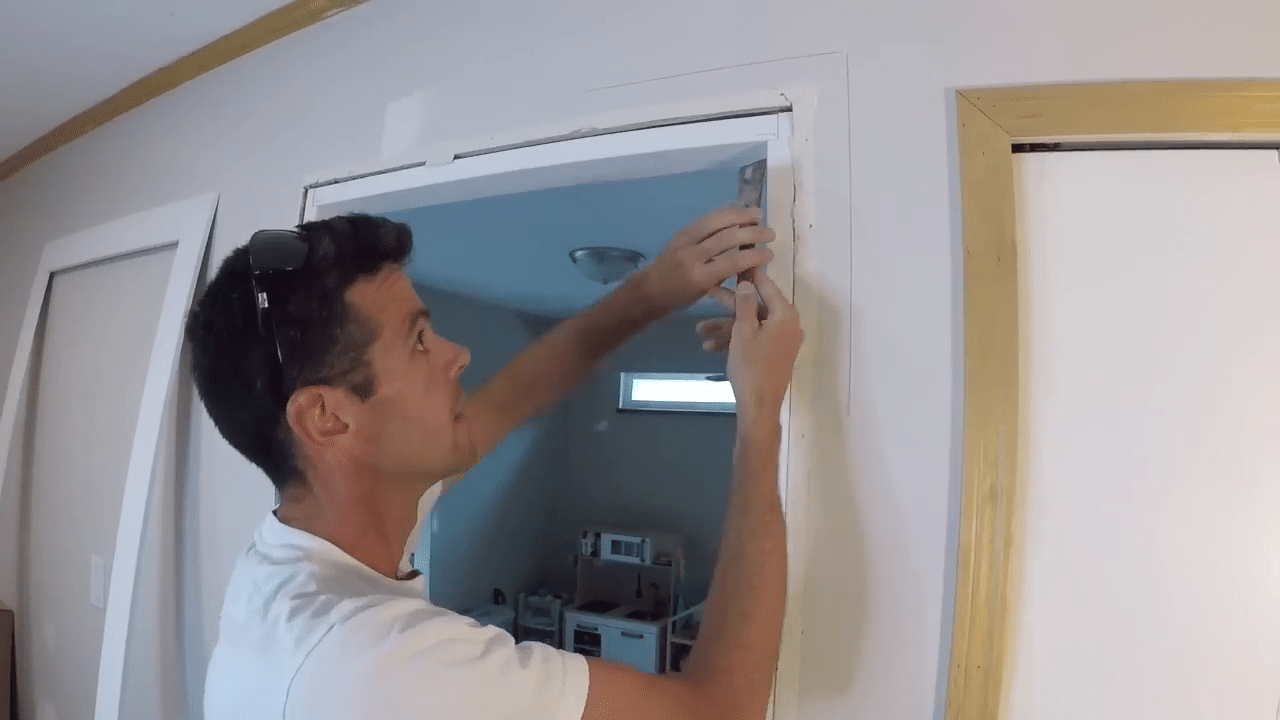
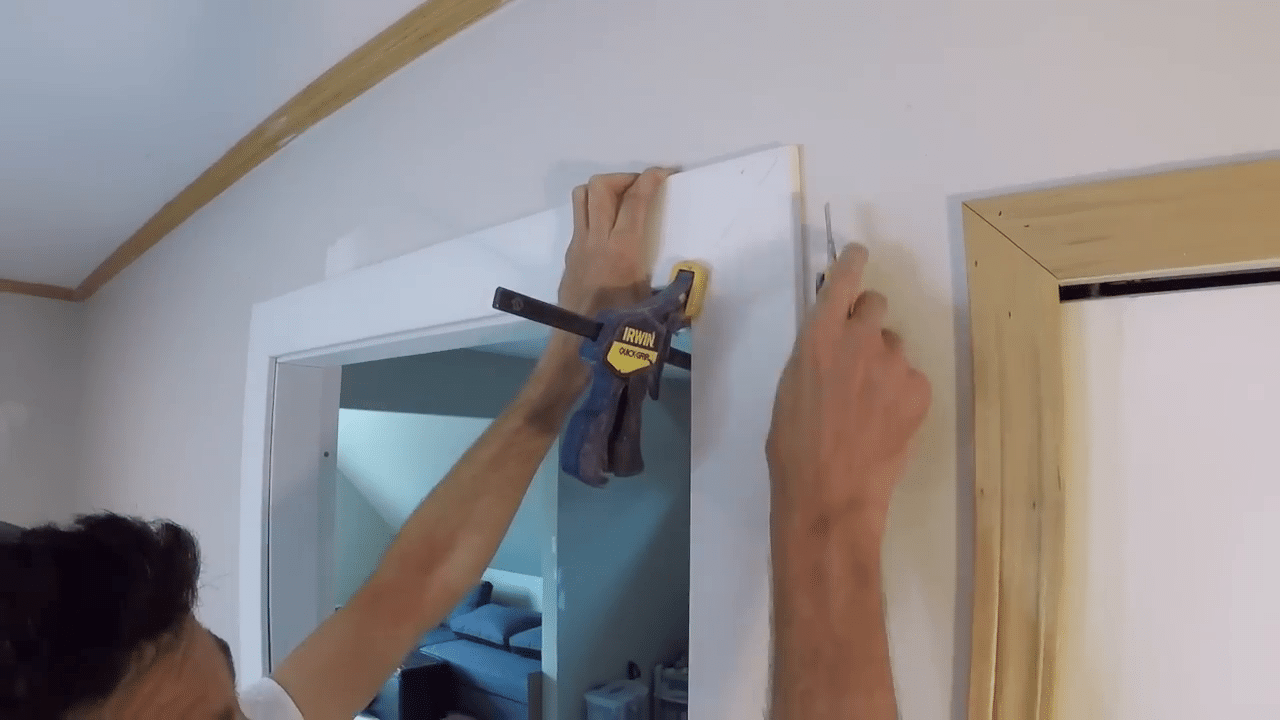
To ensure the trim fits flush against the door jamb, it’s essential to scribe a line on the wall where the trim will be installed. This involves aligning the casing with the door jamb and marking the wall along the edge of the trim. Careful scribing is crucial to avoid cutting too deep or veering off course. The goal is to remove just enough of the wall material to allow the trim to sit perfectly flush with the jamb.
Removing Excess Drywall
With the line scribed, the next step is to carefully remove the excess drywall. Using a utility knife, the marked line is deepened slightly, about a quarter inch, ensuring not to penetrate completely through the wall. A glazier’s bar, a versatile tool, is then used to chisel away the excess drywall. This process requires precision to maintain a flush alignment with the door jamb and avoid damaging the surrounding wall area.
Refining the Work Area
As the excess drywall is removed, fine adjustments are made to create a snug fit for the casing. A paint scraper or the flat end of the glazier’s bar can be used to smooth out any rough areas, ensuring the wall surface is perfectly flush with the door jamb. During this stage, it’s vital to proceed with caution to achieve a clean, professional finish without compromising the wall’s integrity.
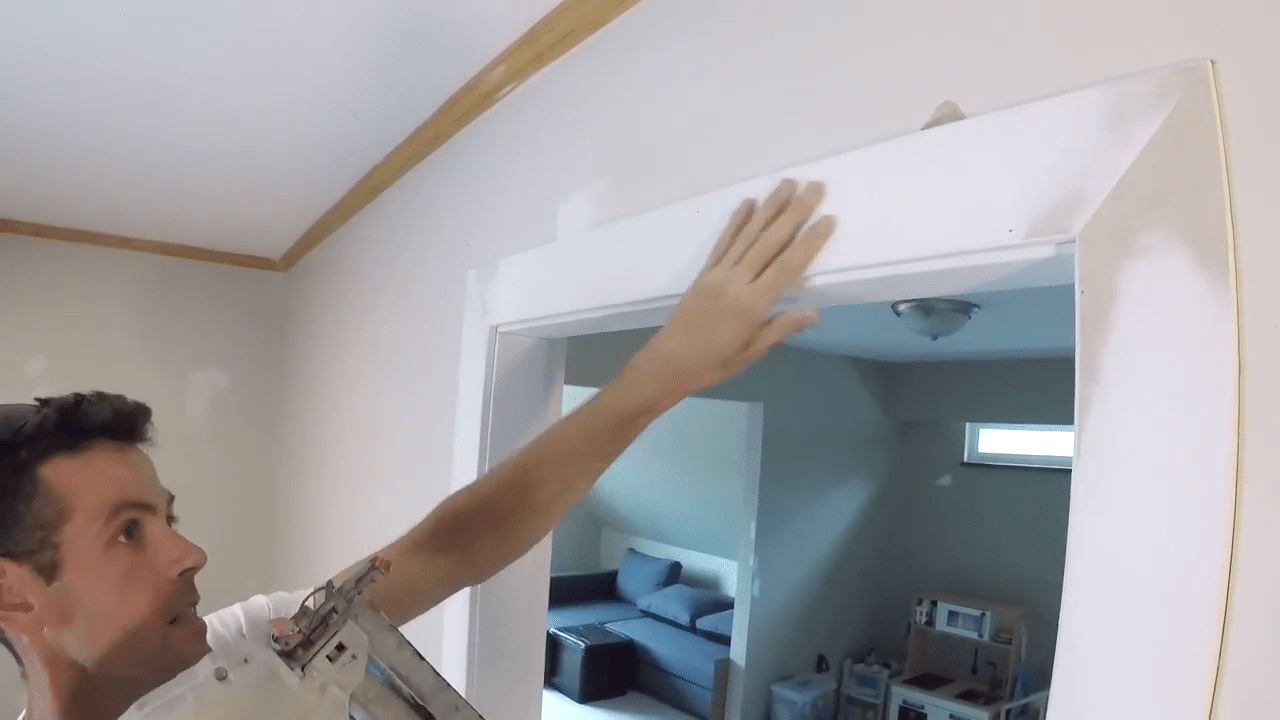
Nailing the Casing and Final Adjustments
Once the wall has been suitably adjusted, the casing can be aligned into its final position. It is crucial to hold the nail gun perpendicular to the casing to avoid splitting the wood with the nails, a common issue that can occur if the nail gun is held at an incorrect angle. After securing the casing with nails, any minor gaps left can be filled with caulk, although in this scenario, the fit should be tight enough to minimize the need for extensive caulking.
When dealing with trim installations, especially in cases where the trim and door jamb are made from stain-grade materials, precise fitting becomes even more crucial. Stain-grade materials do not allow for the use of caulking to hide imperfections, making the techniques discussed here invaluable for ensuring a seamless aesthetic.
Practical Considerations and Tips
While the process might seem intricate, the effort is worthwhile to achieve a professional and aesthetically pleasing result. It is also important to remember that each home and installation can present unique challenges. Adjustments might need to be made on a case-by-case basis, depending on the specific alignment and material issues encountered. The use of the right tools, like the glazier’s bar and a reliable adhesive for assembling the casing, plays a critical role in the successful completion of this task.
Addressing a protruding wall when installing door trim ensures not only the functional alignment of the door but also enhances the overall visual appeal of the room. By following these meticulous steps, homeowners and contractors alike can achieve a flush, professional finish that stands the test of time. Remember, patience and precision are your best tools in achieving the perfect fit and finish for your door installations.


Additional Resources
-

Warped doors may let moisture or sunlight in. However, this can usually be cured by...
-

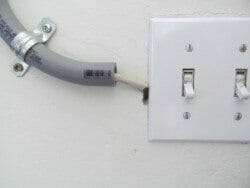
Inexperienced home owners are usually the ones who run wiring through a wall or under a plate with out it having protection.
-

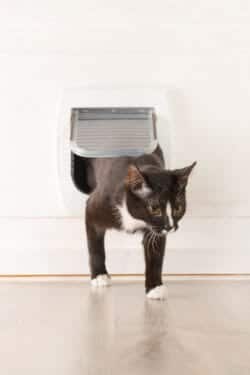
Pet doors usually go from the house to the yard or to the garage. When in a 1 hour fire rated door to the garage, then...