What is the best approach for safely demolishing a chimney, considering a professional roof patch but DIY approach for the chimney itself?
9 months ago
Last Updated: September 21, 2024
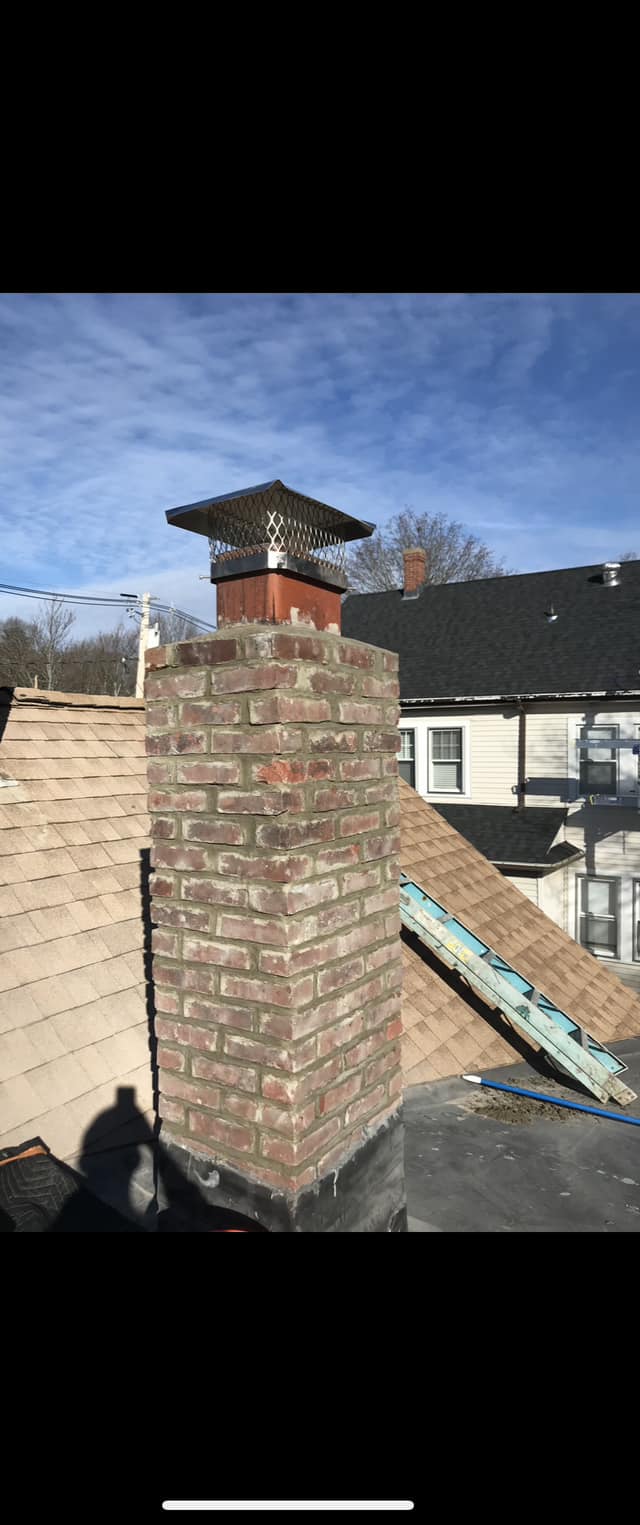
Do you have any suggestions on the best way to demo this chimney? I’m going to have the roof patched up by a professional, but I want to tackle the chimney demo myself. I’m leaning towards taking it down course by course rather than just going at it with a sledgehammer.


A little sledgehammer, also known as beaters, does the job nicely. You can also use a rotary hammer for drilling into concrete, like the Bosch bulldog or a cheaper alternative with a chisel bit and hammer function only. Make sure to protect the roof as bricks often fall accidentally. We’ve taken down many brick chimneys over the years on different projects.
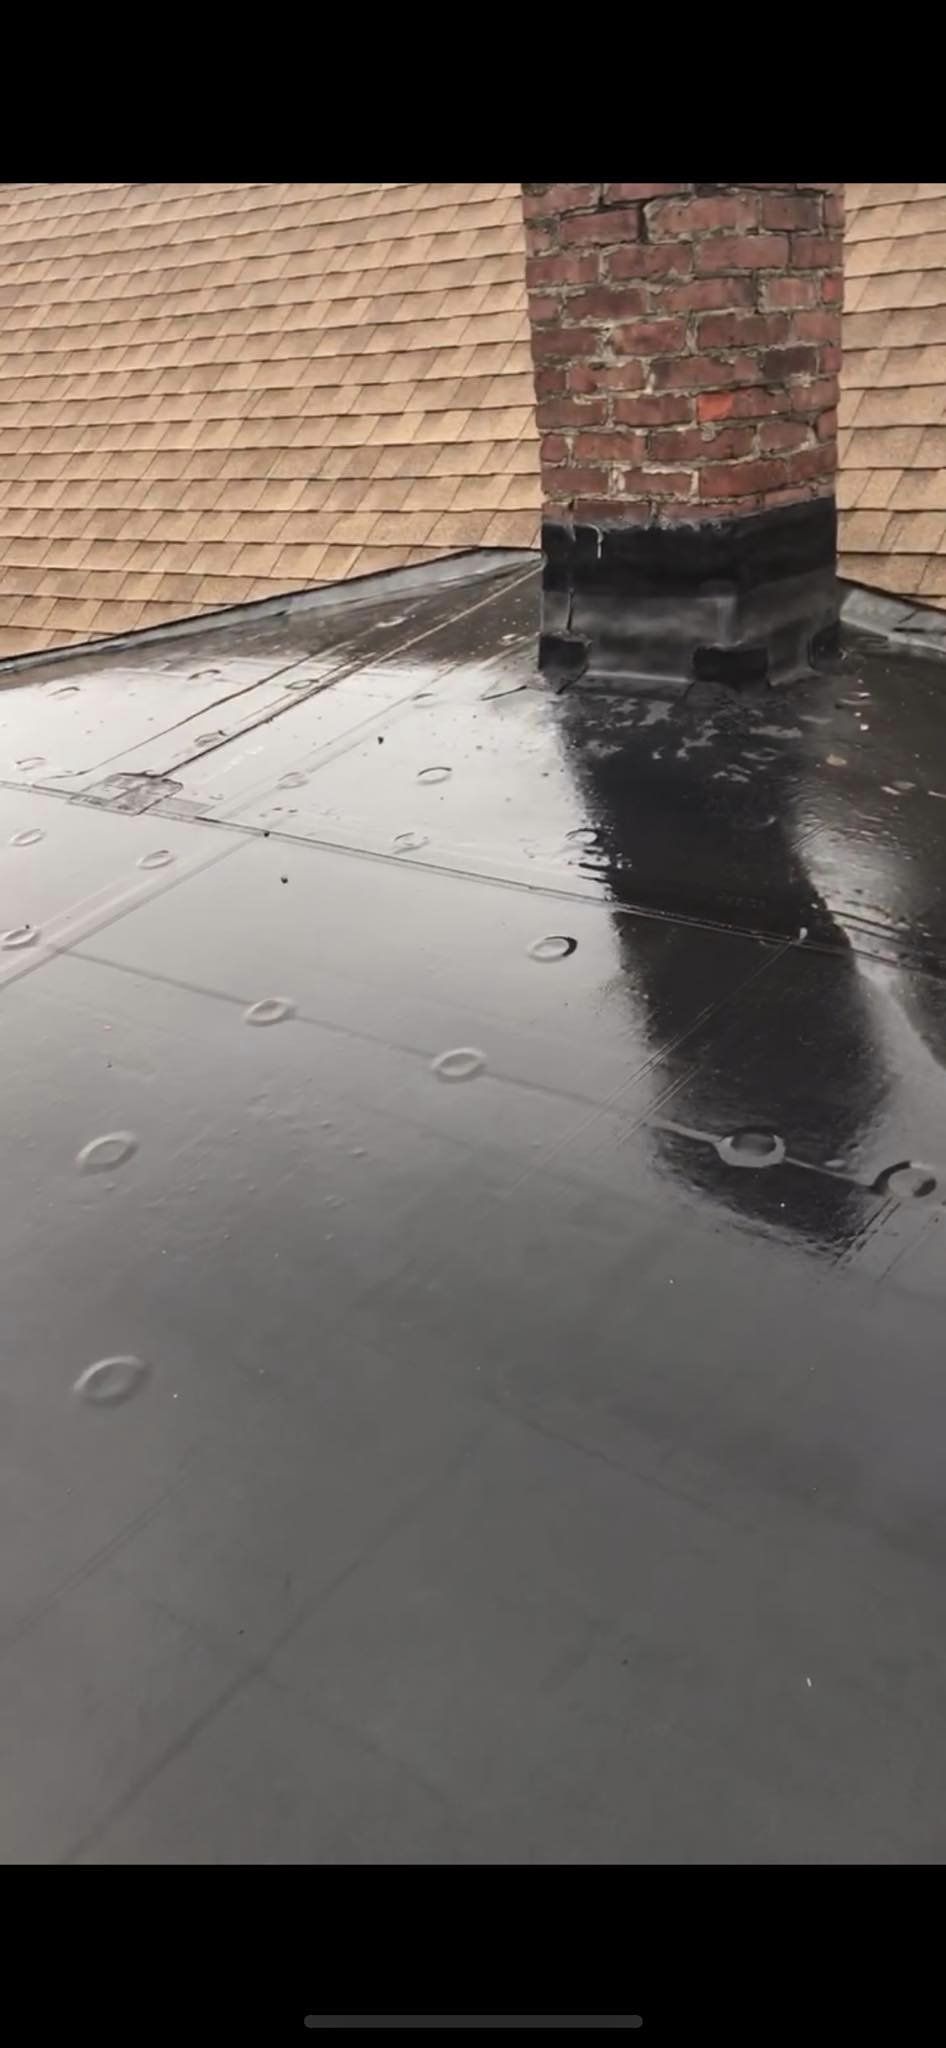
Hey , do you have any experience with rubber roofing? I’ll have my roofer take a look, but I’m hoping it’s a simple fix to cover the hole from the chimney.
You’re headed in the right direction. Make sure to gather plenty of drop cloths. Even small pieces of brick or mortar can cause serious damage to the roof. Consider using a couple of plywood sheets to stand on and a bin to collect the bricks on the ground. Take your time and work carefully and methodically. Personally, I prefer to use a 1 1/4″ demolition hammer drill with a 3″ chisel bit, set on hammer-only mode. Especially since I live in earthquake-prone area.
I really love my Bosch, it’s absolutely essential for this kind of project. I’ve watched others use the cheaper ones, but mine just keeps chugging along.
Hey Cameron! So, the roof is protected by a rubber or vinyl membrane. I suggest laying down a drop cloth, like a moving blanket, and placing plywood on top of it to keep everything off the roof. Stepping on the roof can really wear it down, and it’s best to avoid any damage from falling objects like bricks.
I’m definitely going to cover the work area with plywood and take extra care when removing the bricks. Specifically, I was referring to roofing over the hole after the chimney is gone.
My first one was a refurbished unit from the factory that lasted me about 6 years, despite some cord damage. Then I purchased a brand new one and it’s been working perfectly for about 8 years now. I wouldn’t be able to run my business without it.
I’m more familiar with bituthane than torch down or glued. I’ll keep an eye out and maybe pick up some new tips. Don’t forget to keep documenting with photos and sharing the progress. I’d consider adding a cricket where the chimney was to prevent water buildup – just some advice from a carpenter/builder. A patch of rubber roof should solve the issue.
I took a small sledgehammer and chisel to carefully chip away row by row. It was a simple and relatively fast process.
In your case, was the chimney on a more traditional asphalt shingle roof?
Yes, it was on an asphalt shingle roof. You can lay down some sort of drop cloth or similar on your flat roof for protection. Just take your time and you’ll be okay.
I believe laying down the bricks should be relatively simple. Did you do the re-roofing yourself? I’m a bit worried about my flat rubber roof with a chimney in the middle of a hip. Planning to have my roofer assess it first, but I’m hoping it’s a routine job for them to re-roof over the hole
I re-roofed mine because I had materials available, but if not, I wouldn’t do it since I’m not familiar with flat roofs.
Use a hammer to go row by row and have lots of buckets tied to a rope to lower them down for someone to empty, while you continue to fill more up. Alternatively, you can use a big hammer drill with a chisel bit.
What do you think about the re-roofing scenario?
Recently removed a section. I haven’t tried rubber roofing like that before, but you could probably buy a roll and some tar to overlap your patch by about 2 feet. They likely have seam tape for you to use before applying tar.
Of course, starting with plywood patches first
Purchased a roll*
Place plywood on top of the rubber.