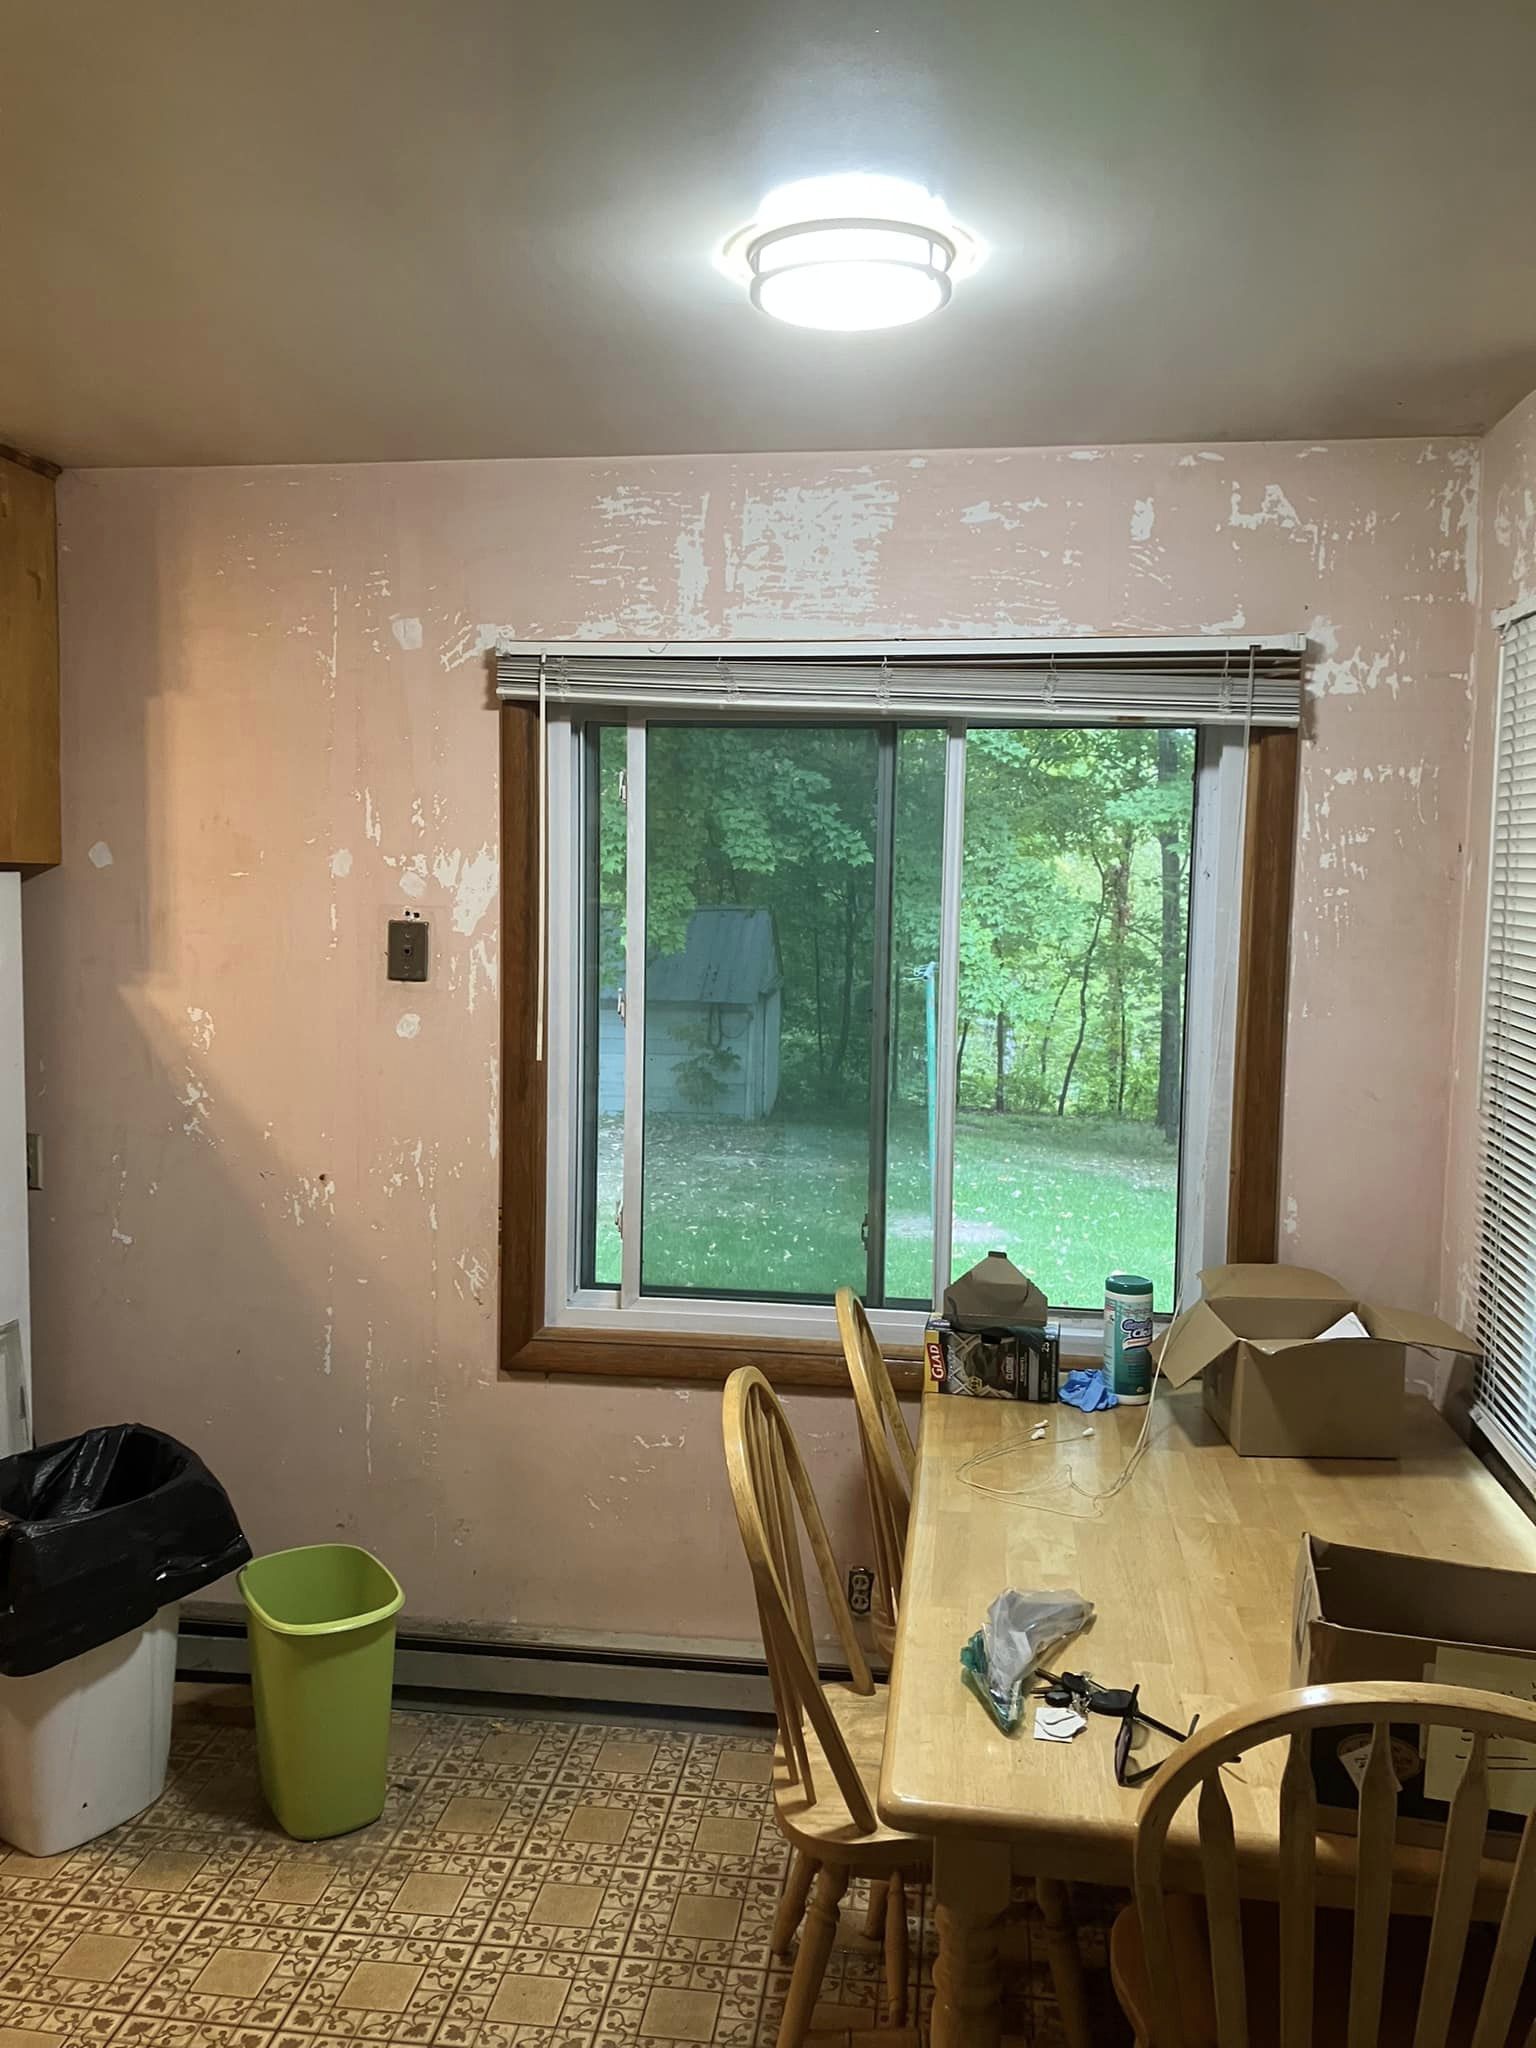
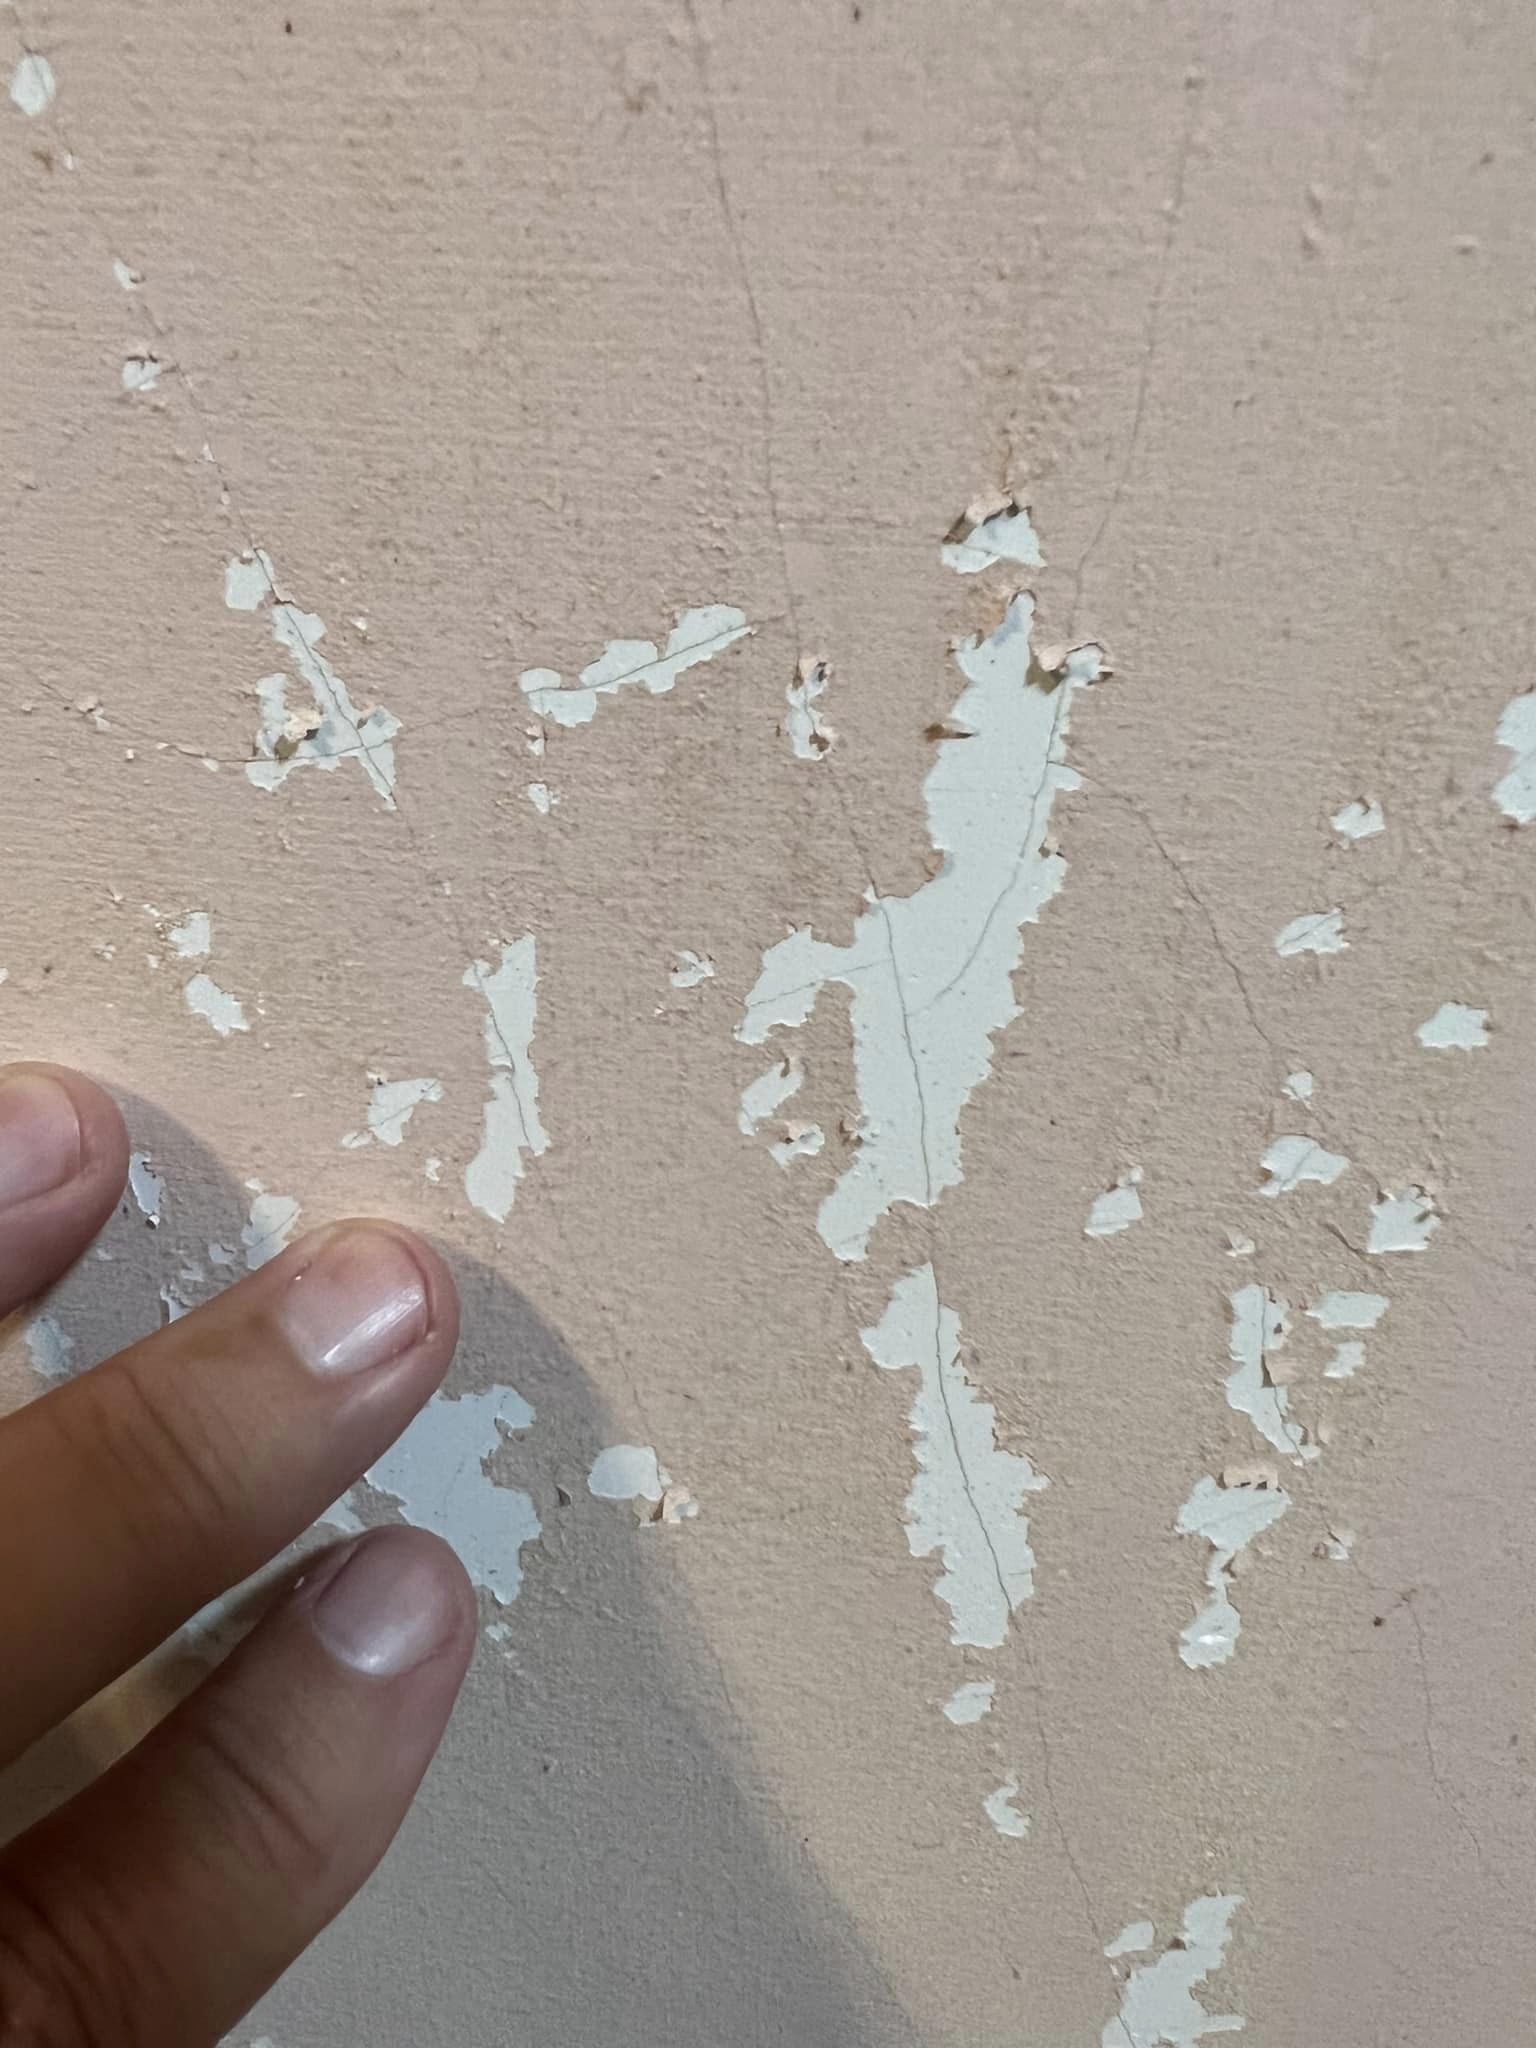
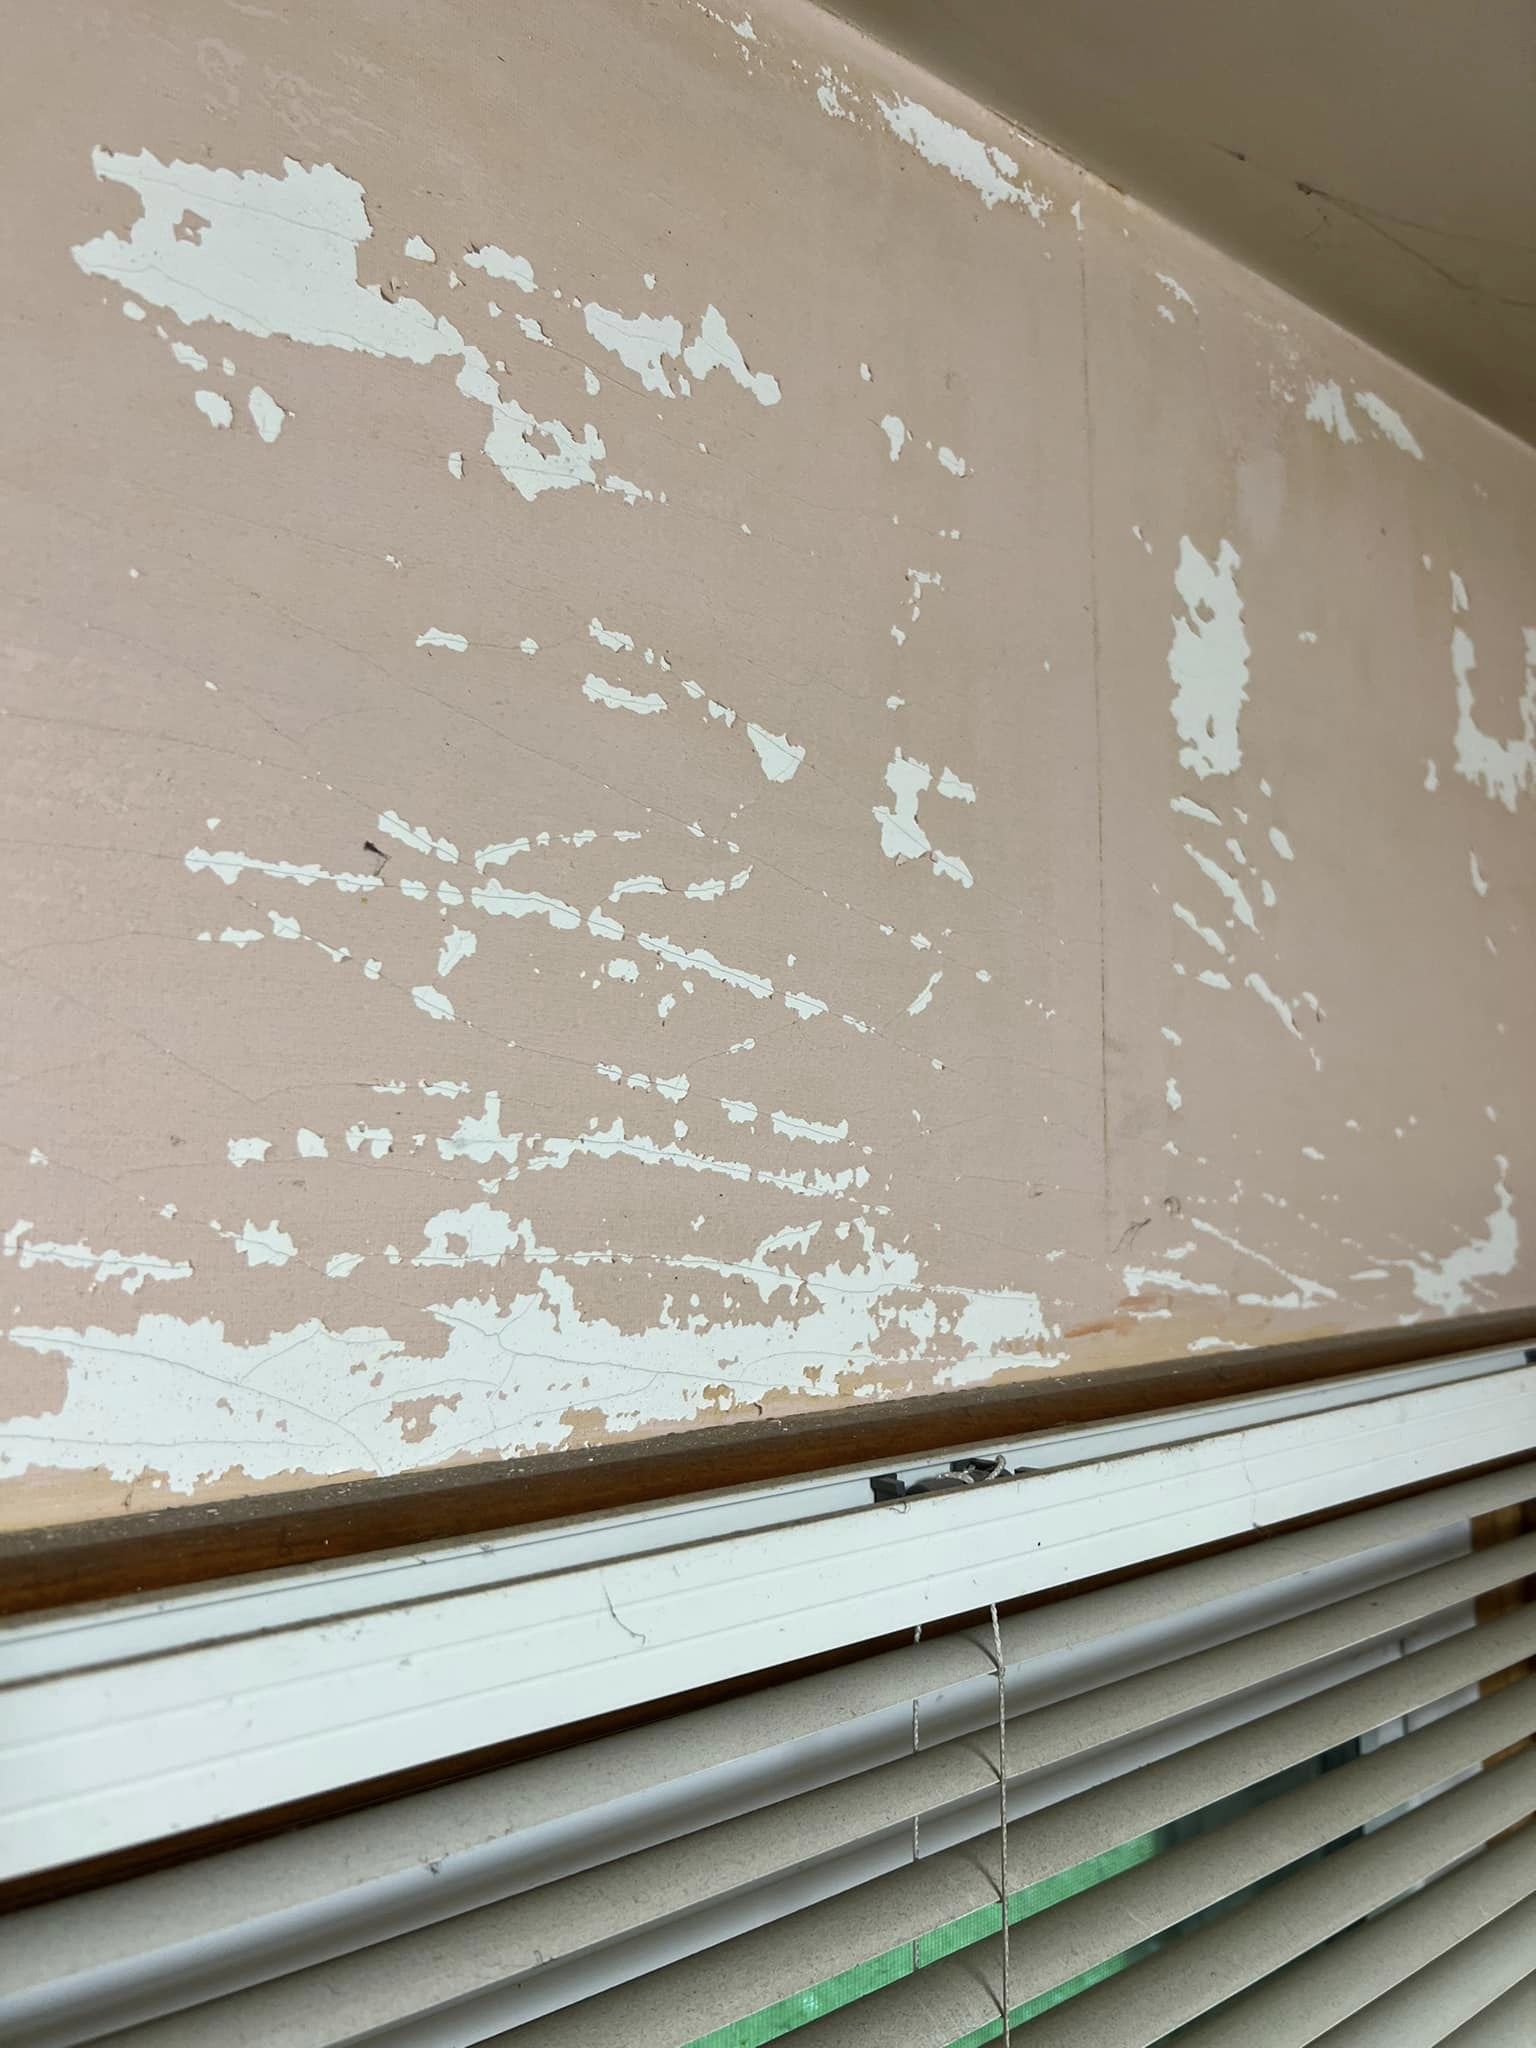
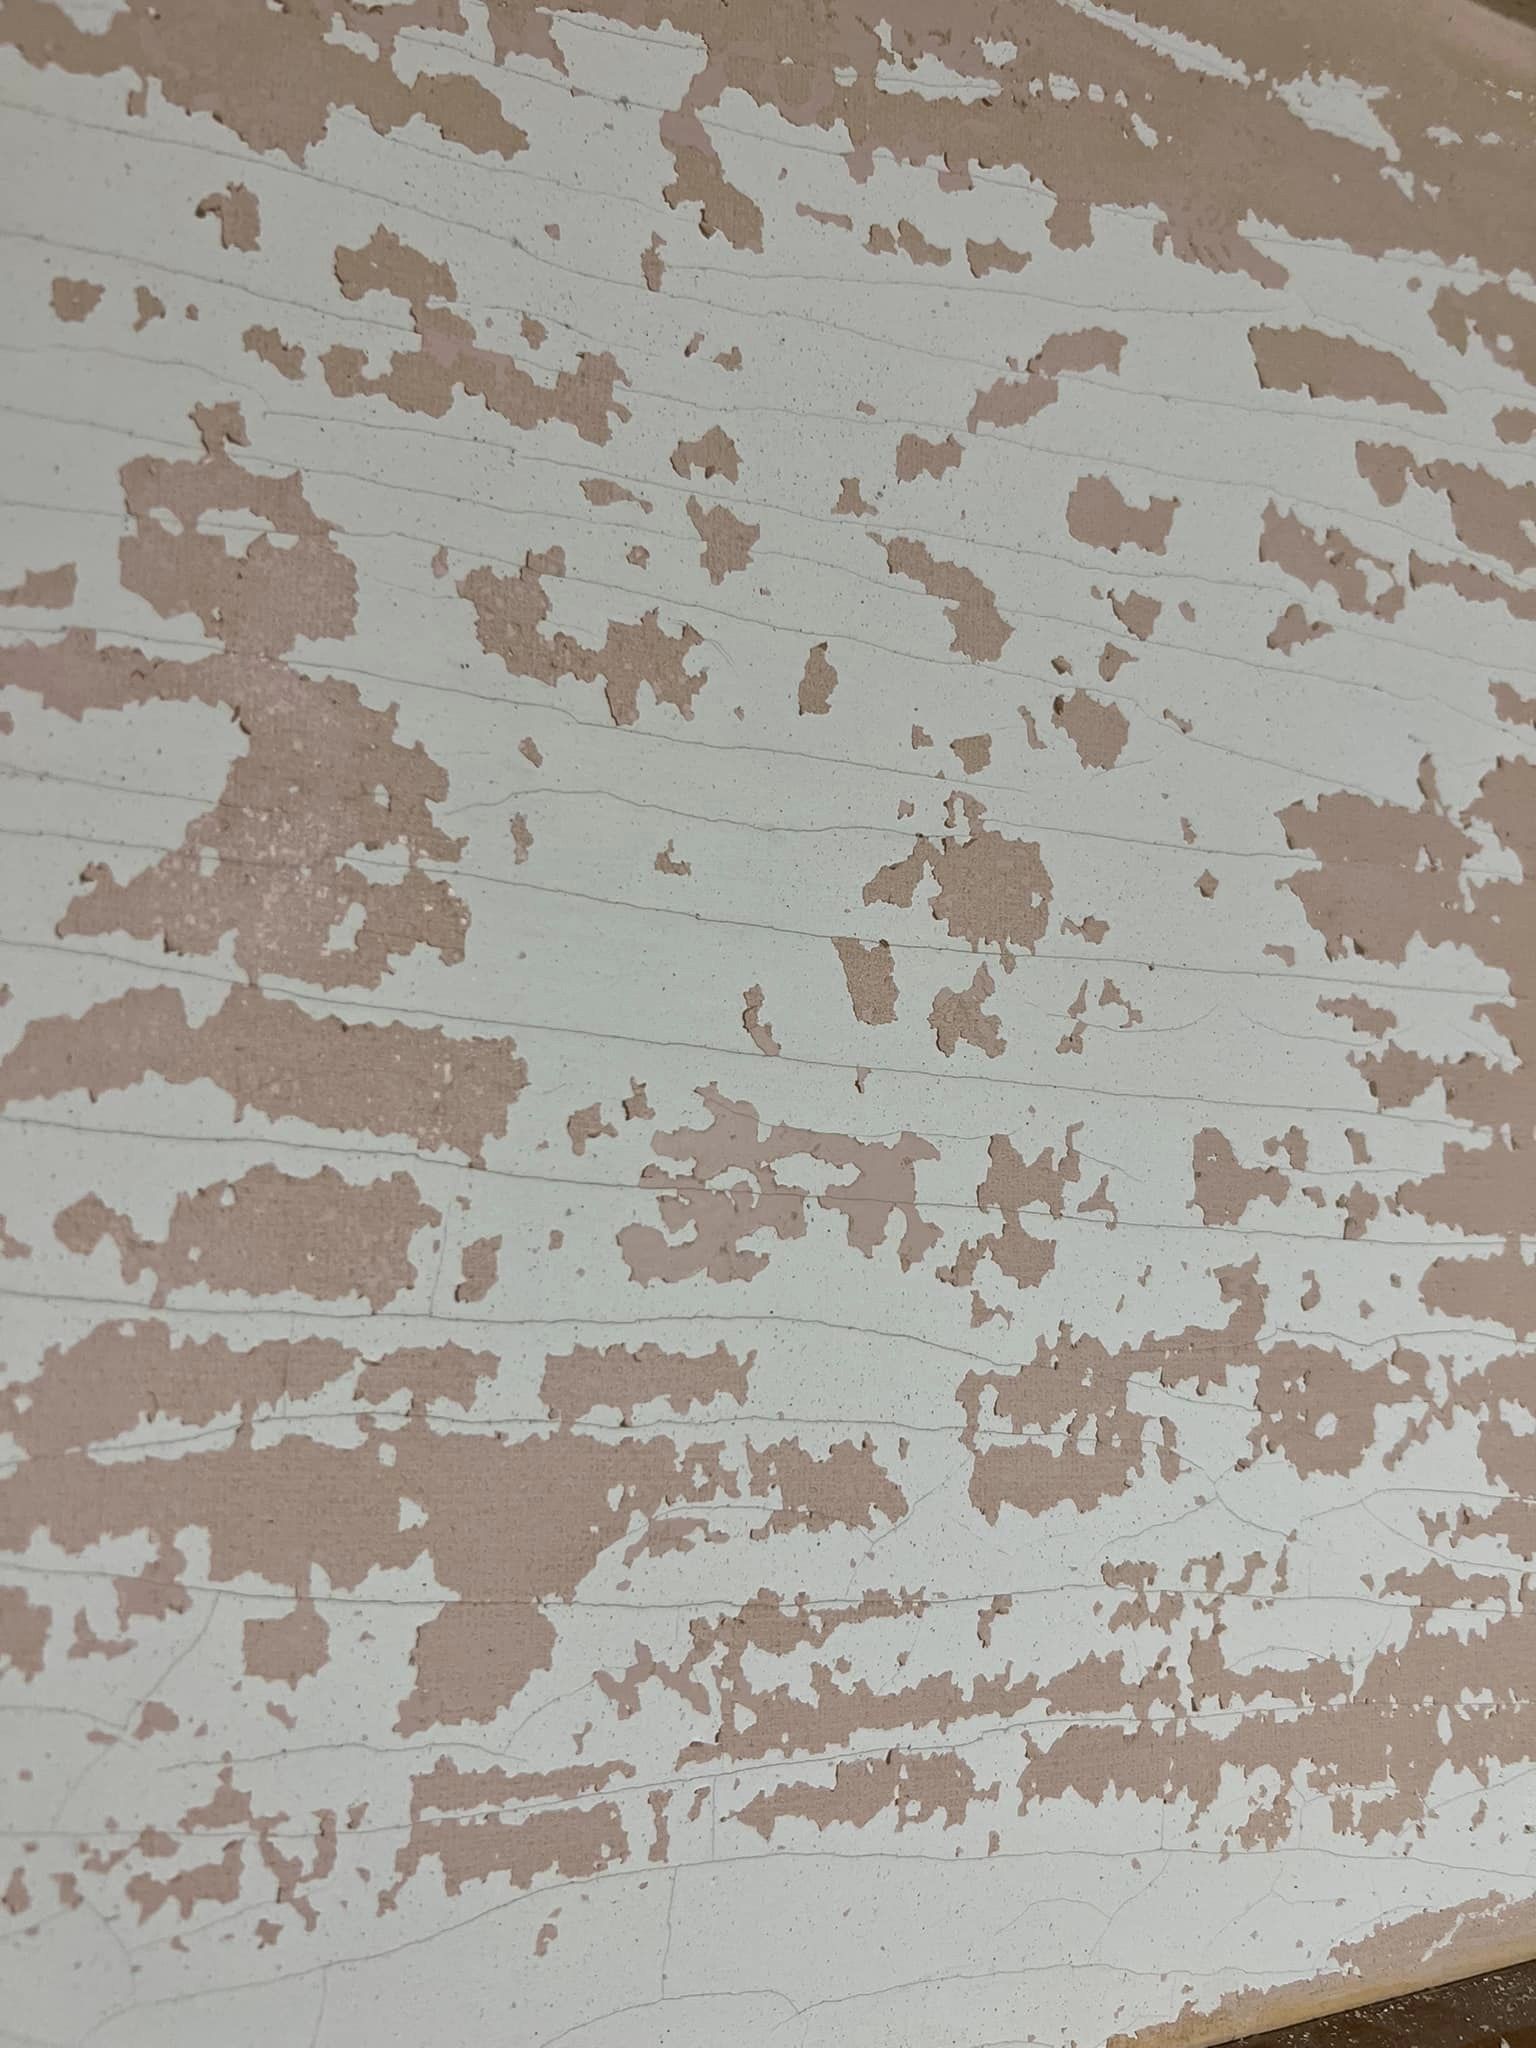
How can we easily smooth out the rough kitchen wall left after removing wallpaper for a cost-effective paint job or alternative covering?
1 year ago
Last Updated: May 31, 2024
So, the people who lived here before us took down the wallpaper in the kitchen, but they left it in pretty rough shape. We got a price to have someone redo the plaster, but it was a lot pricier than we were thinking. I’m really just looking to have a simple painted wall, but it’s too uneven right now. Do you have any suggestions for smoothing it out easily for painting, or any other ideas for covering it up?


Hey, check out this video link: https://youtu.be/b1V-g6_FOjM?si=sjtMTHLH9YxacW_6
Like others have mentioned, I would recommend skim coating the wall. There are plenty of tutorials available – you can probably find all the necessary tools for around $50-$100 depending on your location. Just be prepared for a lot of dust and apply several thin coats until you achieve a nice, smooth surface. In my experience, it’s more of an art than a science. Also, don’t forget to prime the skim coat if you choose that method.
Wouldn’t have to redo the entire wall, just the damaged sections, right?
Is correct. We typically add a small amount of water to our pre-mixed mud so that it flows more like whip cream rather than butter.
That sounds challenging. I’ve given it a shot myself and I end up doing a ton of sanding and have to deal with a lot of dust to clean up afterwards haha
Oh, you can just patch up the damaged areas. I recently redid the drywall in our kitchen for our renovation… thinning out the mud really makes a difference – it’s especially useful to have a strong drill with a mixer attachment to make the pre-mixed material smooth.
Definitely agrees, but I struggle with my skim coat skills so I always end up sanding a lot. However, the satisfaction you feel from doing it yourself is truly rewarding.
You have the option to either do a skim coat or put up new drywall, which could be quicker and look better if skim coating isn’t an option
About six years ago, we dealt with a similar situation in our 1932 home when we first moved in. We made sure to remove any loose material and scraped it well. Due to significant moisture and insulation problems in one specific bedroom, we had to replace the lower portion of the plaster with drywall as it was beyond repair. We then patched the remaining plaster with drywall mud, sanded, primed, and painted. It’s been nearly 5 years now, and we haven’t experienced any issues so far. I can share some before and after photos if you’d like. Some areas of the plaster were so damaged that we were down to the rough, sanded layer when we started. At one point, we considered tearing out all the plaster walls and replacing them with drywall, but in the end, we’re glad we didn’t go through with it. We did opt for a full replacement in the kitchen due to the severe condition of the plaster, which was a messy but necessary process. It’s always best to salvage whatever you can for better acoustics and structural integrity.
‘t forget to take out the trash before going to bed.
Please remember to water the plants while I am away.
I cannot attend the meeting tomorrow.
No content
No content
Here’s a photo showing the bedroom after the renovation I mentioned earlier. I also have pictures of the kitchen before and after we removed all the plaster and installed drywall.
Consider plastering it and adding a fresh coat of paint!
Make sure to check out your local Habitat for Humanity store before heading to a regular retailer!
How about using shiplap? Or maybe look for some old barn wood?
Text: Textured wallpaper that can be painted comes in a variety of patterns and textures. It’s commonly used in the UK and Europe to hide uneven walls and can add character to both neutral or colored walls. The key is to avoid flattening the pattern during installation. Personally, I prefer to roll the glue onto the walls before hanging the paper to ensure the pattern remains crisp.
You can skip hiring a plasterer or getting new drywall or shiplap. Just scrape, sand, do some skimming, sand again, prime, and paint.
Learn how to plaster and give it a try. You’ll save money and gain a new skill in the process.
Shiplap, breadboard, accent wall…
Simply screw on 1/4 inch Sheetrock for a quick and easy new surface
Apply a couple of coats of Bonding primer before painting
I just finished painting my worn-out plaster walls by giving them a good scrape. The result exceeded my expectations and gave them a charming old-world appearance. If you’re not keeping it for long, don’t invest too much time and effort.
Sand lightly, fill in any imperfections, then crosshatch with a good quality lining paper. Paint over it for a smooth finish like new plaster.