
Creaking Floors – The 4 Main Reasons
Floor creaking may be related to the installation of the floor or to the homes foundation settling. Other reasons include...
Expertly written content about home condition. Detailed guides and technical insights from a knowledgeable team of industry professionals.
Read Articles

Floor creaking may be related to the installation of the floor or to the homes foundation settling. Other reasons include...

Cracks develop in wall and ceiling areas. What are they a sign of and what can be done?

Know which ceiling cracks are serious and which ones are just cosmetic.
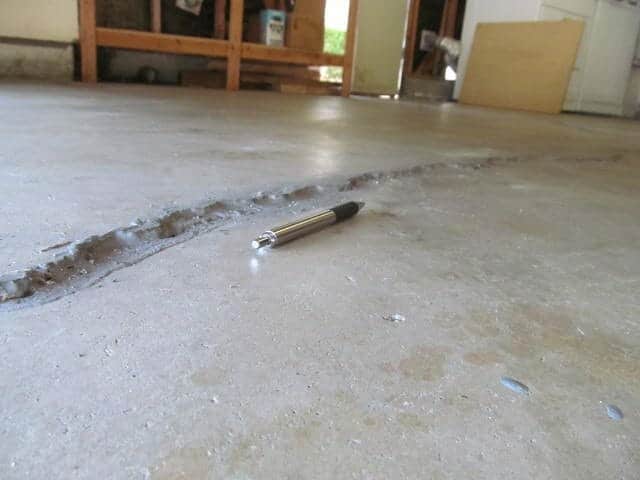
There are a few times that cracks in a garage floor are a warning sign of foundation or other problems; can you recognize them?

If your foundation has a crack or cracks know what to look for to determine if they are major or minor.
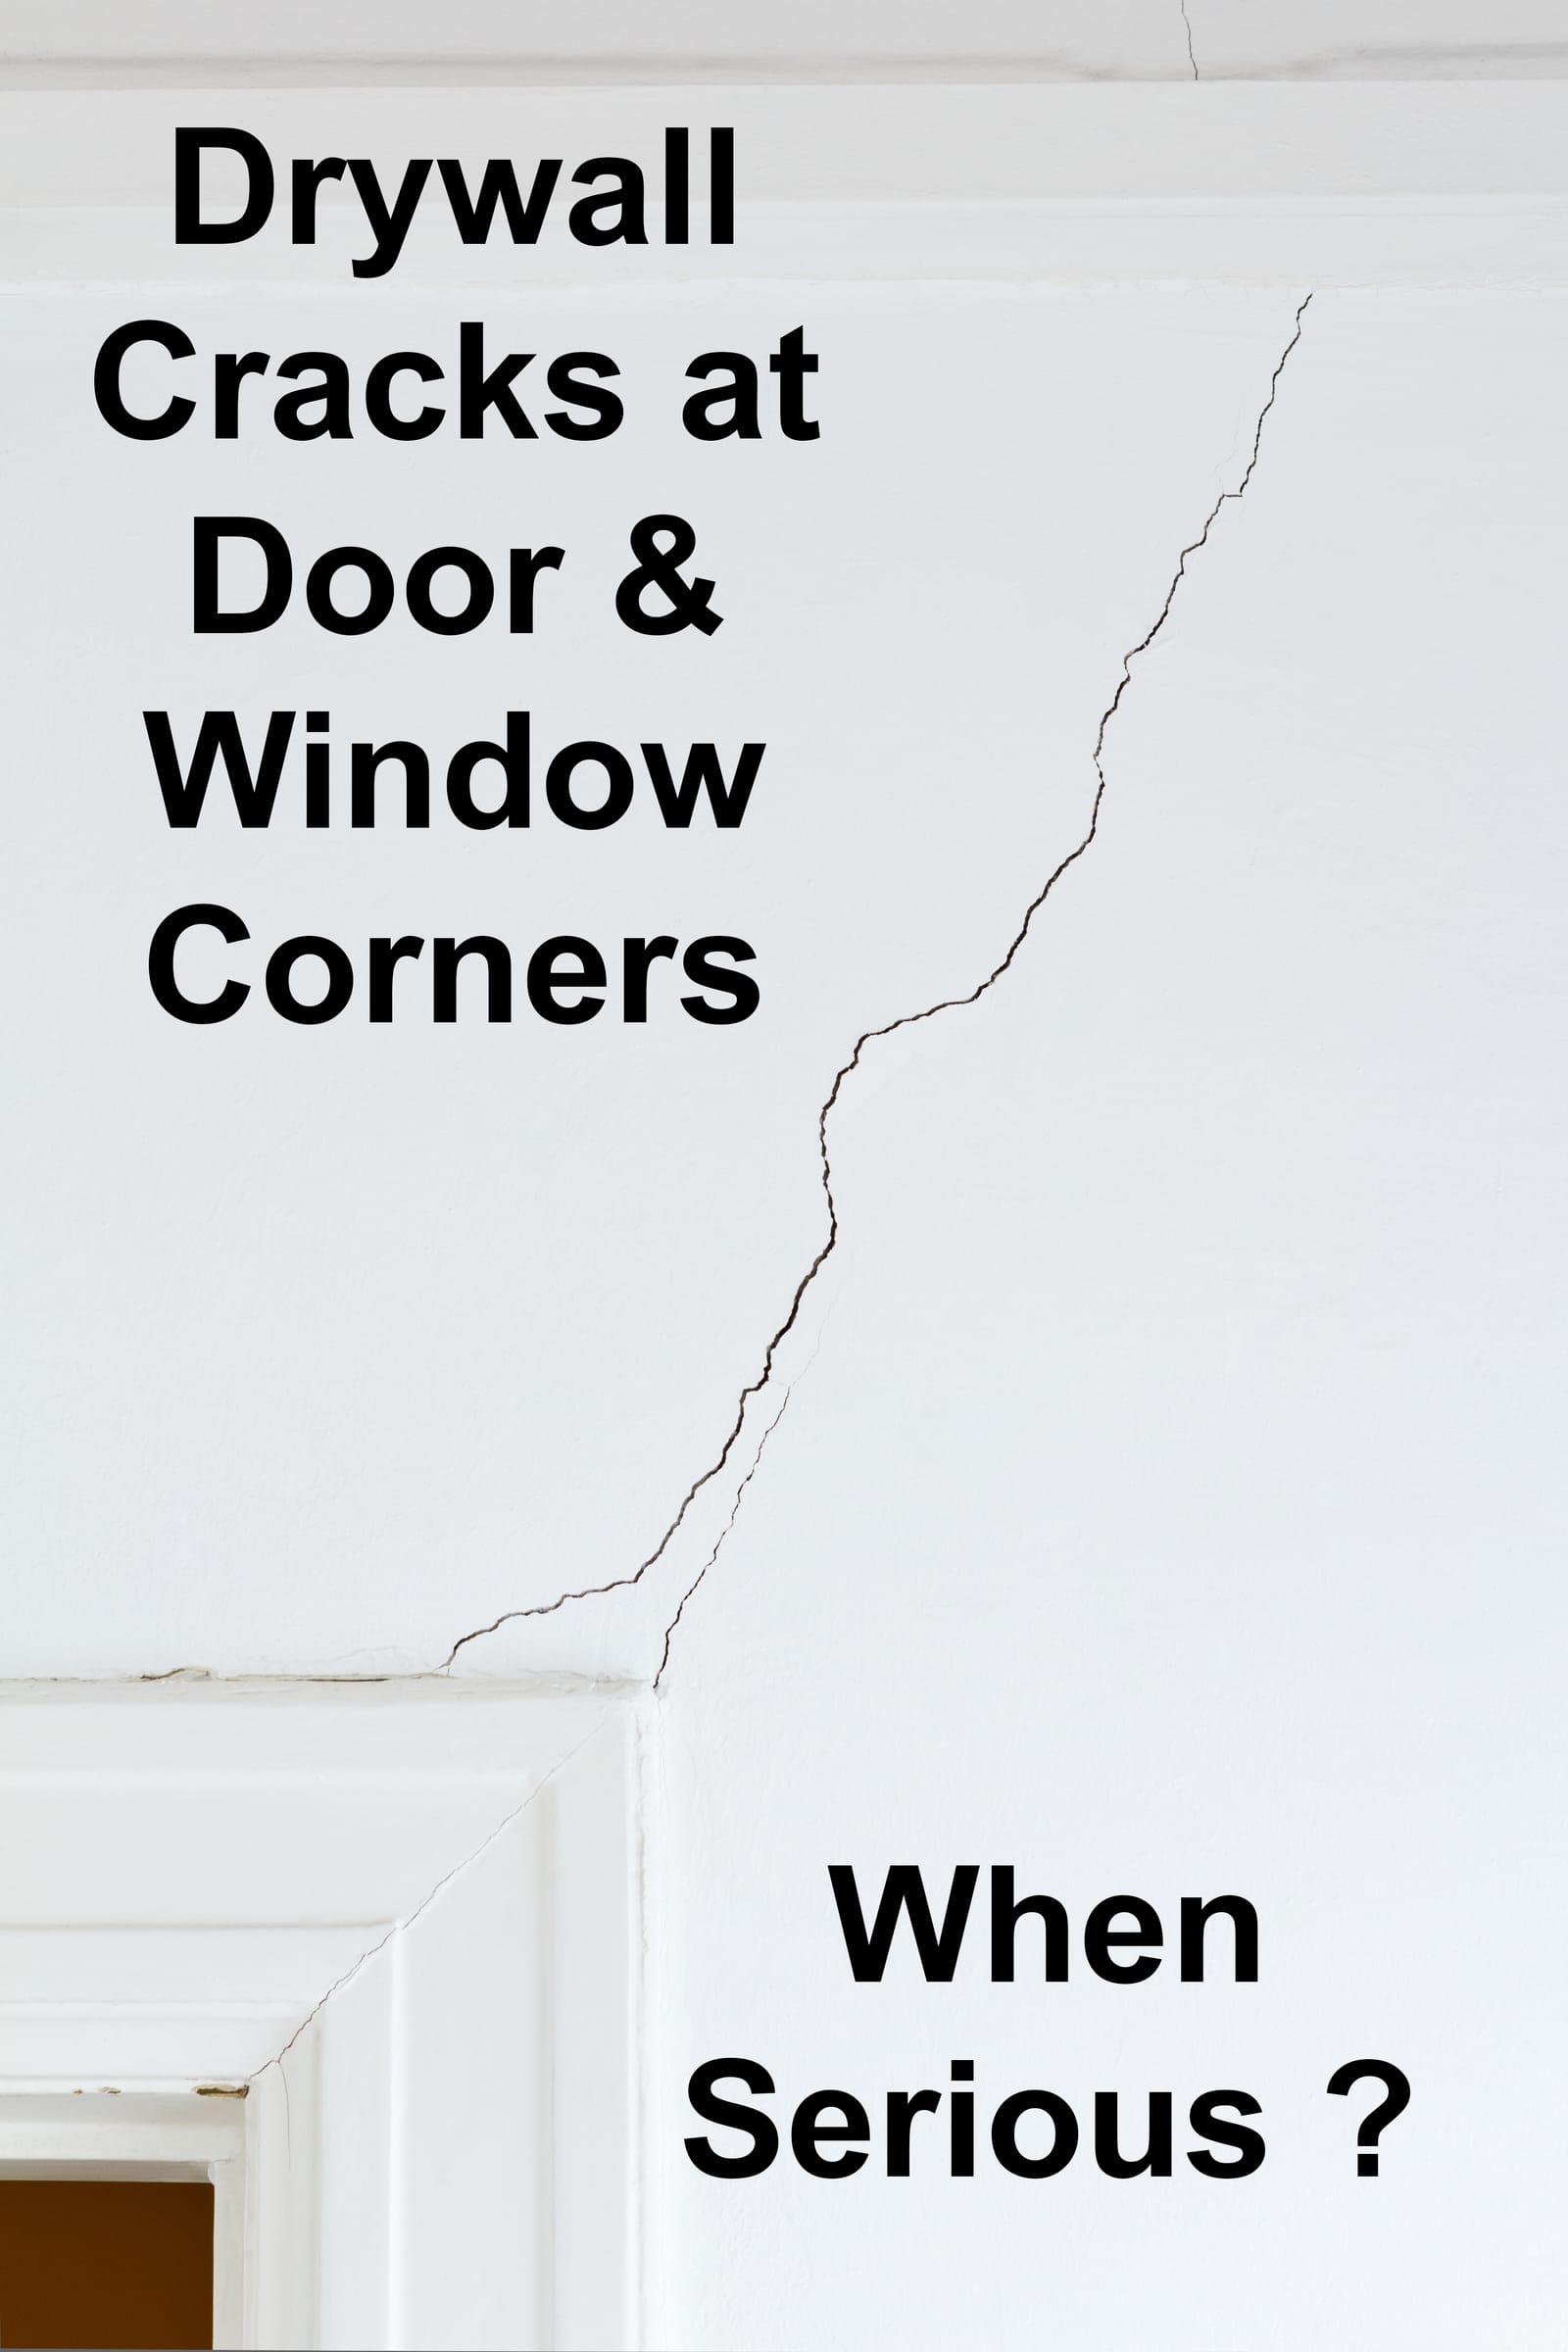
When are drywall cracks at door and window corners NOT normal or cosmetic?
Essential information to keep your home and family safe.
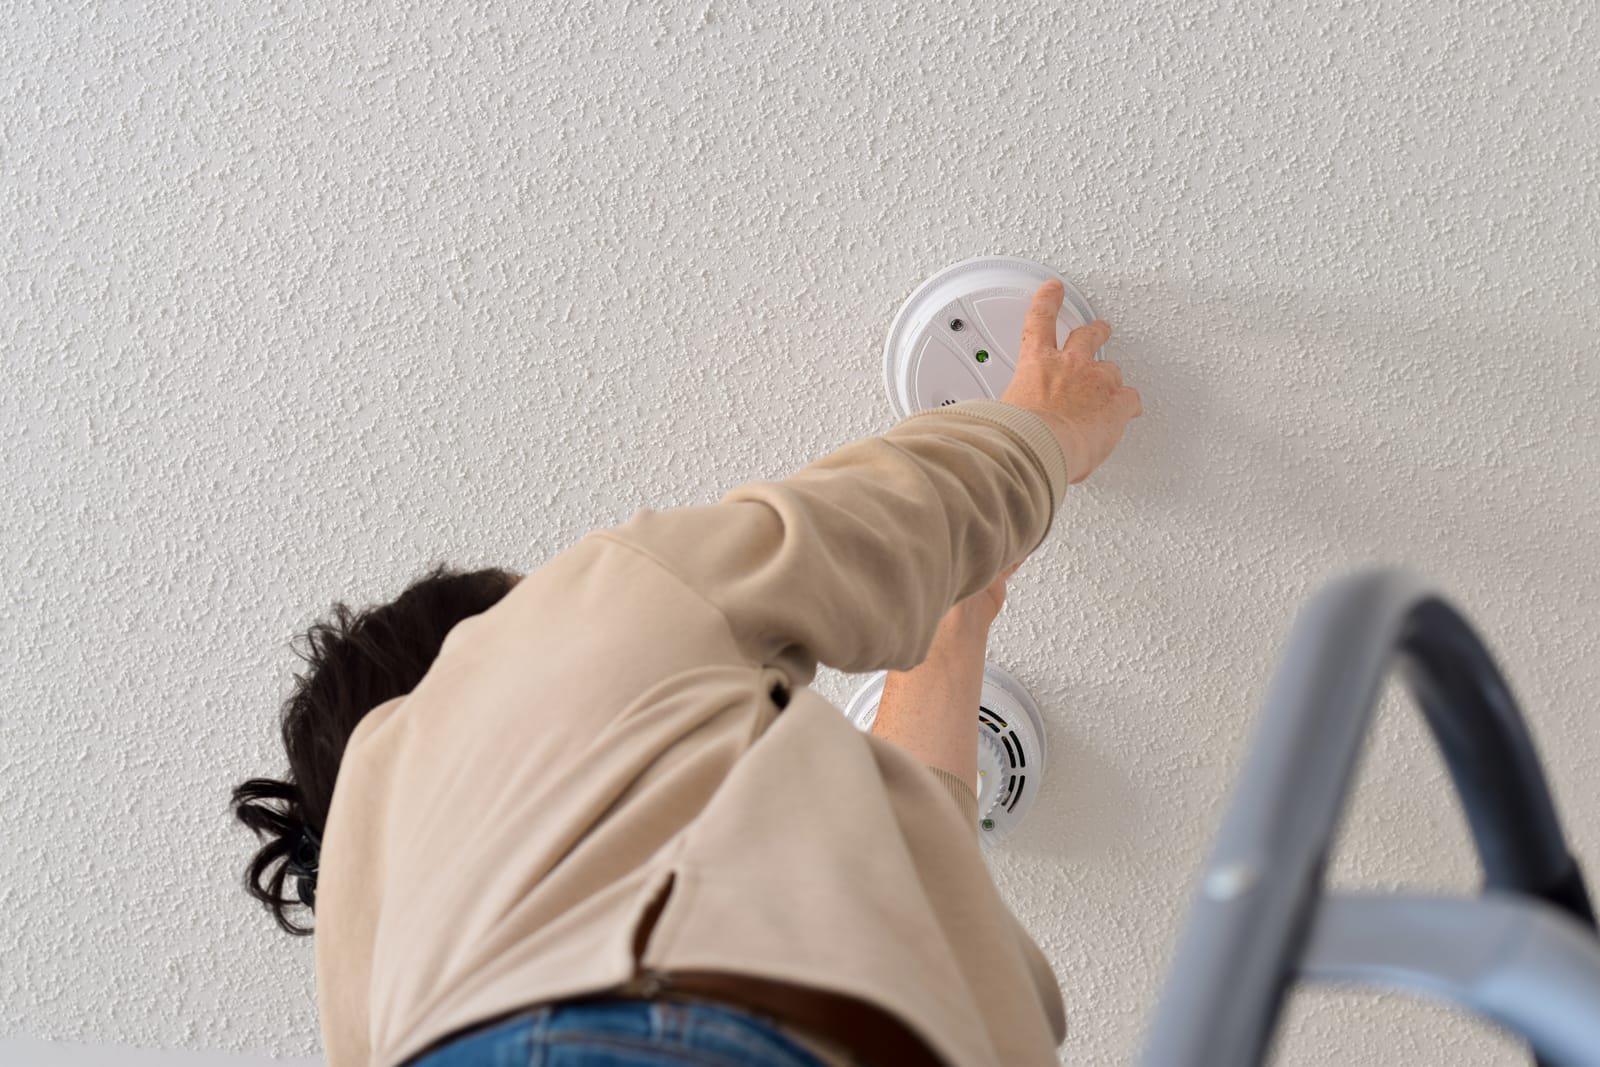
Smoke alarms that are put in the wrong locations may fail. Know where to and not to put your smoke alarms.

How to discover if your home has asbestos in it.

Millions of homes still have it.

Knowing where to put a Carbon Monoxide detector may save your family's life. Is one in the garage required?
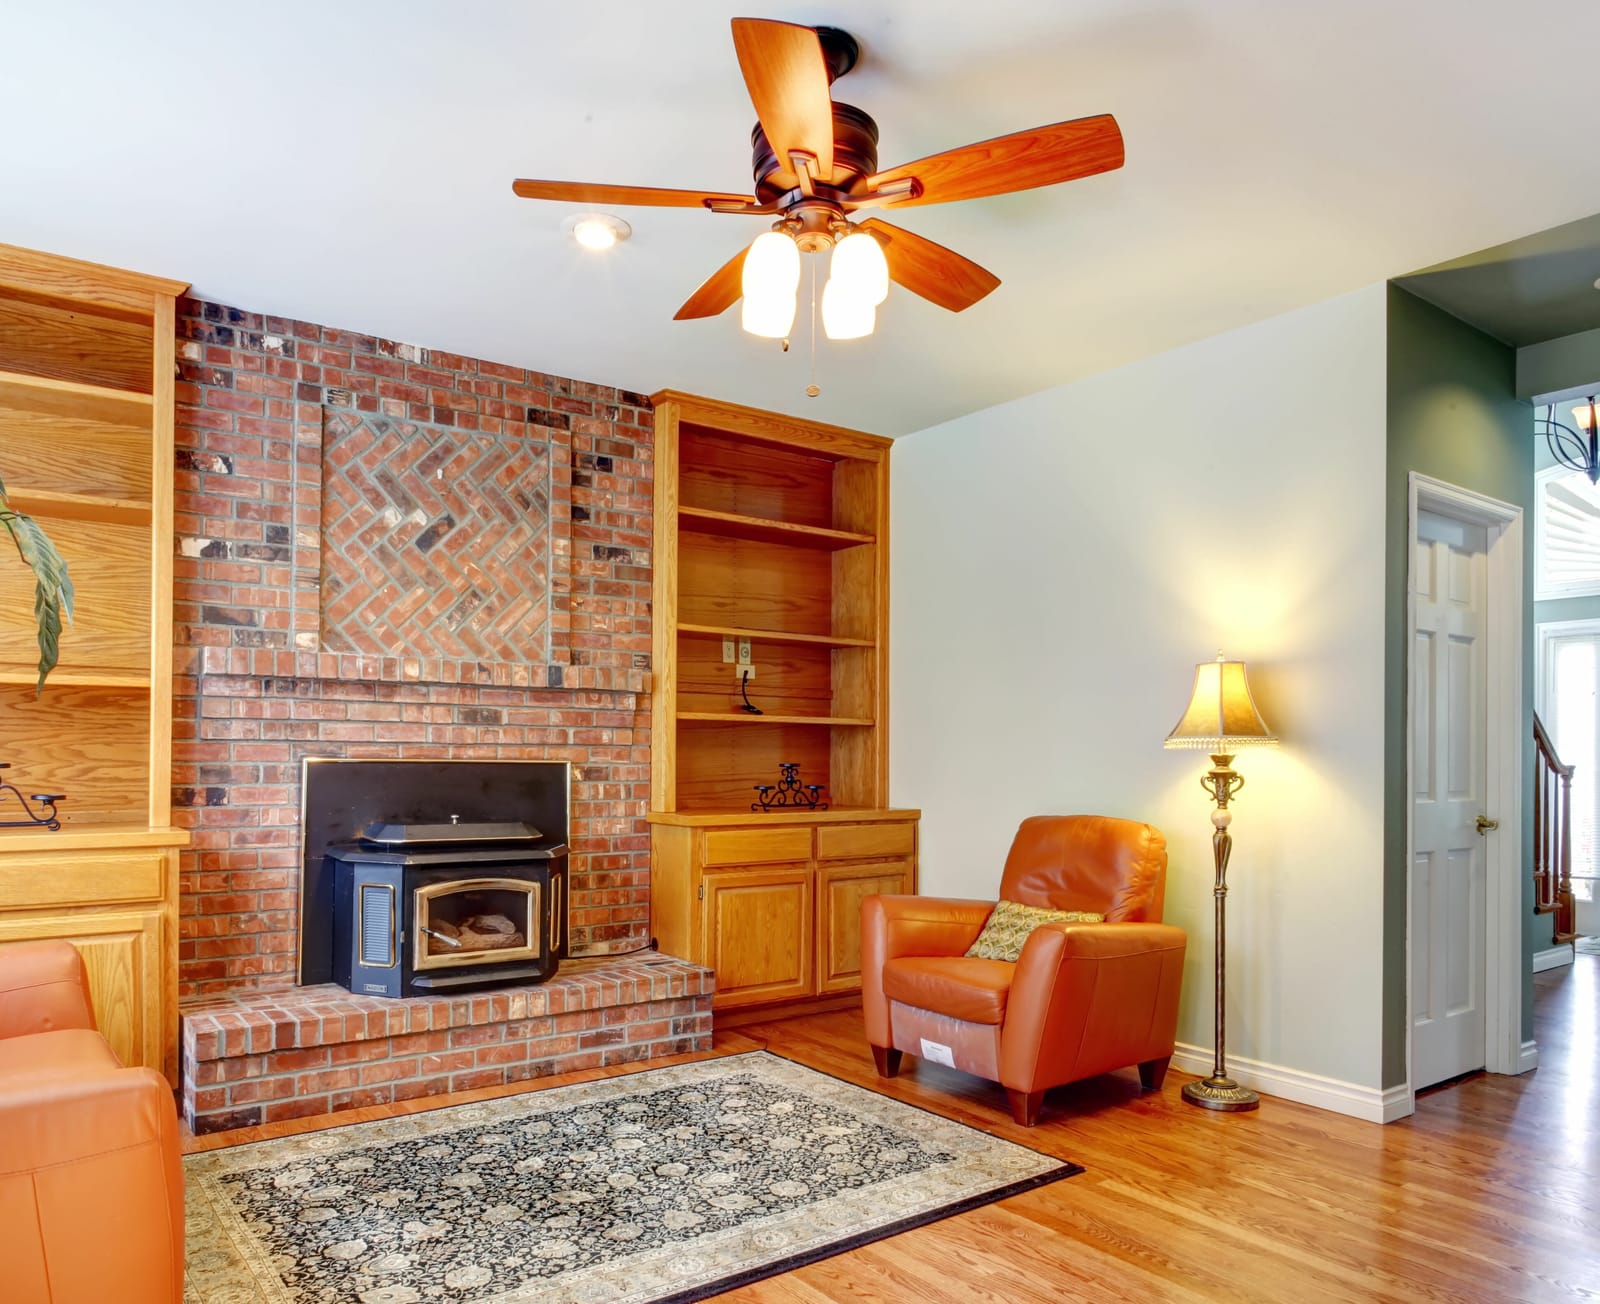
CO alarms put in the wrong place may fail. Check that yours are in the right place.

Regulations for removing "popcorn ceiling materials" depends on whether you're a homeowner or a contractor. Know them before you start.

Be pro-active and discover problems with the main sources of CO poisoning before it's too late. Remember, CO is called the "Silent Killer."

Carbon monoxide is often referred to as a "Silent Killer." Knowing where to put carbon monoxide alarms can save your life.
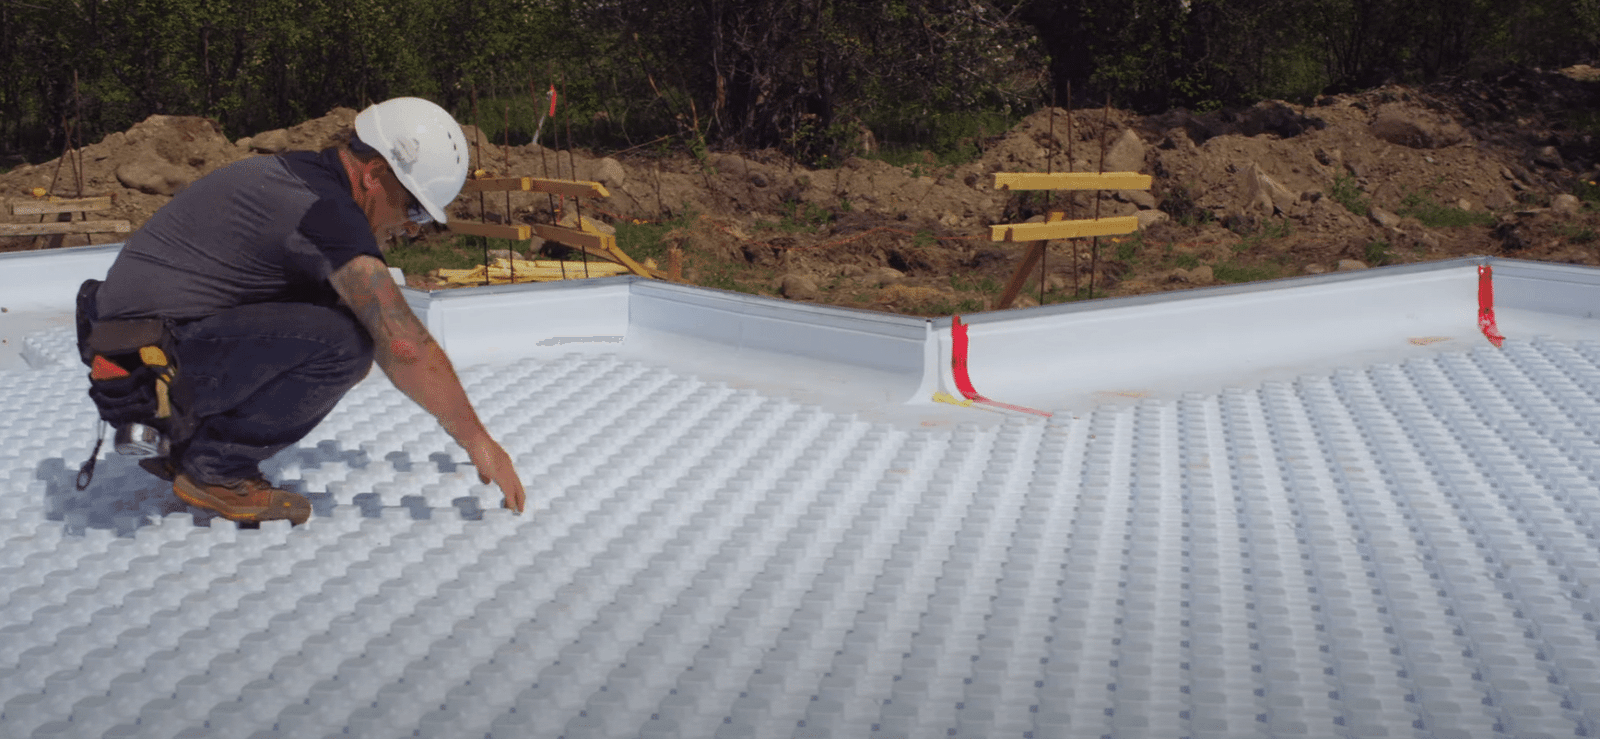
Properly placed foundation insulation can protect homes from costly damage.
READ MORE →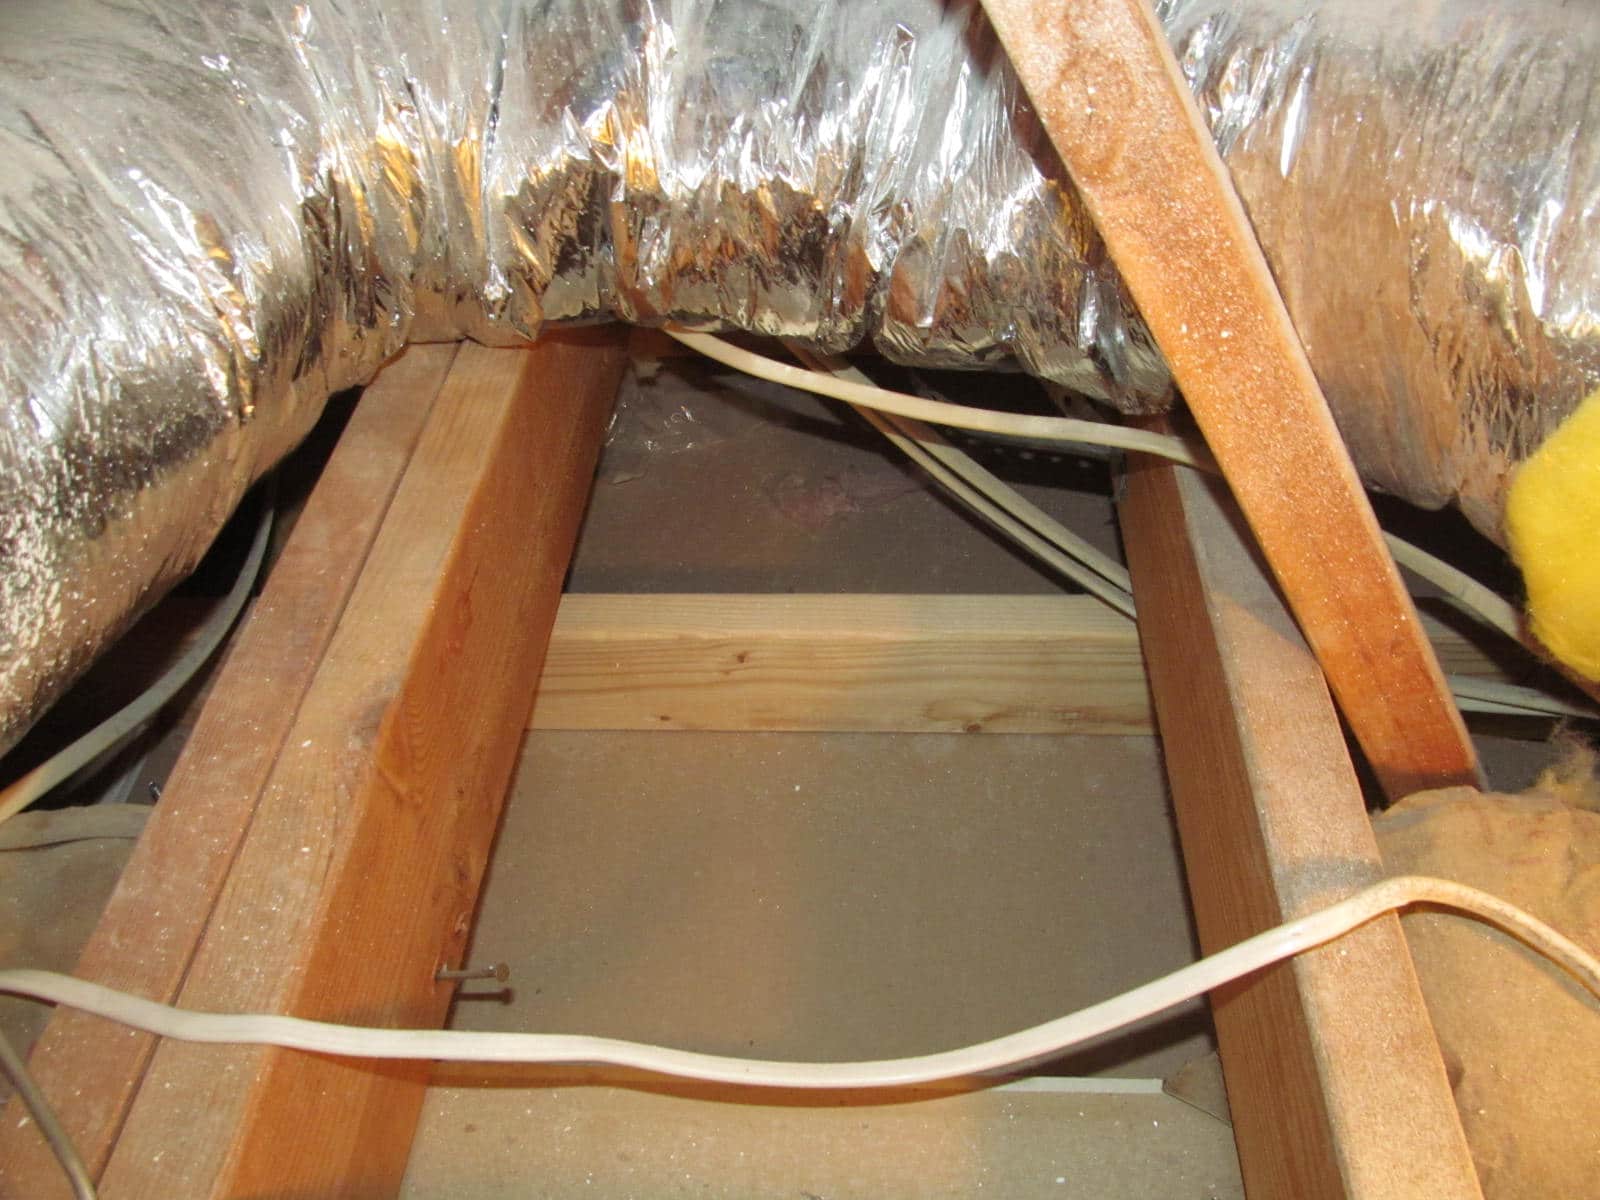
In general insulation is rather safe, but there are a few risks with certain insulations.
READ MORE →
Know which ceiling cracks are serious and which ones are just cosmetic.
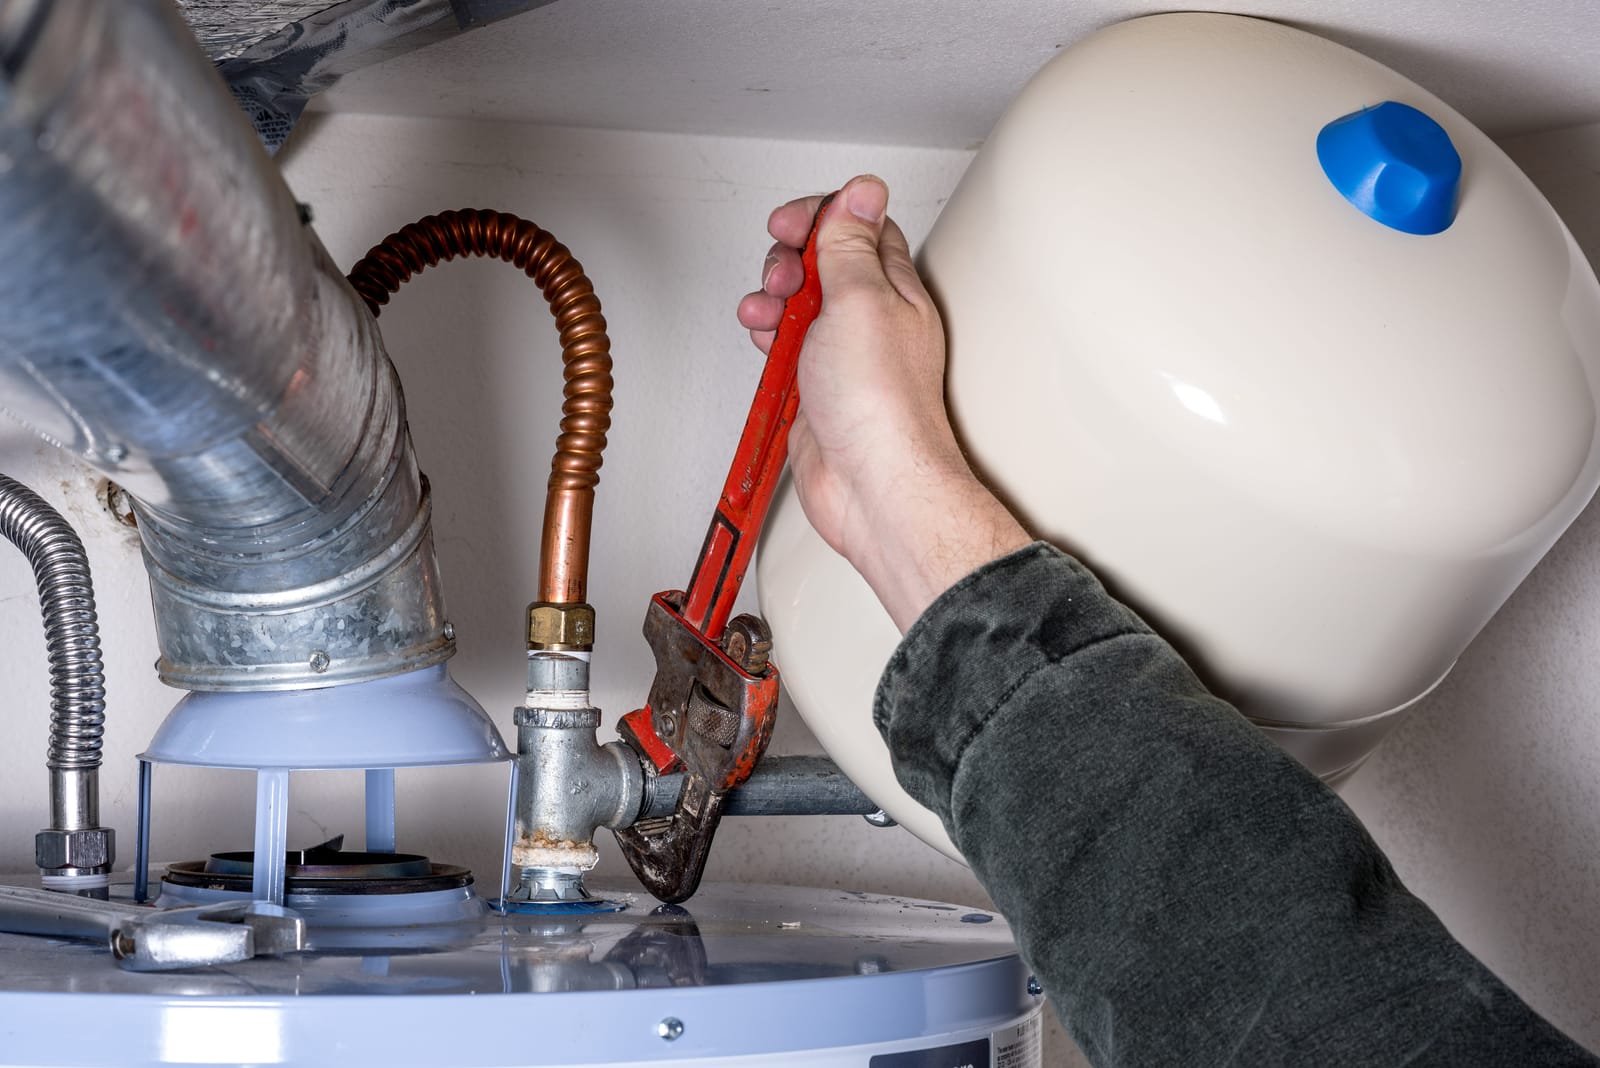
As codes change over time and it's wise to safely install a new water heater,
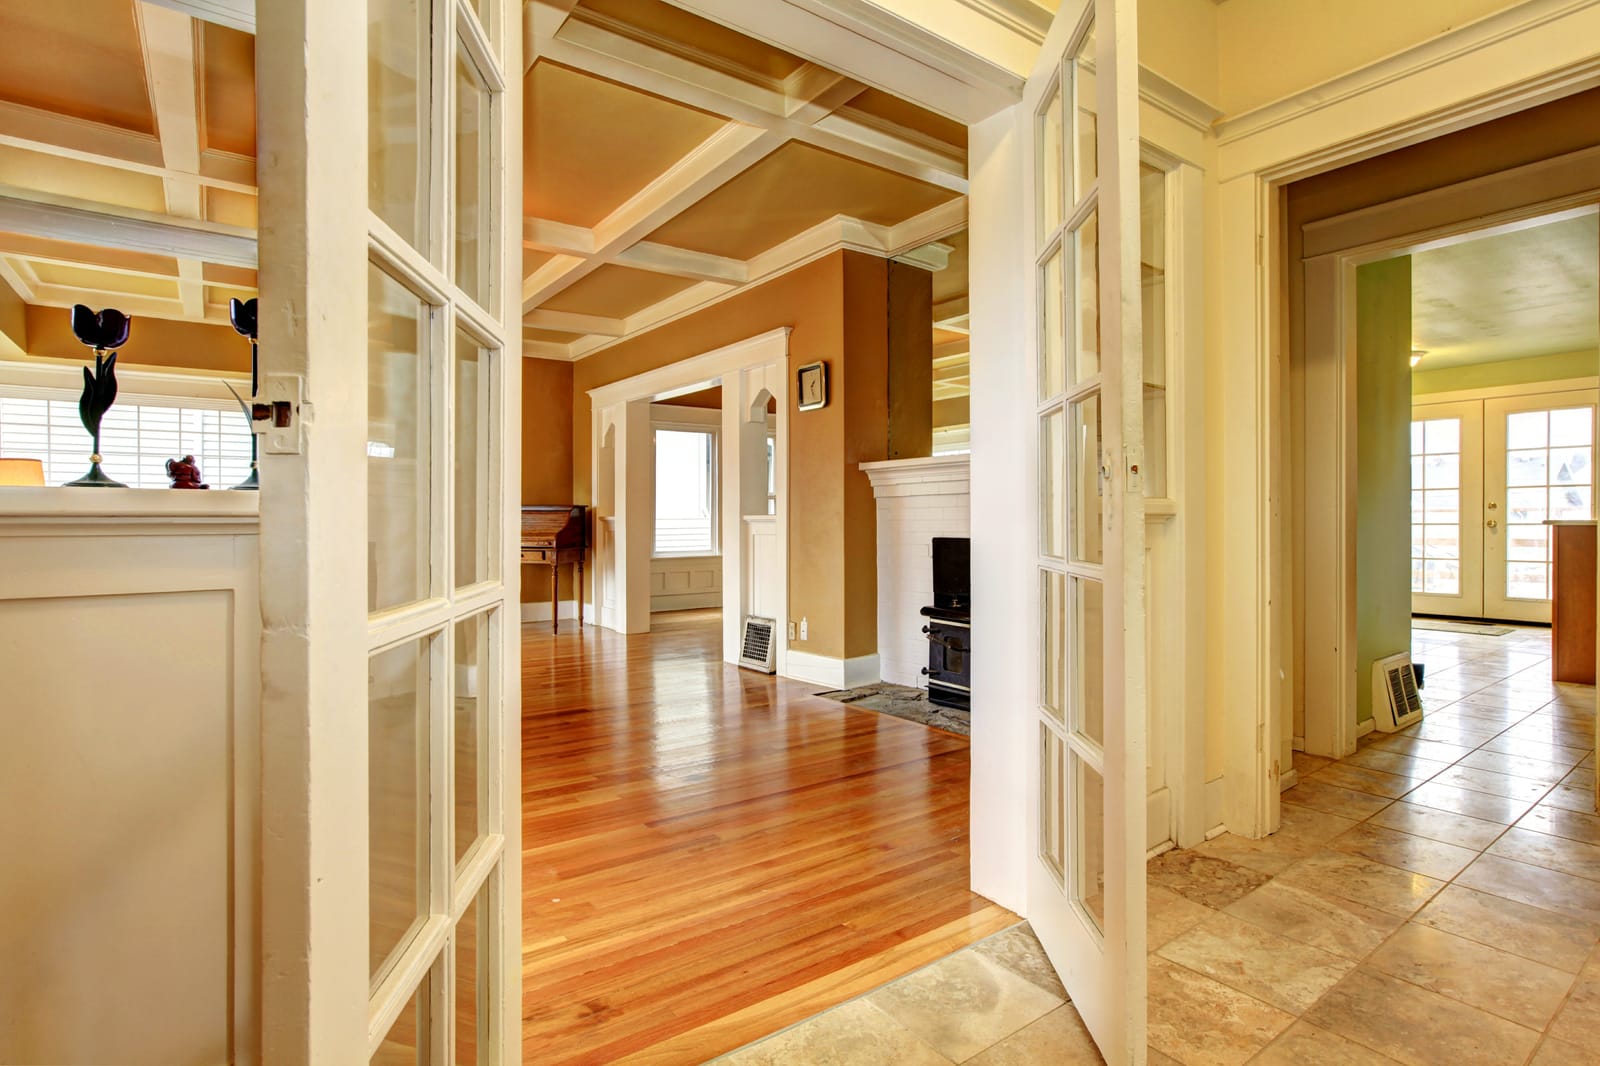
Sloping floors are often one of the warning signs that structural engineers look for when analyzing a house.