How can I properly install a double entry door with brick moulding when faced with stucco barriers and uneven texture?
I initially planned to remove the moulding from a double door entry frame, install it from the inside, and then put the brick moulding on the outside as recommended. But I ran into a couple of roadblocks. The frame would be behind the stucco, which is standard, and the width of the moulding frame was too wide to fit into the opening to meet the door frame. Plus, the heavy texture of the stucco made it difficult for the frame to sit flush against the wall without leaving a gap that would need to be patched.
I tried an alternate method of cutting the stucco to enlarge the opening, which wasn’t too bad, but dealing with the flashing was a challenge.
And the rough stucco texture made it tricky to push the frame with moulding from the outside to get it flush with the interior face of the frame against the wallboard. So now I’m having to cut and add an extension to the frame.
Lesson learned: steer clear of doors with “built-in brick moulding” next time. And thanks for all the input – it really helped me see this situation from different perspectives.
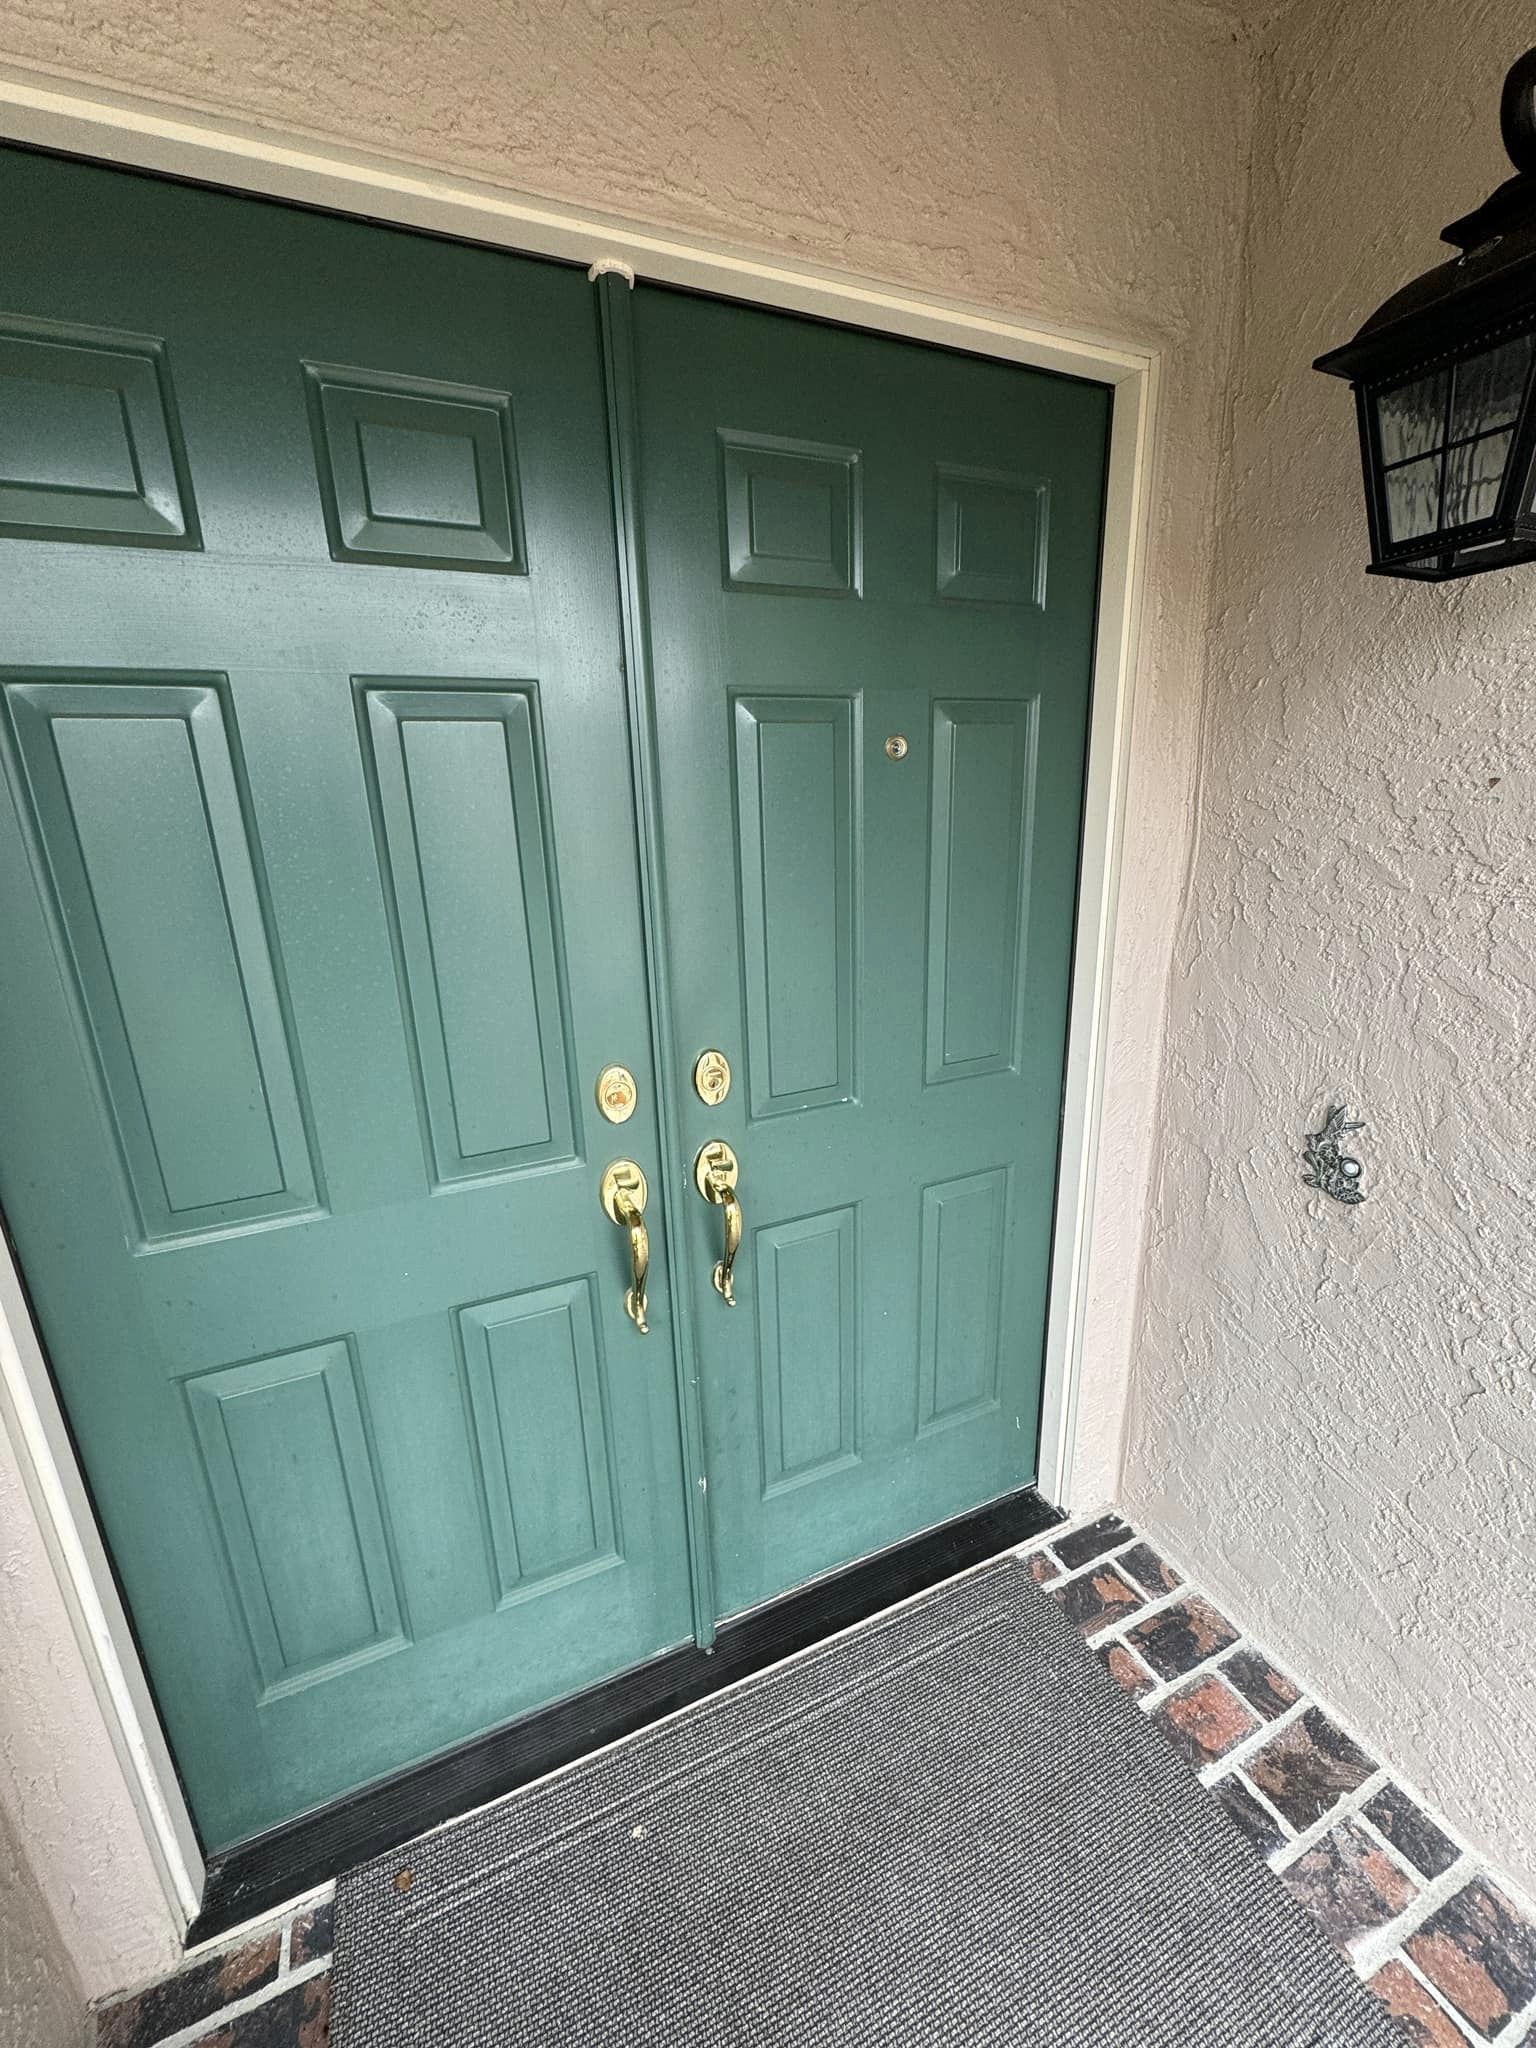
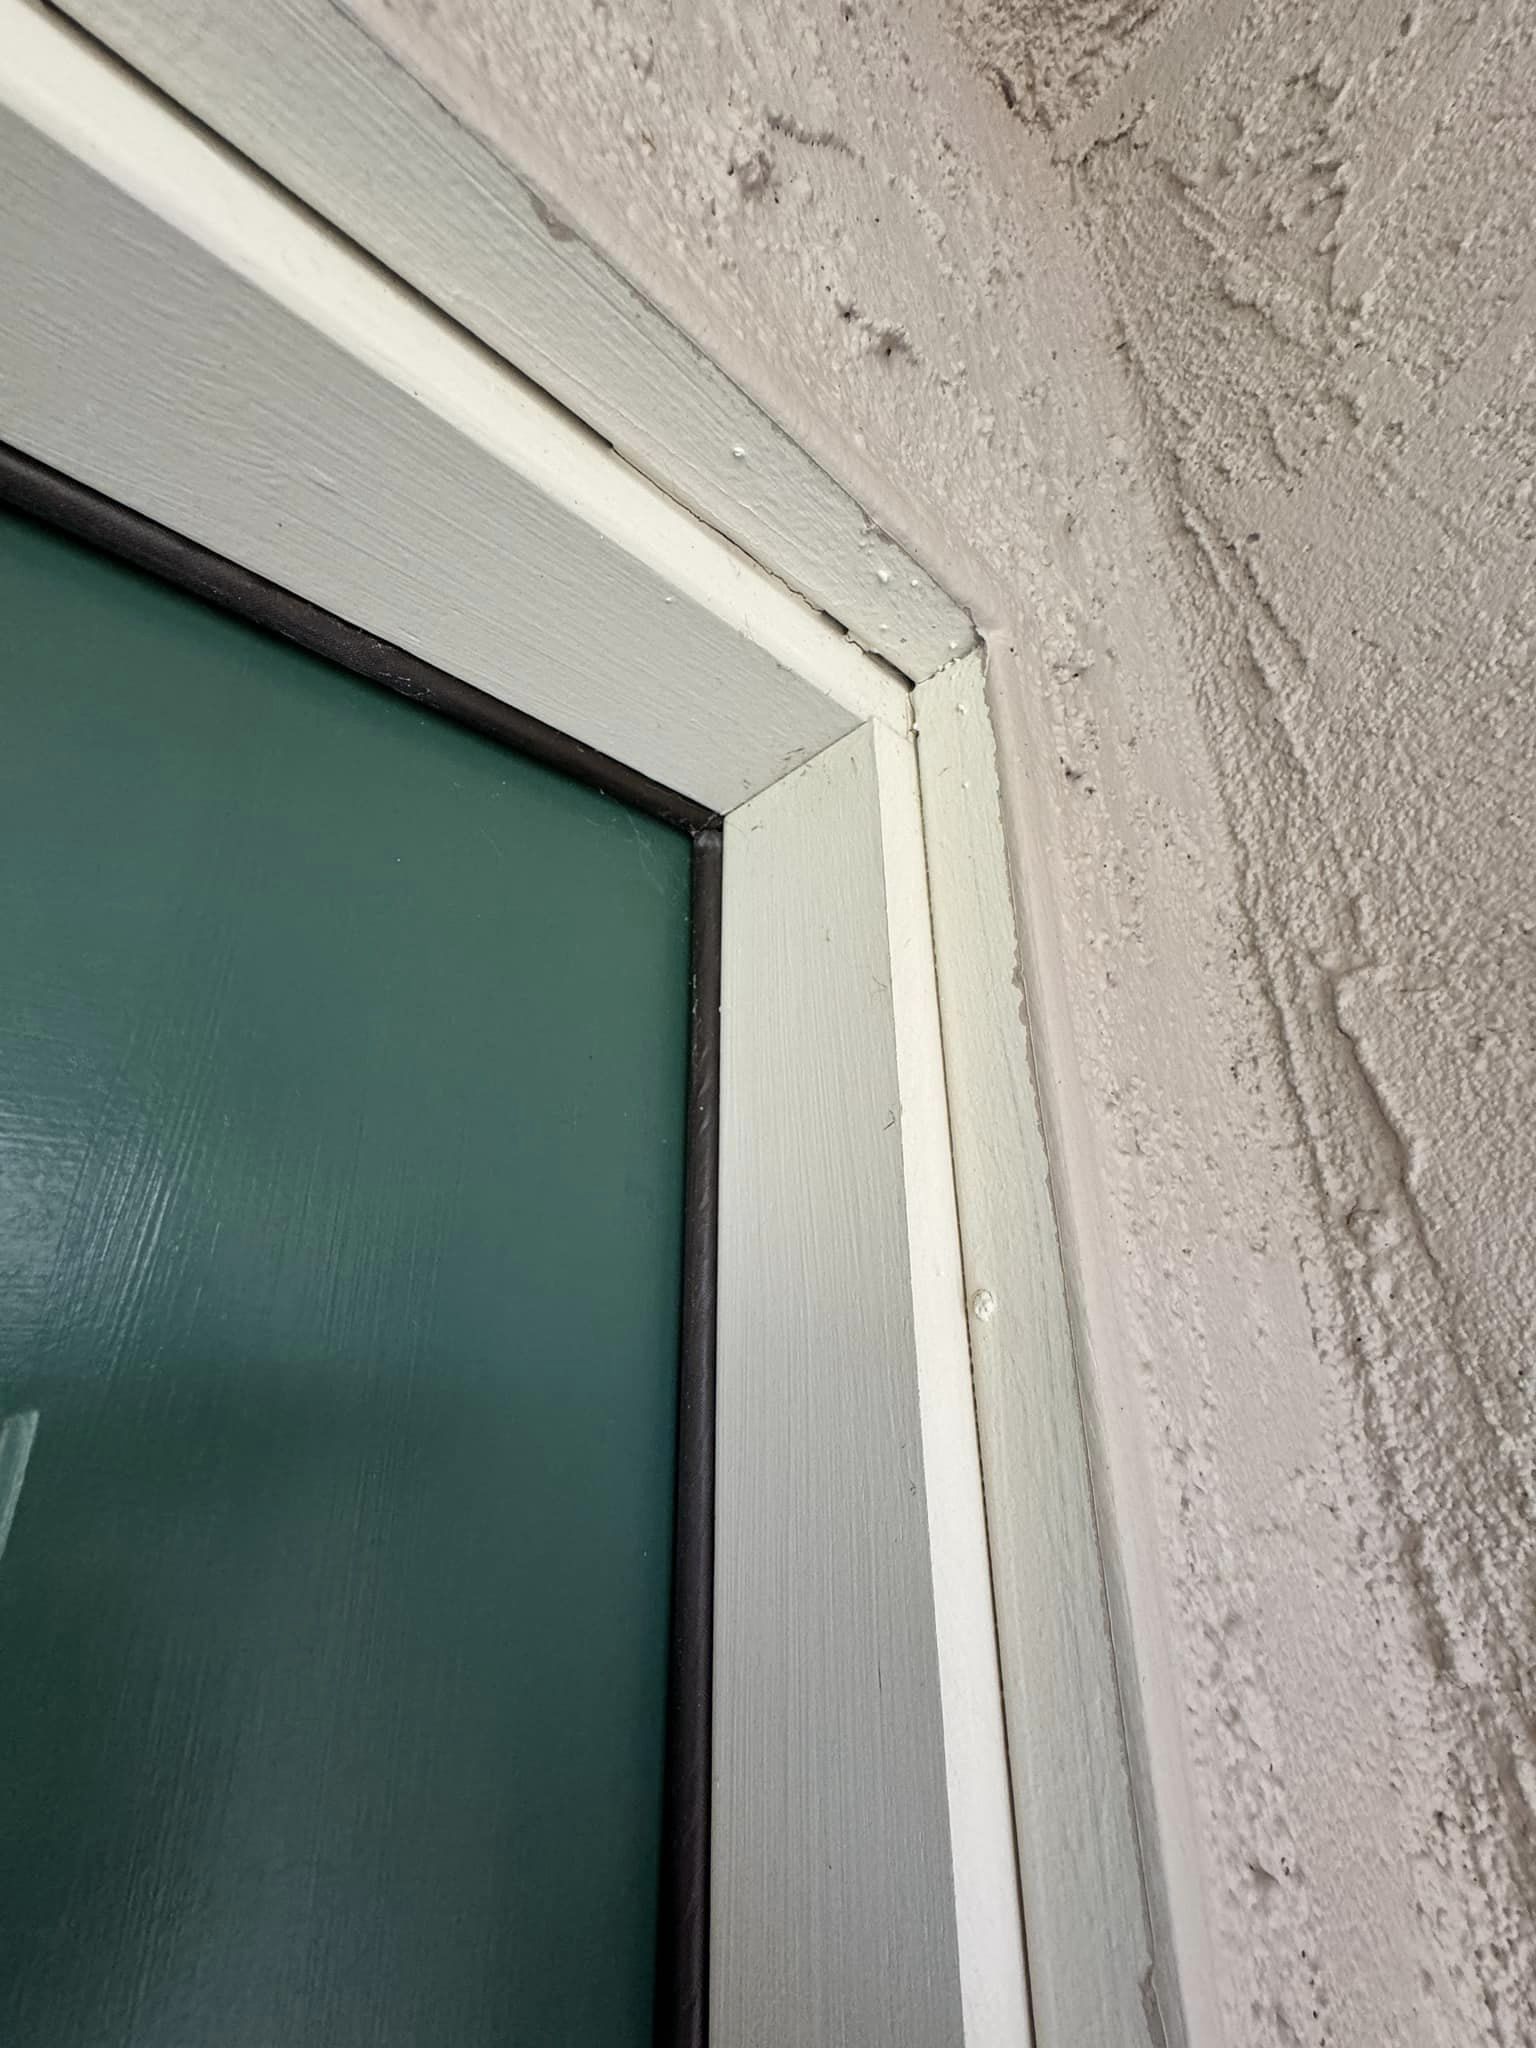
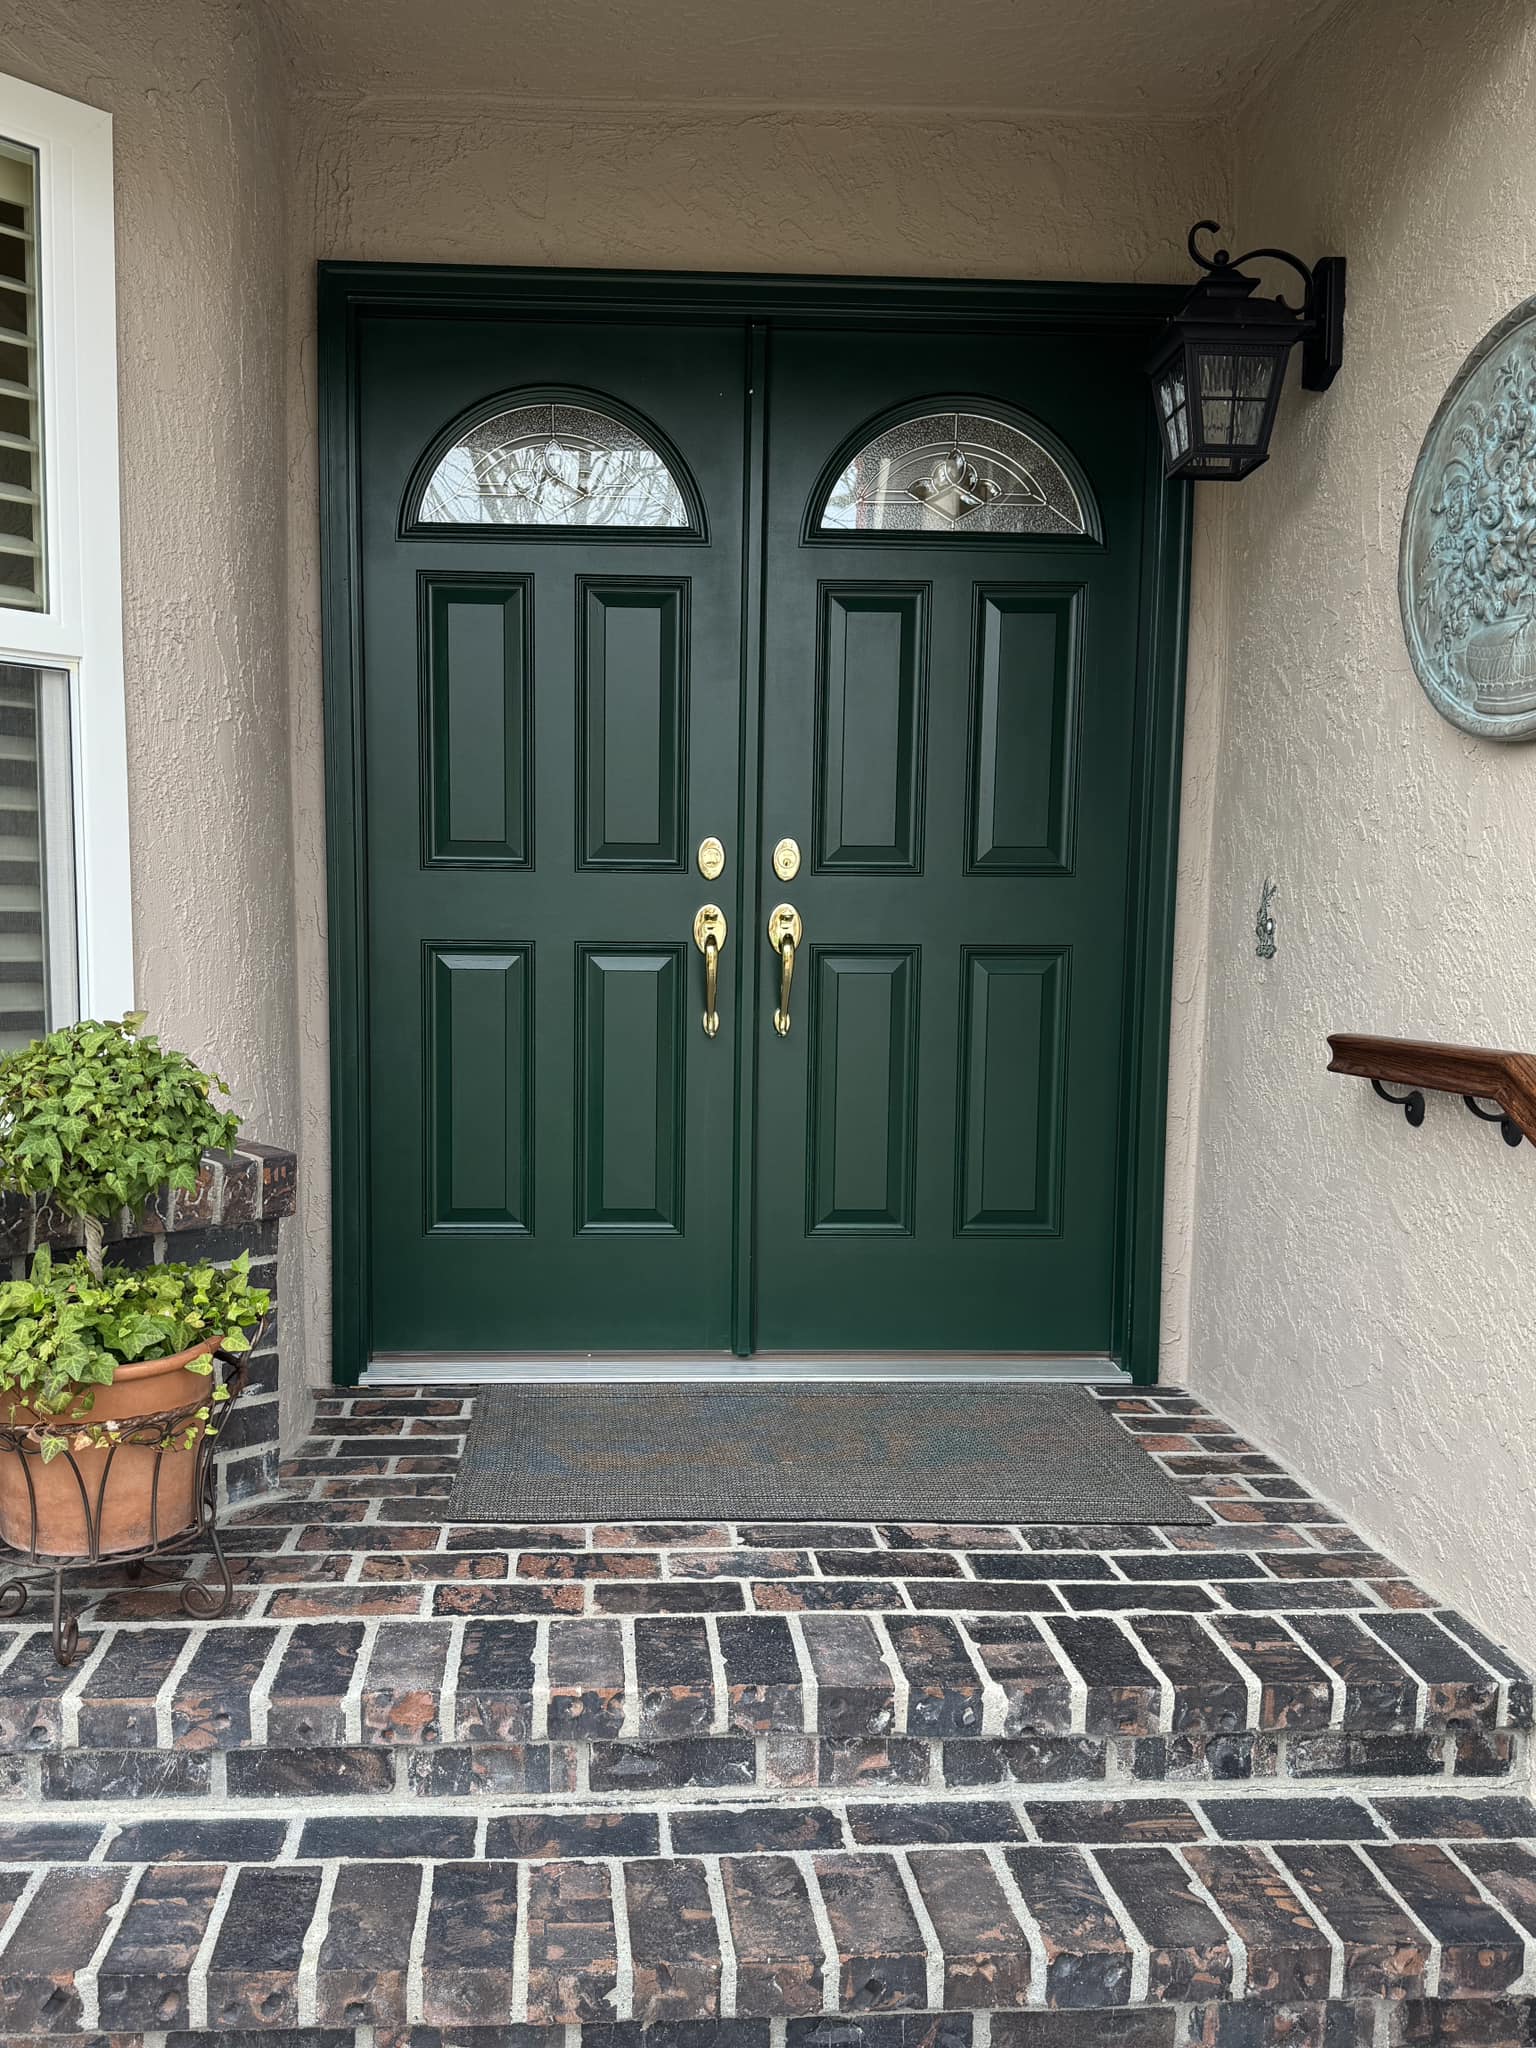
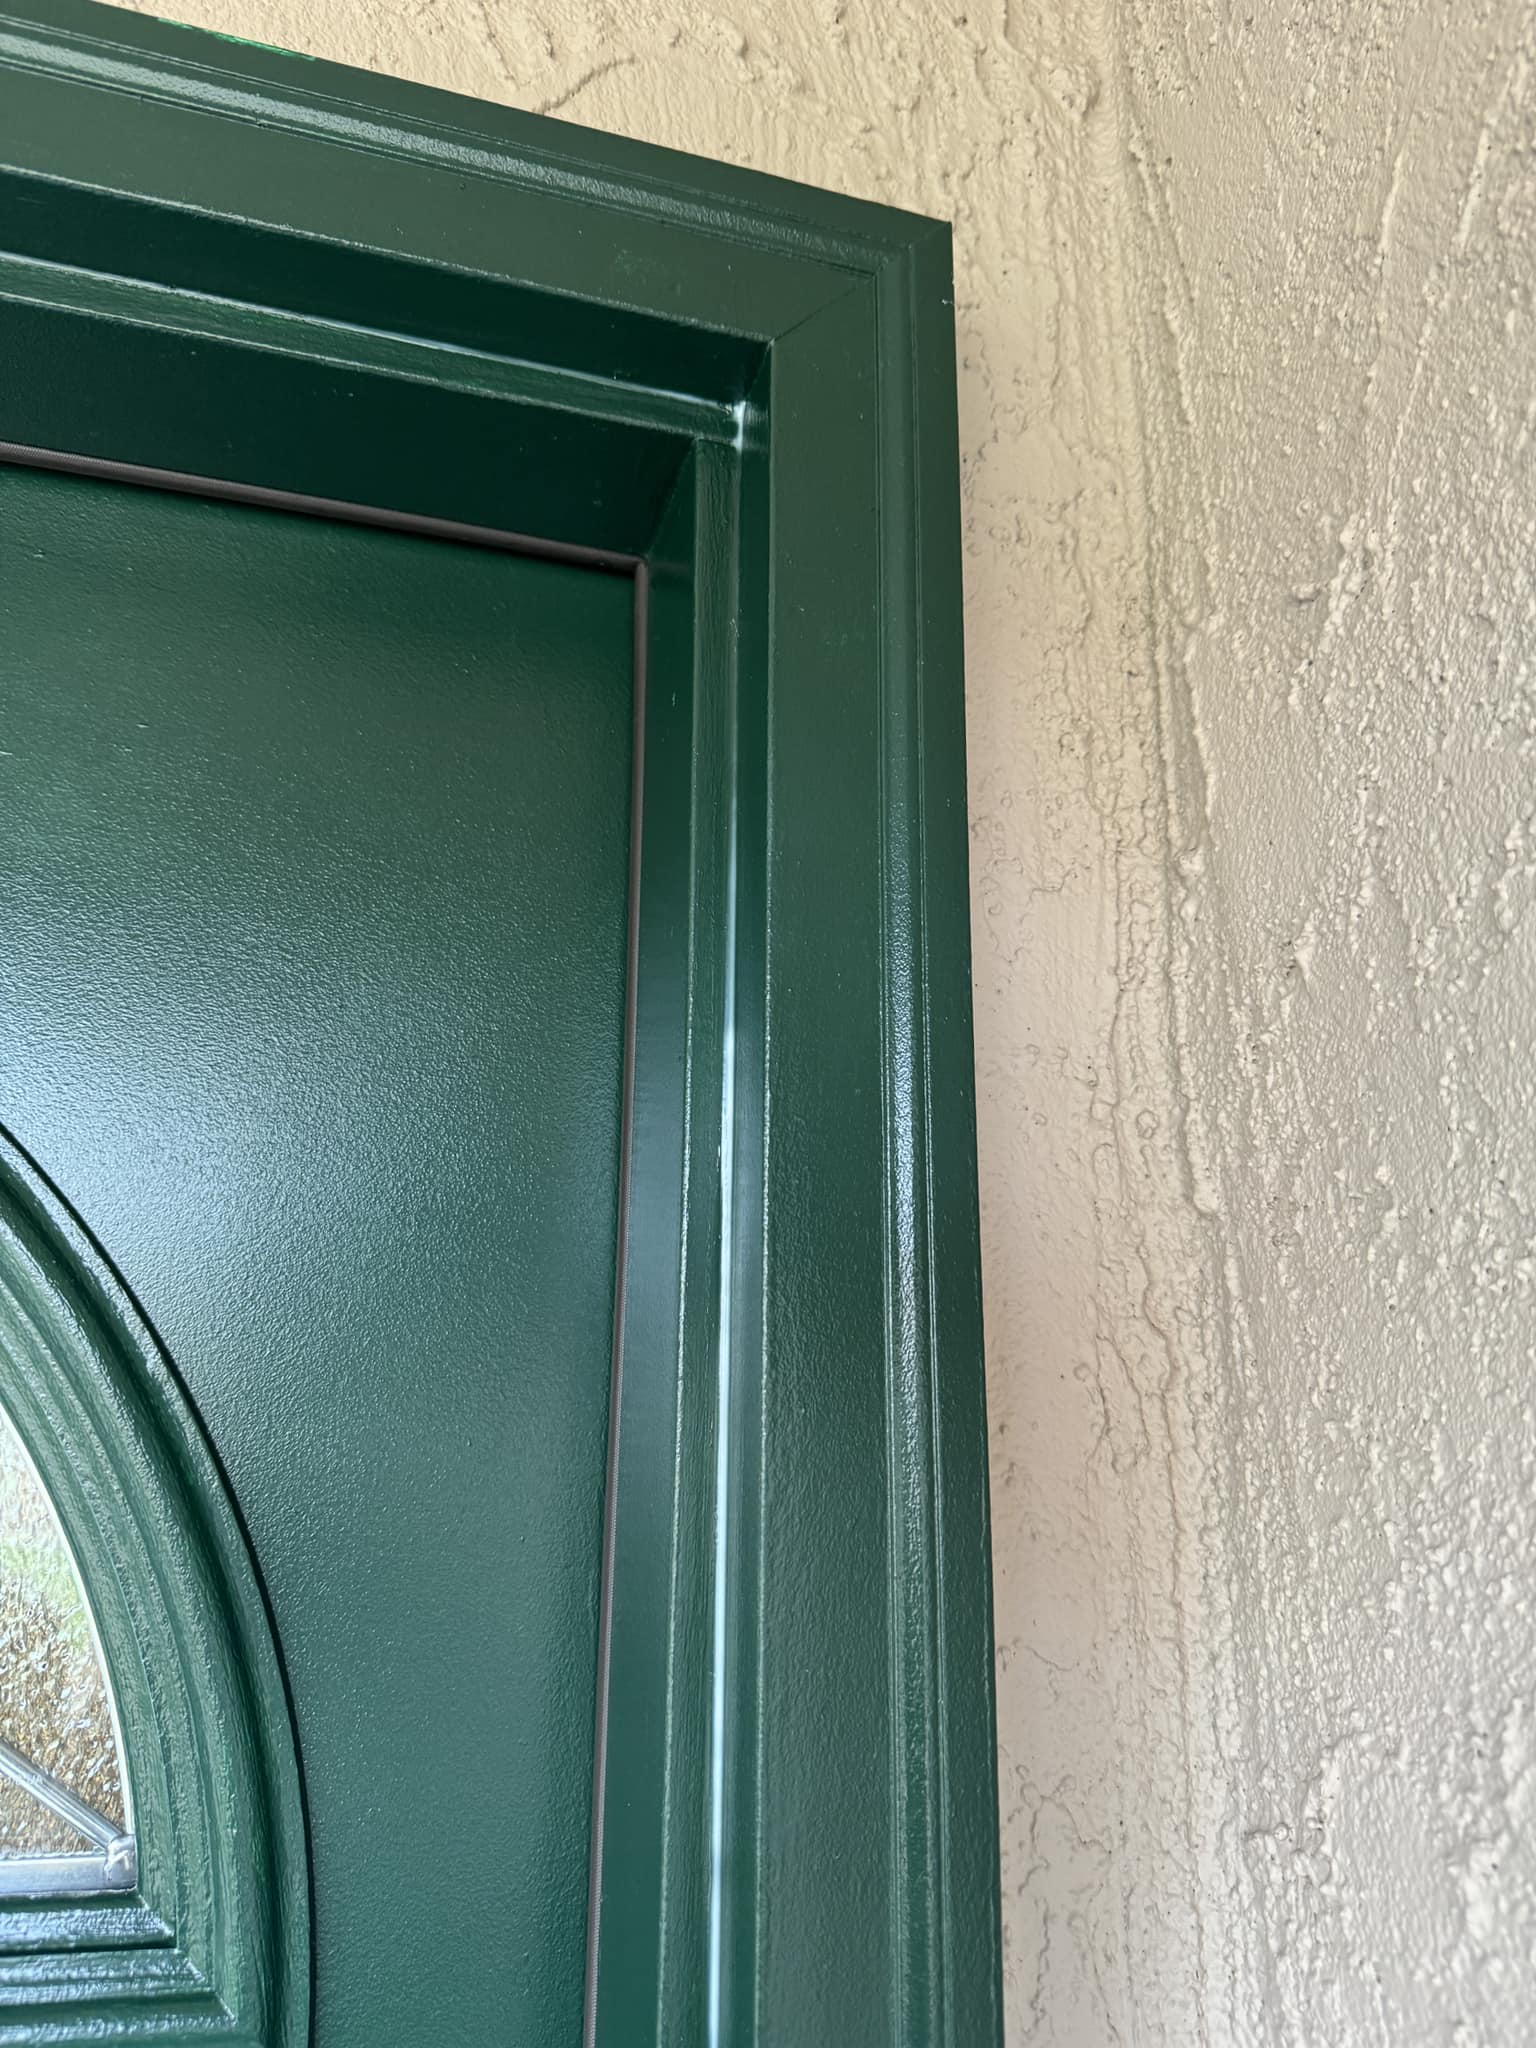
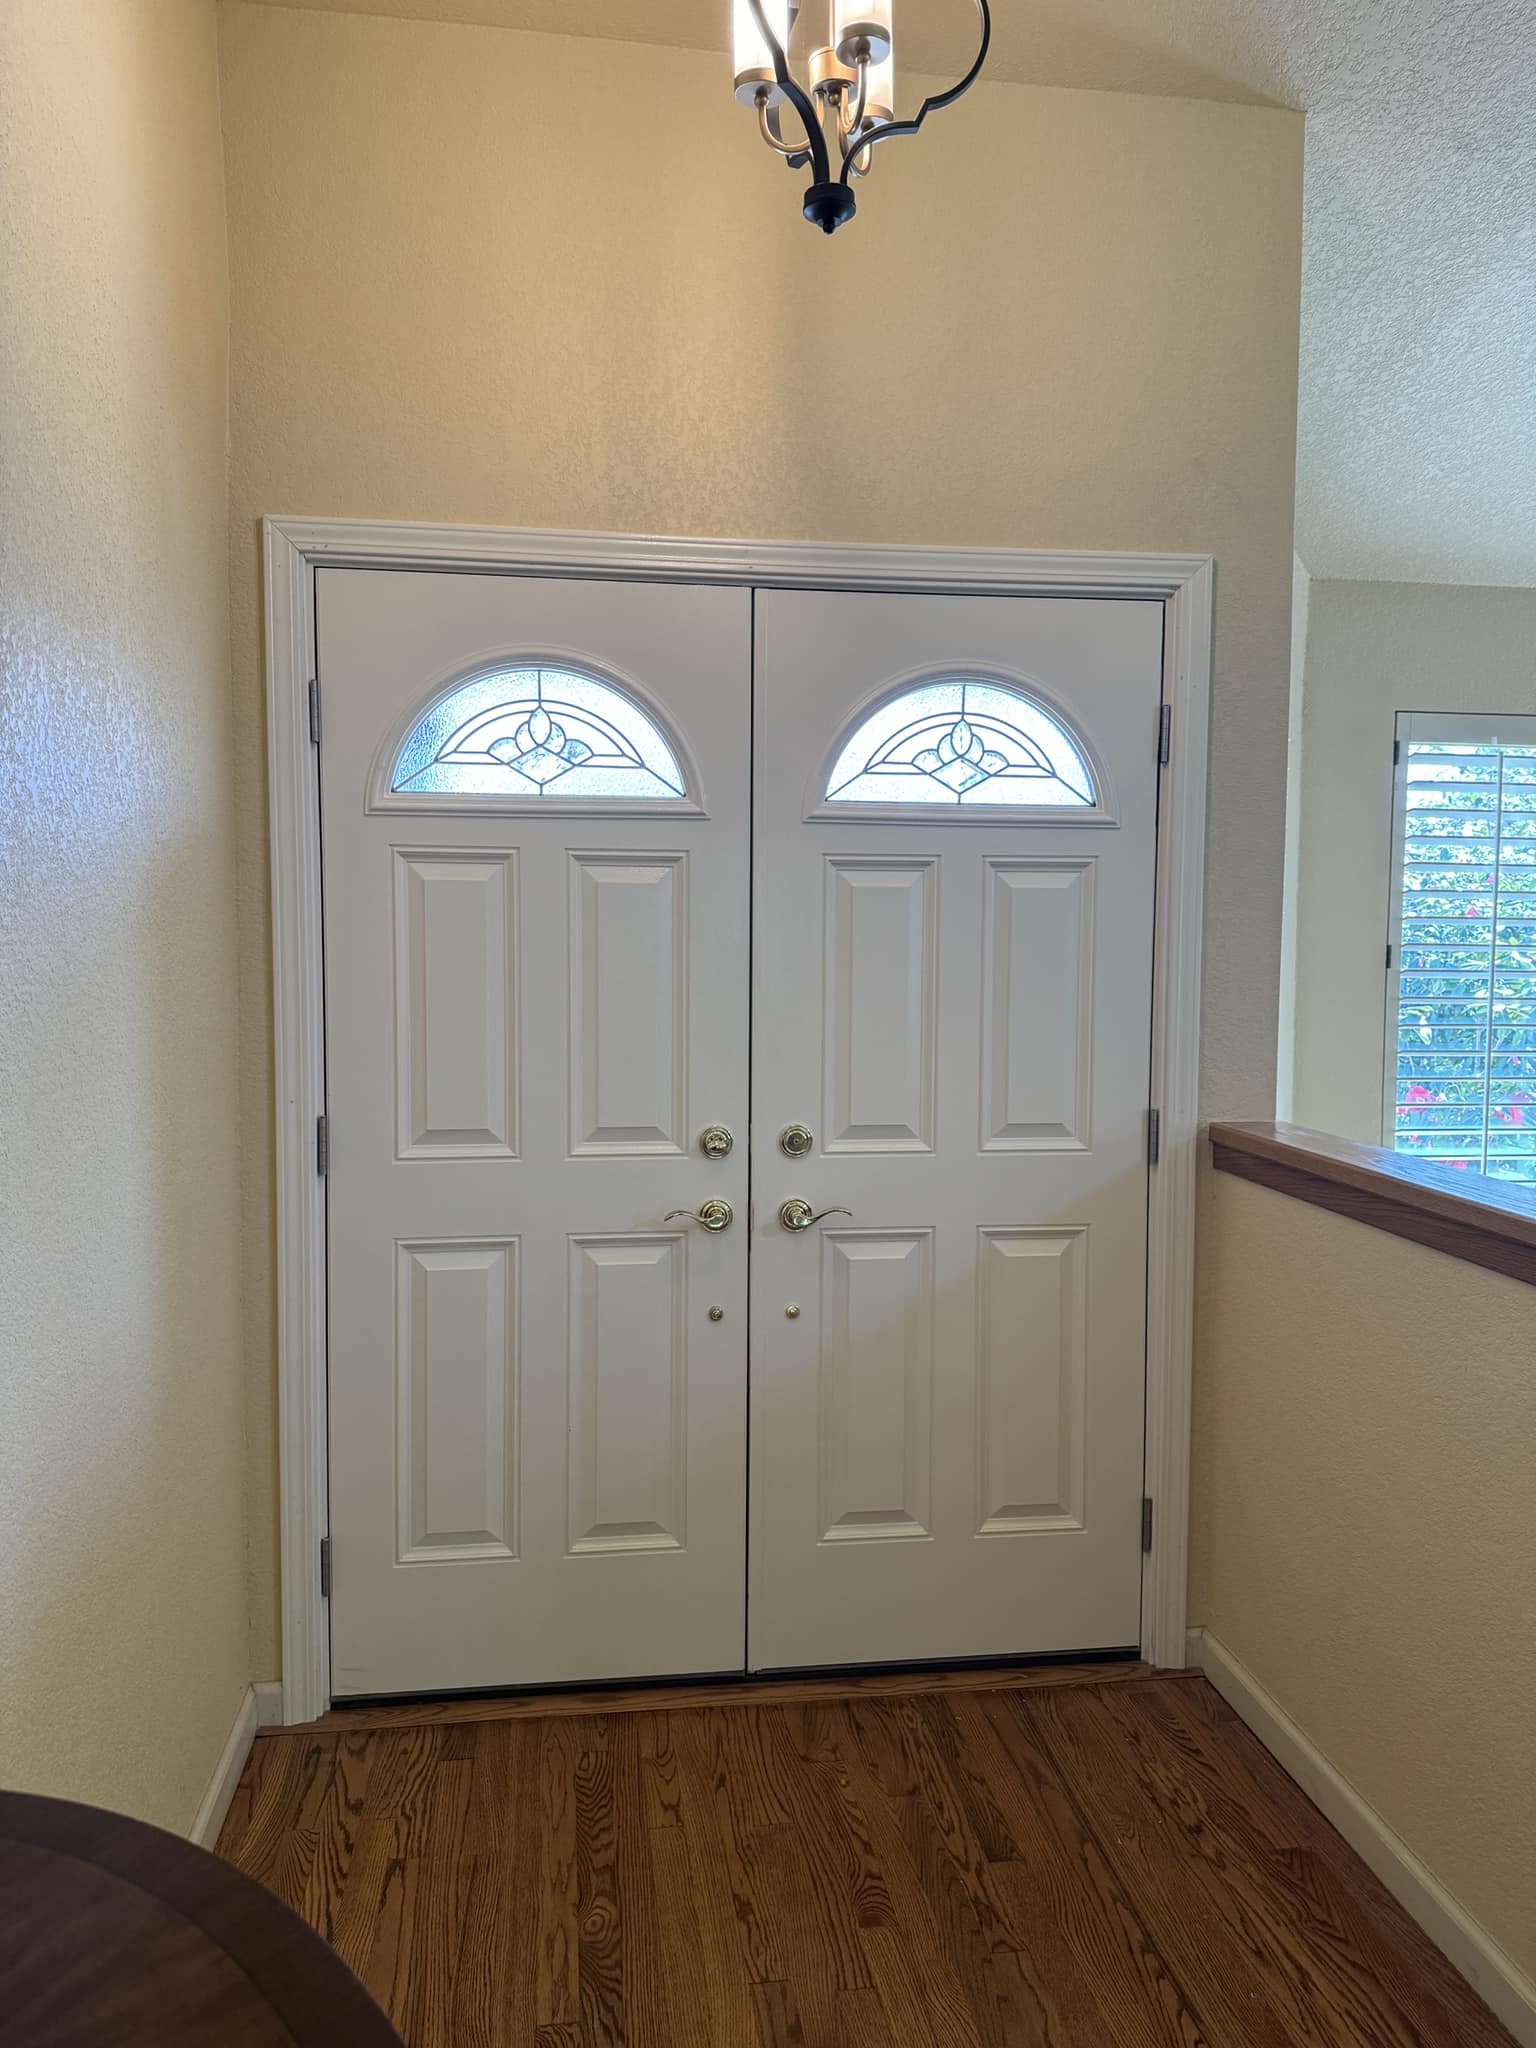
From what I’ve seen, I always remove the brick molding on the outside first, then put it back after the door’s in place. A flat bar can usually slide under it from the bottom, then you work it around the frame until it comes off. Bend the pin nails back and forth until they snap off even with the wood on the back of the molding – trying to pull them out often damages the front. Once the brick mold is back on, just caulk, paint, and you’re finished. Best of luck!
Oh, that’s a great alternative! No need to deal with dust from sawing stucco and still upgrade with molding. – worth a shot if you can remove it from the frame without damaging it!
William Advises It’s best to remove the brick mold in that scenario and install from the inside. It’s much easier than attempting to cut and patch stucco, with way less mess to clean up and less risk of silicosis. Once the door is installed, you can trim the outer edge of your brick mold to fit by cutting it on a table saw with a finish cut blade. Remember to caulk the outside edge post-installation. Sometimes they fit perfectly, but that’s rare for older houses. Each job is unique but follows similar steps.
You don’t need to dismantle the frame, just remove the brick molding on the outside. Then insert the door into the hole from the inside. Take off the trim from the interior and measure the opening beyond the frame, both horizontally and vertically. There should be a minimum of 1/4″ to 1/2′ of space around the door, depending on the levelness of the opening. Essentially, ensure the opening is at least 1/4″ to 1/2″ larger than the new door casing. Slide the door in, use shims to space and level it evenly. If the header and sides are level, the rest should be smooth. Secure the nails or screws where the shims are placed to maintain evenness and levelness. I usually use screws and alternate corners during installation, driving them in 3/4 of the way and then tightening them gradually, one at a time, ensuring it remains level throughout. If the casing doesn’t fit from the inside, it won’t fit from the outside either. Make sure you have the correct door size before fully removing the old one. Otherwise, you might end up spending more time, money, and needing expensive equipment like a sawzall and diamond blades. Overall, it’s a fairly simple job as long as you have the right measurements for the new door. Hopefully, this advice is helpful.
I’m crossing my fingers that I won’t need to trim it, at least not on the visible sides. The material is a tough, brittle composite with a smooth, shiny surface.
The acrylic paint I applied didn’t provide good coverage until the fourth coat.
Thanks for explaining the entire installation process. I appreciate you taking the time to share.
A couple of weeks back, I managed to install a side entry door for my garage. I skipped the corner fasteners initially based on the instructions to secure the hinge side jamb, but later had to readjust. It was quite a tedious task.
It took me three days to complete the installation, especially with heavy rain two weeks ago. One of the first challenges I faced was the uneven threshold that made it difficult to square up. I used self-leveling cement that needs to set overnight.
I’m already receiving criticism for the entry door, even though all I’ve done is paint it.
William Explains Indeed. We learn by doing, but we can’t learn anything if we don’t try. I’m willing to bet that your next installation will take 1 to 3 hours. Just keep in mind the process and any previous errors so you can avoid repeating them. And… in general, with anything, we just need to handle it with care and it will fit together smoothly. As soon as we start to get frustrated, nothing seems to go right. This is especially true in construction.
Got a little update for you – the door wasn’t actually installed behind the stucco. They usually install it before the stucco goes on. Your safest bet might be to carefully cut the nails that attach the frame to the brick mold. Personally, I’ve found it easier to leave the frame and only replace the door blanks. Otherwise, you risk causing cracks in the stucco around the door, which is a tough fix once it happens.
Oh no!
I was curious about the process of the new construction.
I’m questioning why the model door I wanted to buy isn’t offered without brick molding.
So, I’m hoping that the oscillating metal blade can trim the nails after creating a gap.
William Explains it like this, take it slow. When you do the math, you can understand what you’re facing. The frame on that door is usually 1″ on the outer part. It tapers down about 3/8″ to fit the door. Alright, the brick mold is 1 3/4″ wide. The reveal is roughly 1/4″ , which leaves 1″ of space to secure it to the house. Now, the tricky part. If the brick mold is stucco trim, there’s a v groove around 1/4″ deep to hold the stucco. If not, you’d have to try and chip it out for the new door. ‘t fall into that trap. Going back to the trim, calculations say that even with stucco trim, I have 3/4″ of space to nail the trim to the house. Except for the rough opening. Estimate 1/2″ on each side to make the door plumb in the opening. All in all, 1/4″ left to the plywood. Now you see why I advise cutting the nails. I just replaced the plasters on my previous house. Luckily, the siding was grooved cedar shakes. The brick mold was decaying at the base and needed replacement. Hand cutting the half round fillets, quite unpleasant. Replacing the brick mold was the simplest part of the job.
Frankly, I’m a fan of the simple idea of just swapping out the door slabs
😜 Looks like I need to give the instructions another read while standing next to the assembly. It’s all in good fun! Sounds intriguing.
We’re expecting two days of rain, so the diving day is three days away. I’ll use this time to take off the molding.
I actually enjoy the process, so I don’t mind doing a full install. It was fun working on another entry door, even though I tend to be slow sometimes.
I’ve already committed to the complete assembly and can’t wait to update the sill, seals, and stationary door latches. This replacement will definitely keep the water out when I wash the porch with a power washer!
After 30 years, the house has settled a bit, so putting in slabs into the original frame might uncover some unexpected issues.
I also found the whole experience valuable. I had been looking for a reason to use the insulation foam. It was a bit messy, though – it expanded out of the cavity and created a mess that I had to clean up by sanding and repainting!
The technology in the new assemblies is truly impressive. In addition to the materials, the sill is adjustable.
I opted for a Therma-Tru door, spending extra money because it’s considered the best brand. While I was impressed, I found that the standard brand I got for the front, MMI, had just as much quality and features and was packaged better.
I get it. My daughter has one from 1953 with a brass inset to prevent air and water. It connects to a brass receiver and we have to replace the whole frame. The new one will have removable weather stripping, a better sill, and improved lock pins. From what you said, it sounds like the door is already there or on its way.
A 70-year-old homeowner, loves to renovate her house and turn it into a playground for DIY enthusiasts.
I’ve had the door for a week now – I’ve taken it apart to paint. Just waiting for the rain to stop so I can figure out my next steps. This forum has really helped calm my nerves.
I decided to join this forum to bring some common sense and real-world experience to the table. With a 70-year-old house, you’re definitely in the realm of mid-century modern terminology. I’ve been lucky enough to work on a variety of projects, from an 1865 schoolhouse that was featured in Architectural Digest, to timber frames, balloon frames, and numerous modern stick frames. I’ve done everything from foundations to finishes, though I don’t claim to know it all. I’ve certainly made my fair share of mistakes, but I can usually laugh them off. It’s important to stay curious and open to learning, and always use your best judgment. I took another look at your pictures and now I’m not so sure that you have brick or stucco mold on your current door. Just take things slow – DIY projects don’t have a deadline. The last thing you want to do is go at it with a sawzall or, even worse, a sledge
Completed a project a couple of days ago but still needs to do paint touch-ups and corrections. While she is satisfied with the outcome, the most important thing is that her wife is enjoying it. She expresses gratitude for the time taken to consider the project.
Swap out the slabs instead of the frame! It could turn into a disaster if not handled correctly. Working with stucco can be a real pain! Make sure to have a stucco expert on standby to fix any damage!
Shared her challenges with the original installation, including a flush sill with the ground exposing the frame to water, gaps in the replacement bottom door seal, and mismatched door latches. Despite the project being a tough one, she didn’t cry as much as expected and is relieved that it’s finally over, although she anticipates more improvements in the future.
Mentioned that a room was added to the back of a house with a patio, built directly on the patio slab without footers. The weight of the addition caused the patio slab to sink into the ground, making it impossible to lift the section for new sill plates and footers. Ultimately, they had to tear it off and match the siding on the back of the house, returning to a house with a patio. It’s funny how some people build on 4-inch slabs with no footers, leading to water issues and misaligned windows.
Wow, losing time and money is tough. Many projects come with unexpected challenges that only become apparent through experience.
I would make changes to the door first, before making any changes to the opening.
Take out the brick mold and then put it back once the door is finished.
It doesn’t seem like your current door has brick mold. So why not just remove it and leave it off? The doors come with brick mold because it holds the weak frame together. Without it, the frame could fall apart after all the handling during shipping. So it’s worth keeping it on for stability.