How can I improve the appearance of my stairs and close the gaps underneath as a first-time home buyer?
11 months ago
Last Updated: July 26, 2024
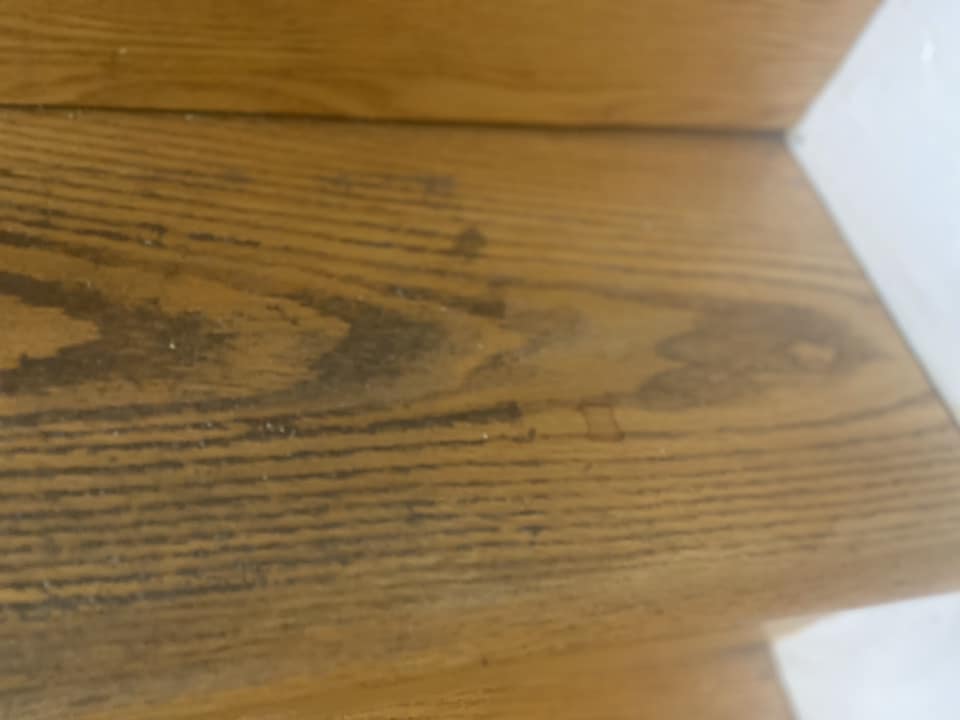
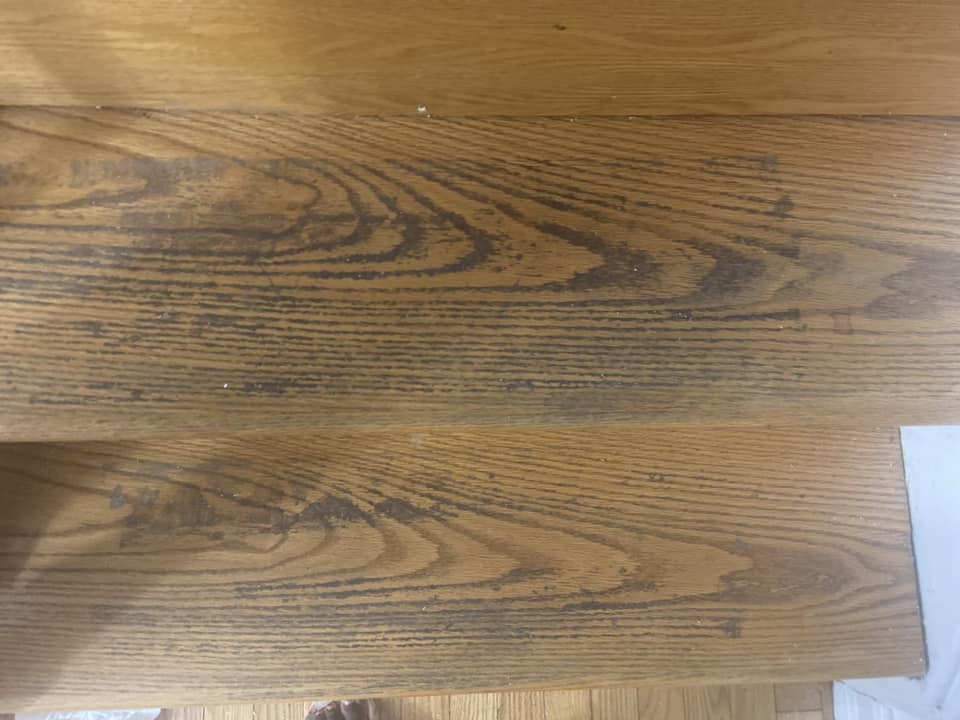
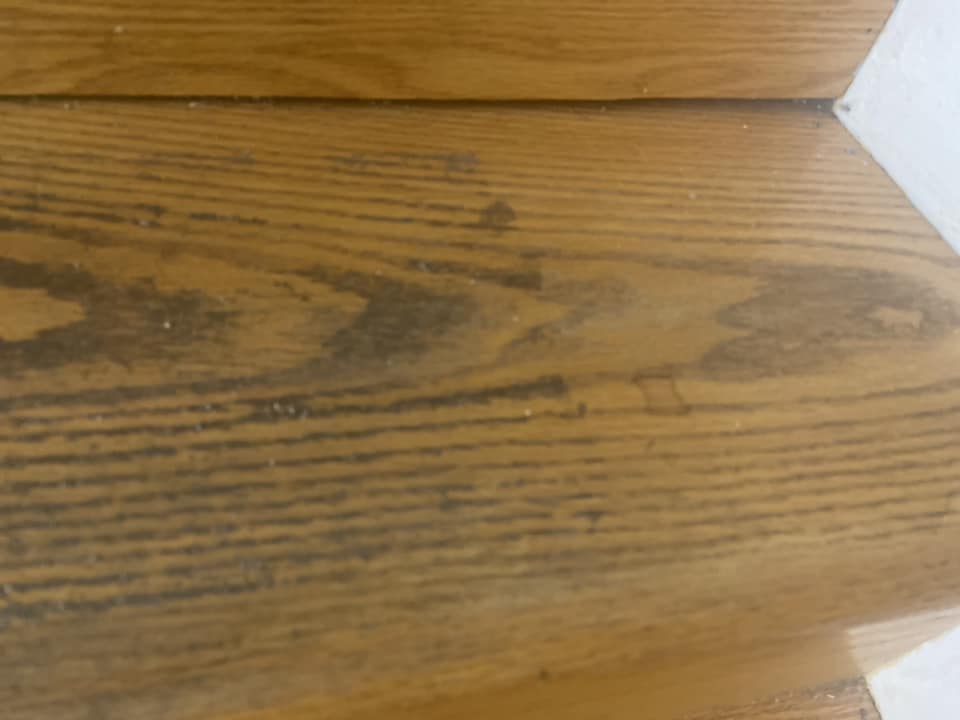
Hey there! So, I’m a first-time home buyer and I need some advice. We took the carpet off the stairs and used goo gone to get rid of the gum, but they still look pretty rough. Any suggestions on what to do next?
Oh, and while we’re at it, any tips on filling in those gaps under the stairs? Thanks a bunch!


So if you sand and put on a new layer of polyurethane or stain (whichever is on top of your wood floors), you might see some good improvements. The exposed wood will have different wear compared to the covered areas, so it’s important to start fresh.
For the gaps at the risers, you can sand and refinish them using wood filler or moldings such as quarter round.
I totally agree with what others have said. The stairs appear to be in good condition. Sanding stairs can be quite challenging for someone new to DIY projects. Stairs also serve as a focal point in any home. It might be a good idea to hold off on this task until you gain more experience. Sanding through the tough polyurethane coating on floors will require a heavy-duty sander or a floor edge sander. When sanding stairs, there are numerous ways to make mistakes that are extremely difficult to correct.
Sanding stairs is a task that should be left to someone with experience to avoid causing irreparable damage. I recommend reaching out to a local flooring company that specializes in refinishing floors for a quote. It may cost less than trying to fix a mistake later on! 🙃
Stairs can be a pain, in my opinion. I prefer using a runner.
Having a professional do it is definitely worth the investment!
There are a couple of things to consider here: the gaps and the finish. The close-up photos don’t provide enough detail for specific recommendations on the gaps. One possibility is that the riser board could be adjusted downward. If the gap is at the top, it will be less visible under the overlap of the tread above.
While sanding with 80-grit and finishing with 120-grit using a random-orbit sander might seem daunting, it’s unlikely to cause permanent damage. You’ll need a hand sanding block for the corners.
This process will be time-consuming and may require a lot of sandpaper due to the old finish clogging it. If you like the result of a step but find it too time-consuming, try scraping off some of the old varnish with a paint and wood scraper. Keep the scraper sharp.
If the sanding process doesn’t go as planned, it’s not irreversible and can still be fixed.
Start sanding the square palm sander with 100 grit to remove the clear coat. You don’t need to sand all the way down to the natural wood. The dirt is mainly on the surface. Make sure to sand with the grain.
Absolutely, once you’re done sanding, make sure to apply a clear coat using the appropriate material.
Just a quick suggestion for an easy fix