How can I effectively patch holes in lath and plaster walls in my 1920s foreclosed home stairwell, damaged during electrical wiring updates?
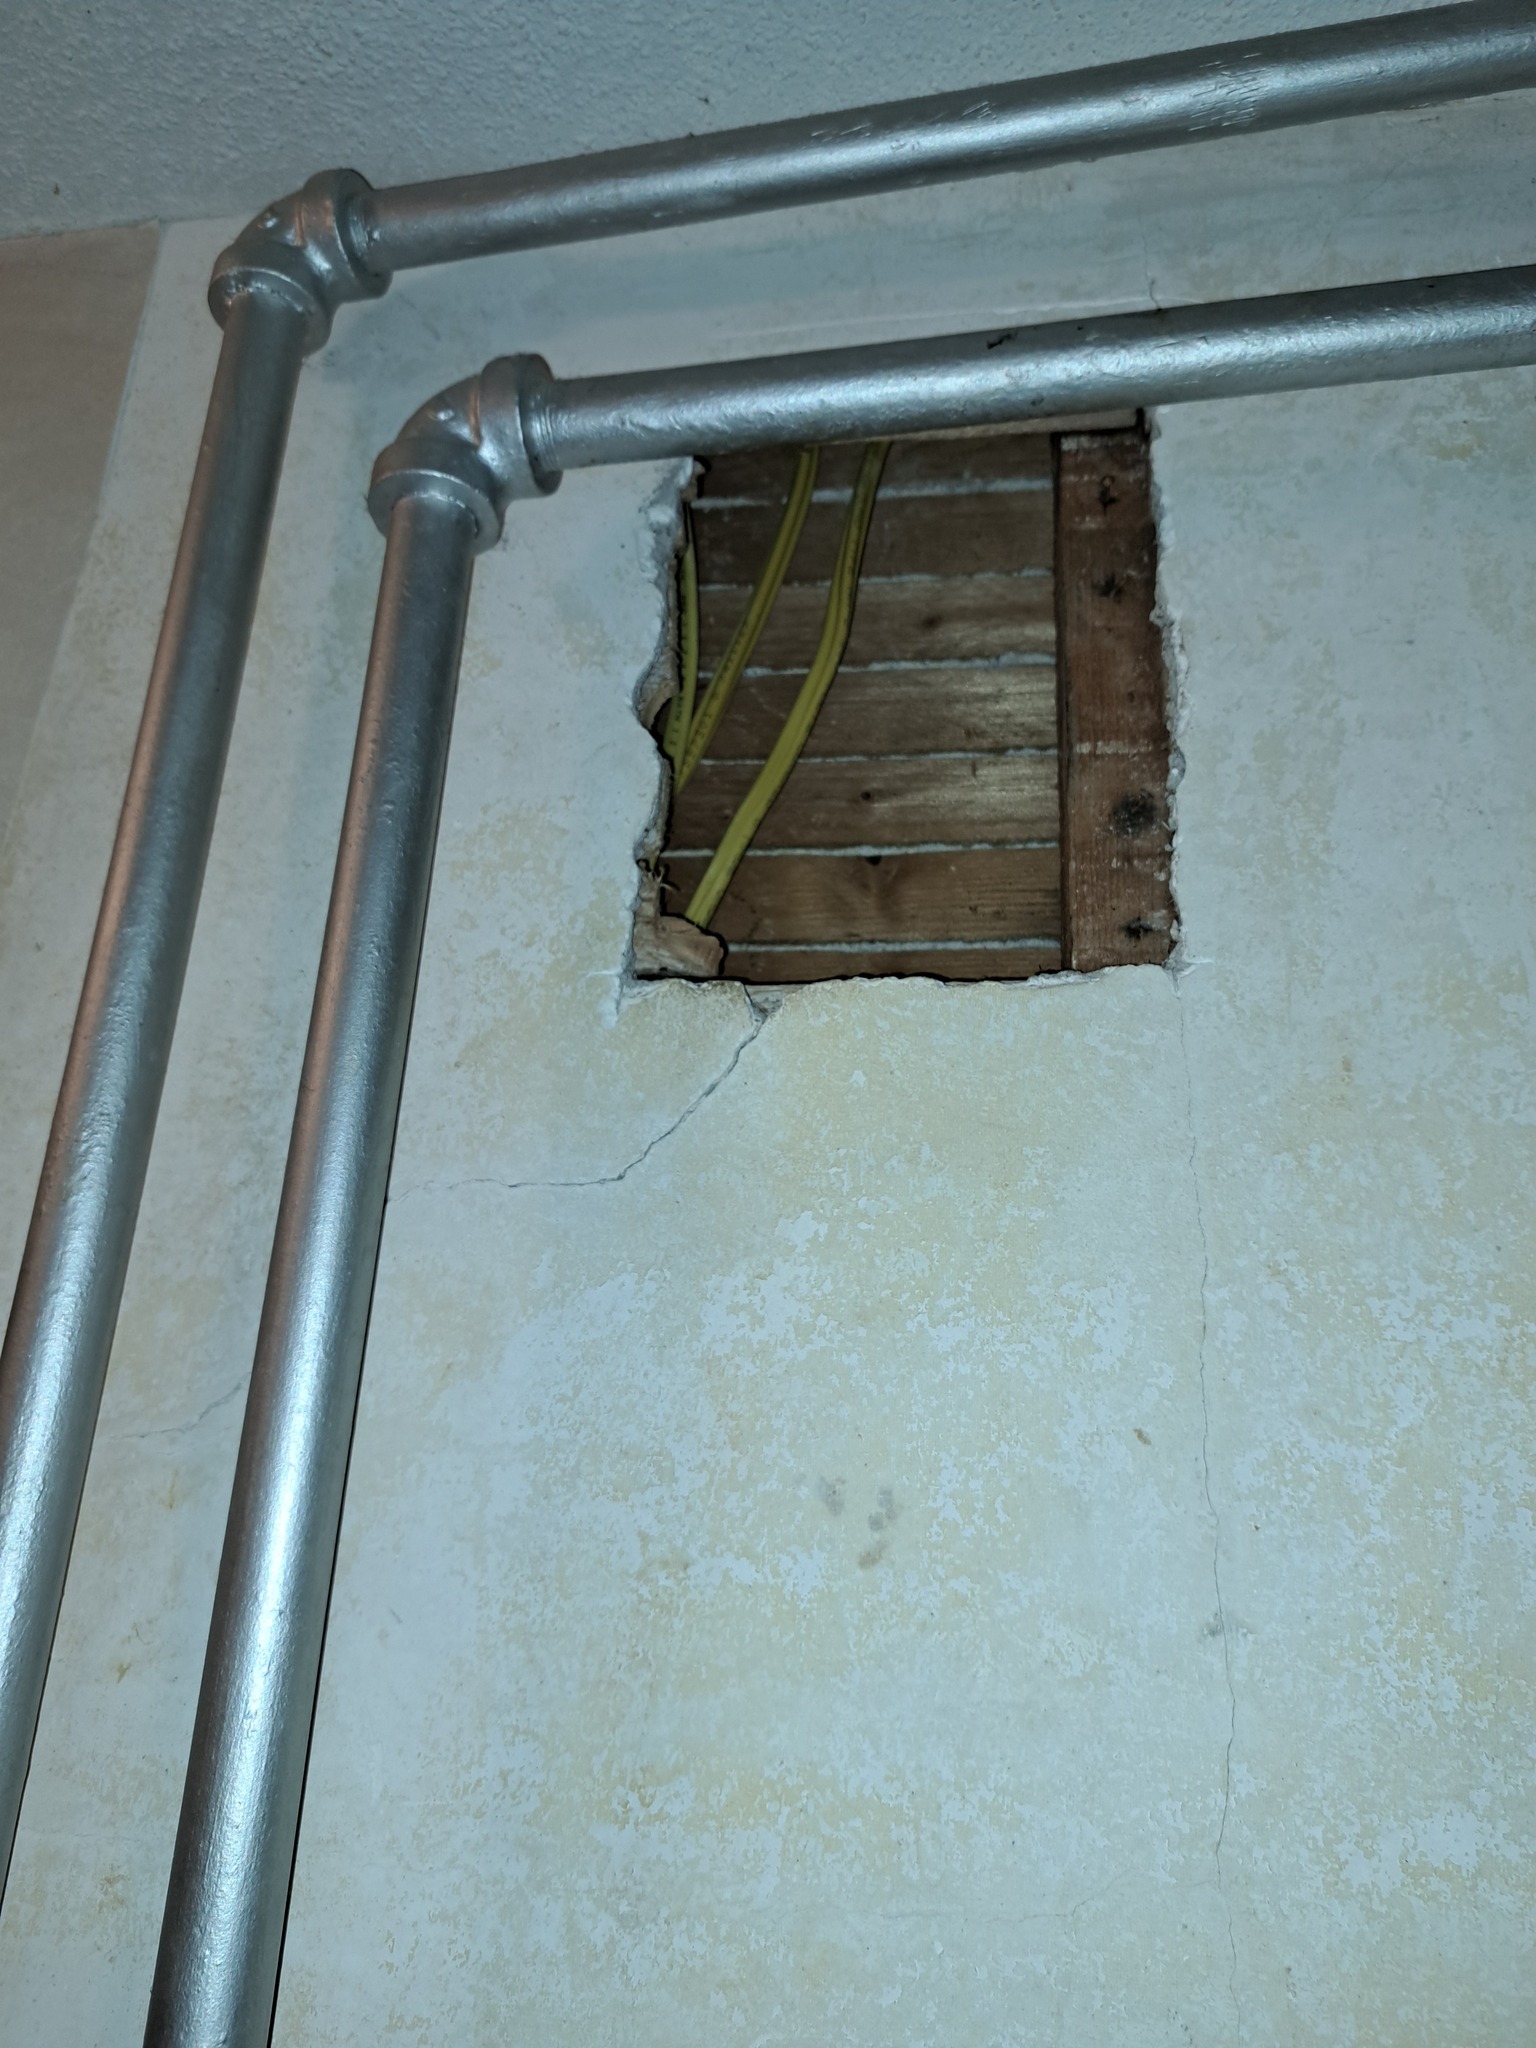
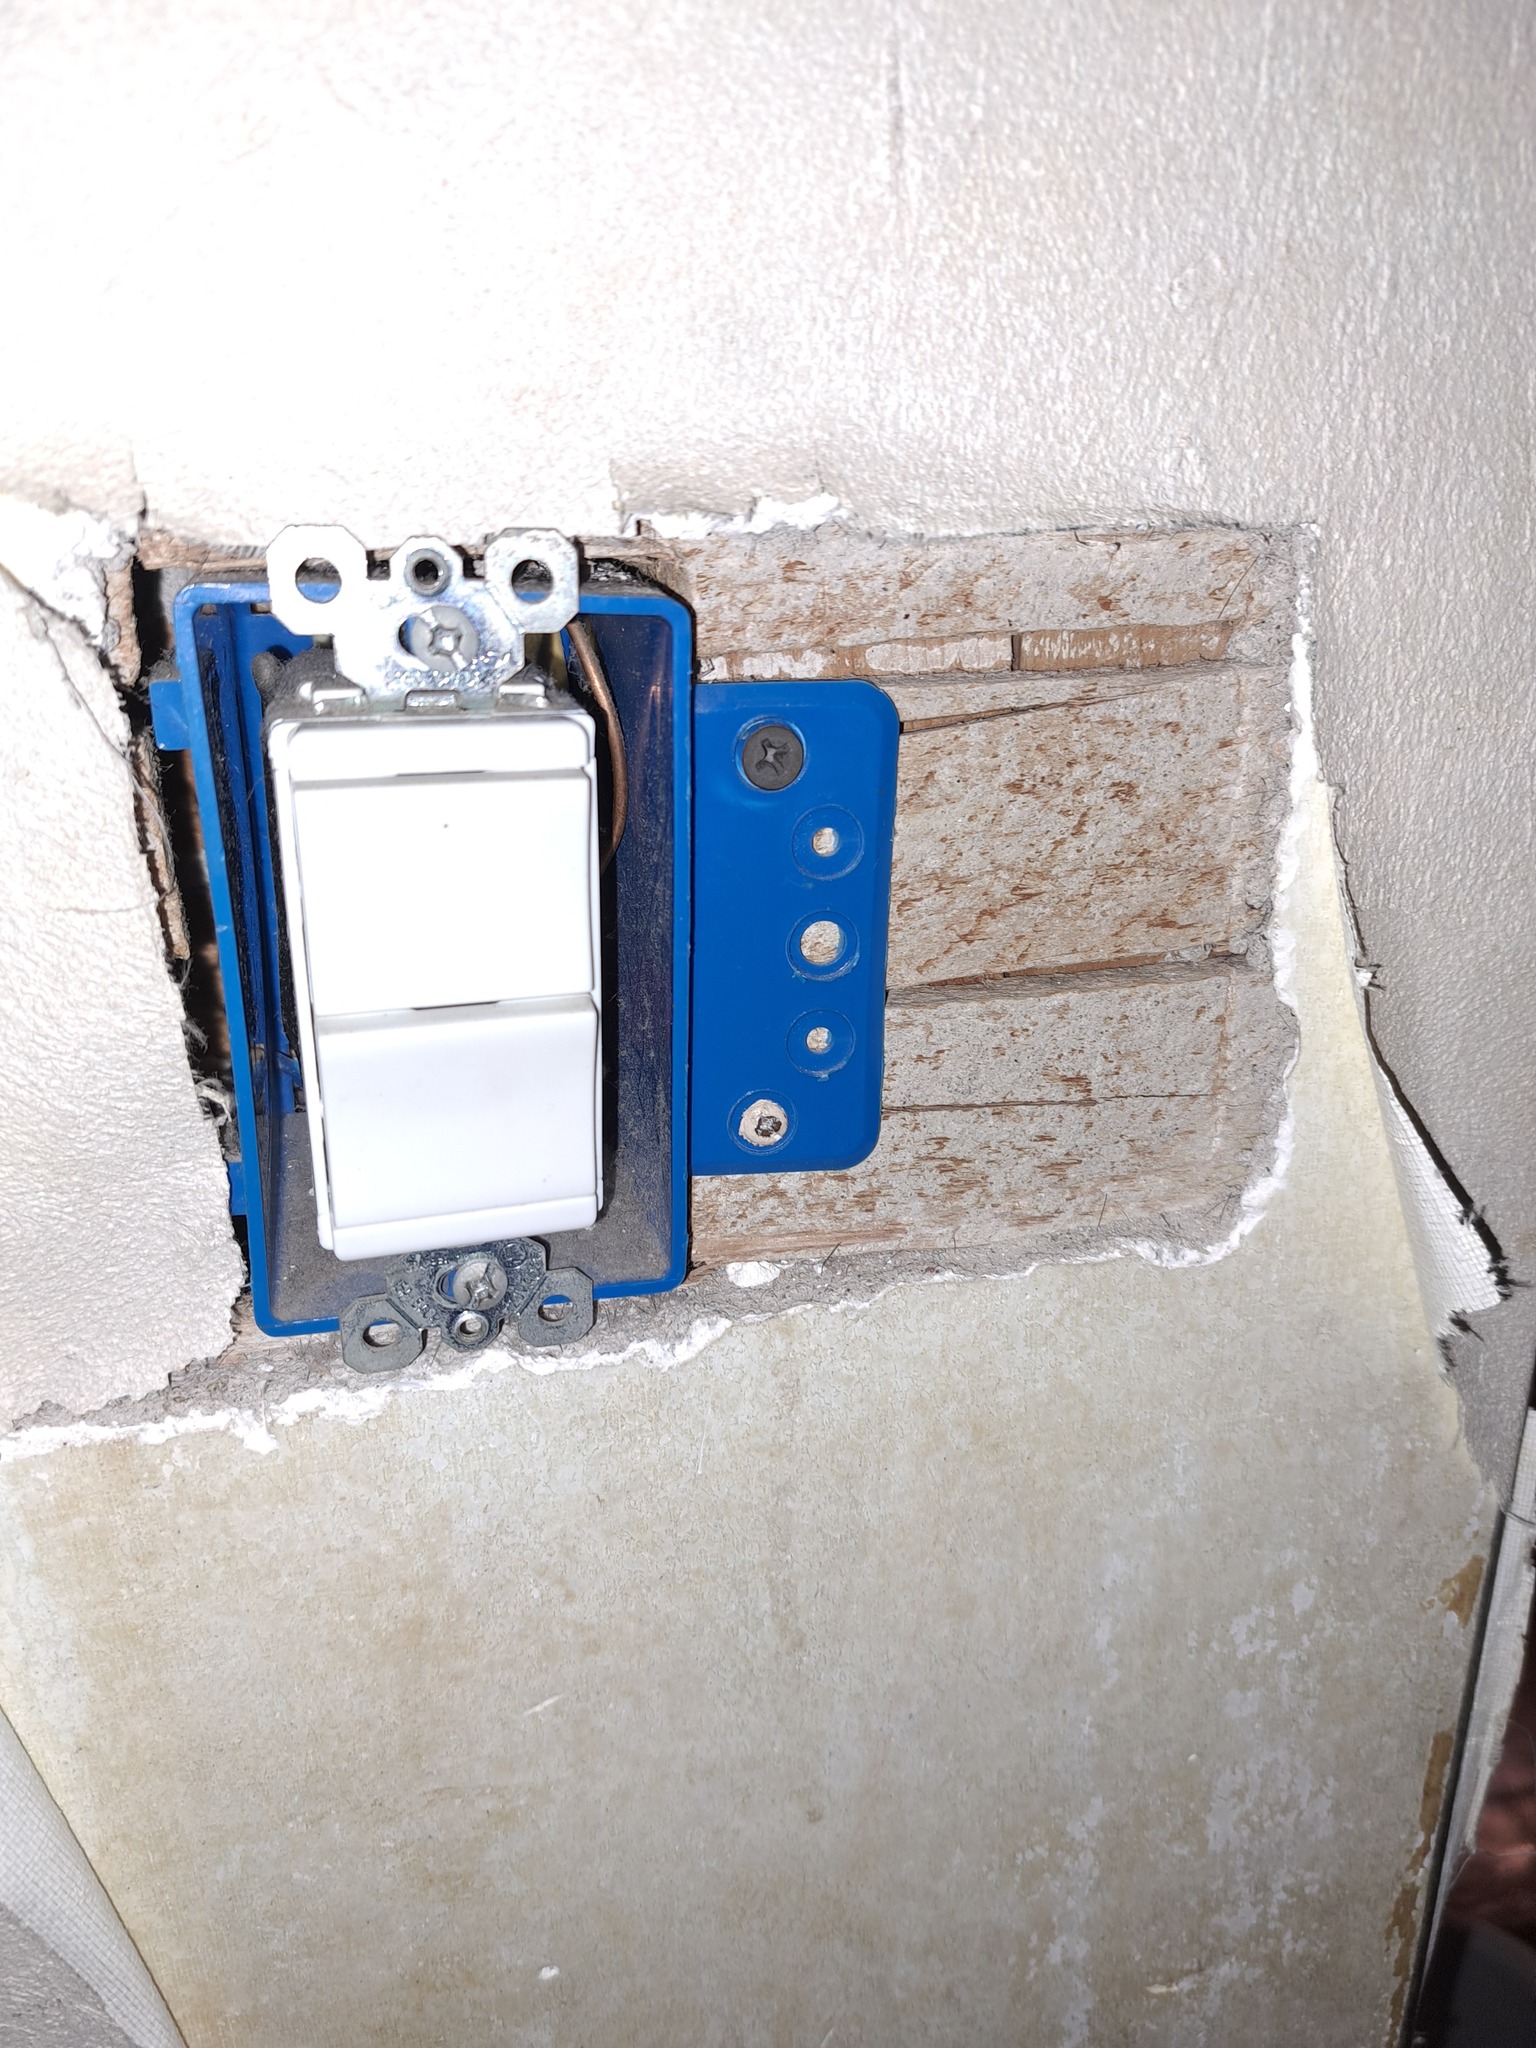
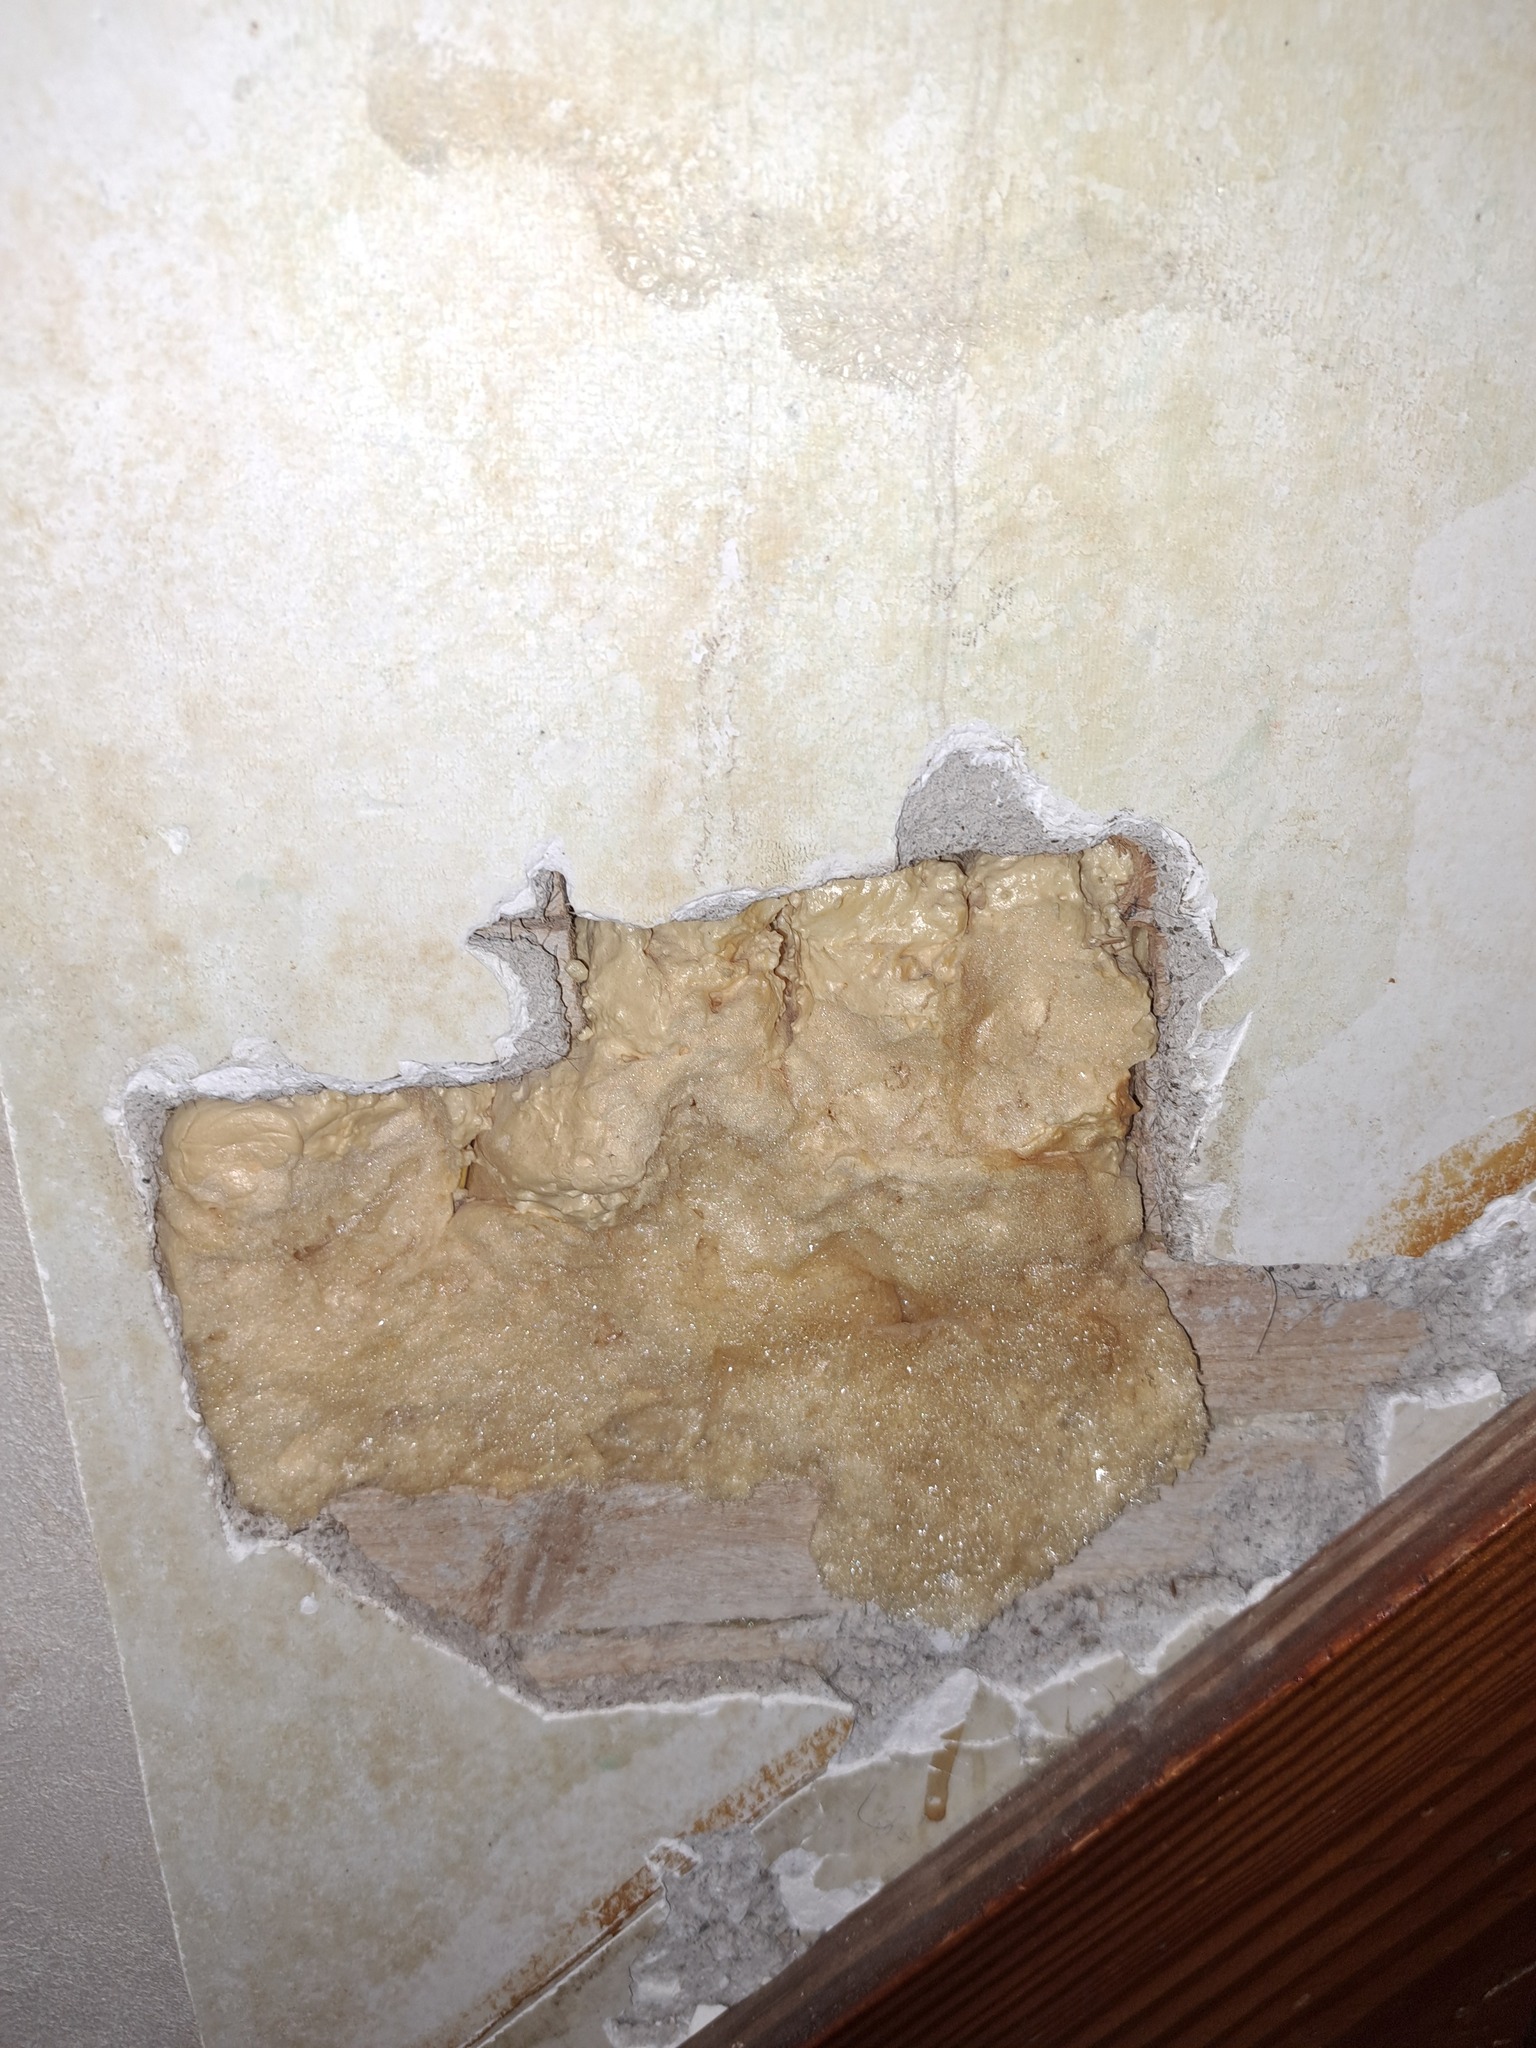
So, we bought this 1920s foreclosed home and it turned out to be quite the project! While fixing a water leak and a damaged ceiling, we discovered that the electrical wiring had been updated from the basement up to the first floor and from the attic down to the second floor. However, there was still some original knob and tube wiring between the floors. My husband, who is pretty handy, took on the task of updating the remaining wiring (with the approval of a licensed electrician, of course). But in the process, he ended up creating three holes in the lath and plaster. They’re all in the stairwell leading up to the second floor. The trickiest one is behind the supply and return pipes for a radiator, with very little space to work with. One of the holes was filled with foam by an energy audit crew, but I had to saw it off a bit because they left it sticking out. The visible hole is about the size of a switch box and still has the lath, so I think some sheetrock compound might do the trick. But the other two holes are much larger, at least 6 inches across each, and he had to saw off the lath to access the old


Around the switch, you can use joint compound or quick set compound that needs to be mixed. The quick set compound sets harder and is a better choice for plaster walls. If it’s your first time, avoid the 20-minute cure because it dries faster than you’d expect. Look for easy sand 45. To fix the other two holes, you can add wood strips inside the wall for support, then attach drywall, tape, mud, or use a cold patch or California patch. It might need a few finishing coats but it should work. Remember, thin coats are better than thick to prevent shrinking and cracking.
Hey , you’re welcome! I’m glad the suggestions work for you. If you’re unsure about securing wood strips in the hole, it’s all about finding the right technique. If you’ve worked with drywall before, you’re on the right track. This project can be a bit tricky, but you’ll figure it out!
Hey Tabitha! When you’re fixing a hole, make sure the patch is slightly larger and secure it with a screw in the middle as a handle. Then screw it into the wall to secure it. Once it’s in place, remove the handle screw. The plaster might crack a bit, but using the right screw can help. Just be careful not to screw into your hand! You’ve got this!
No content
Was incredibly helpful! Thanks a lot for your time! I never would’ve thought of using a screw as a handle. I can already imagine myself dropping board after board down the hole without it. I can picture that actually working. Now, I just have to figure out how to do it with the pipes in the way!