
Floors
Creaking Floors – The 4 Main Reasons
Floor creaking may be related to the installation of the floor or to the homes foundation settling. Other reasons include...
Expertly written content about home condition. Detailed guides and technical insights from a knowledgeable team of industry professionals.
Read Articles
Floor creaking may be related to the installation of the floor or to the homes foundation settling. Other reasons include...

Cracks develop in wall and ceiling areas. What are they a sign of and what can be done?
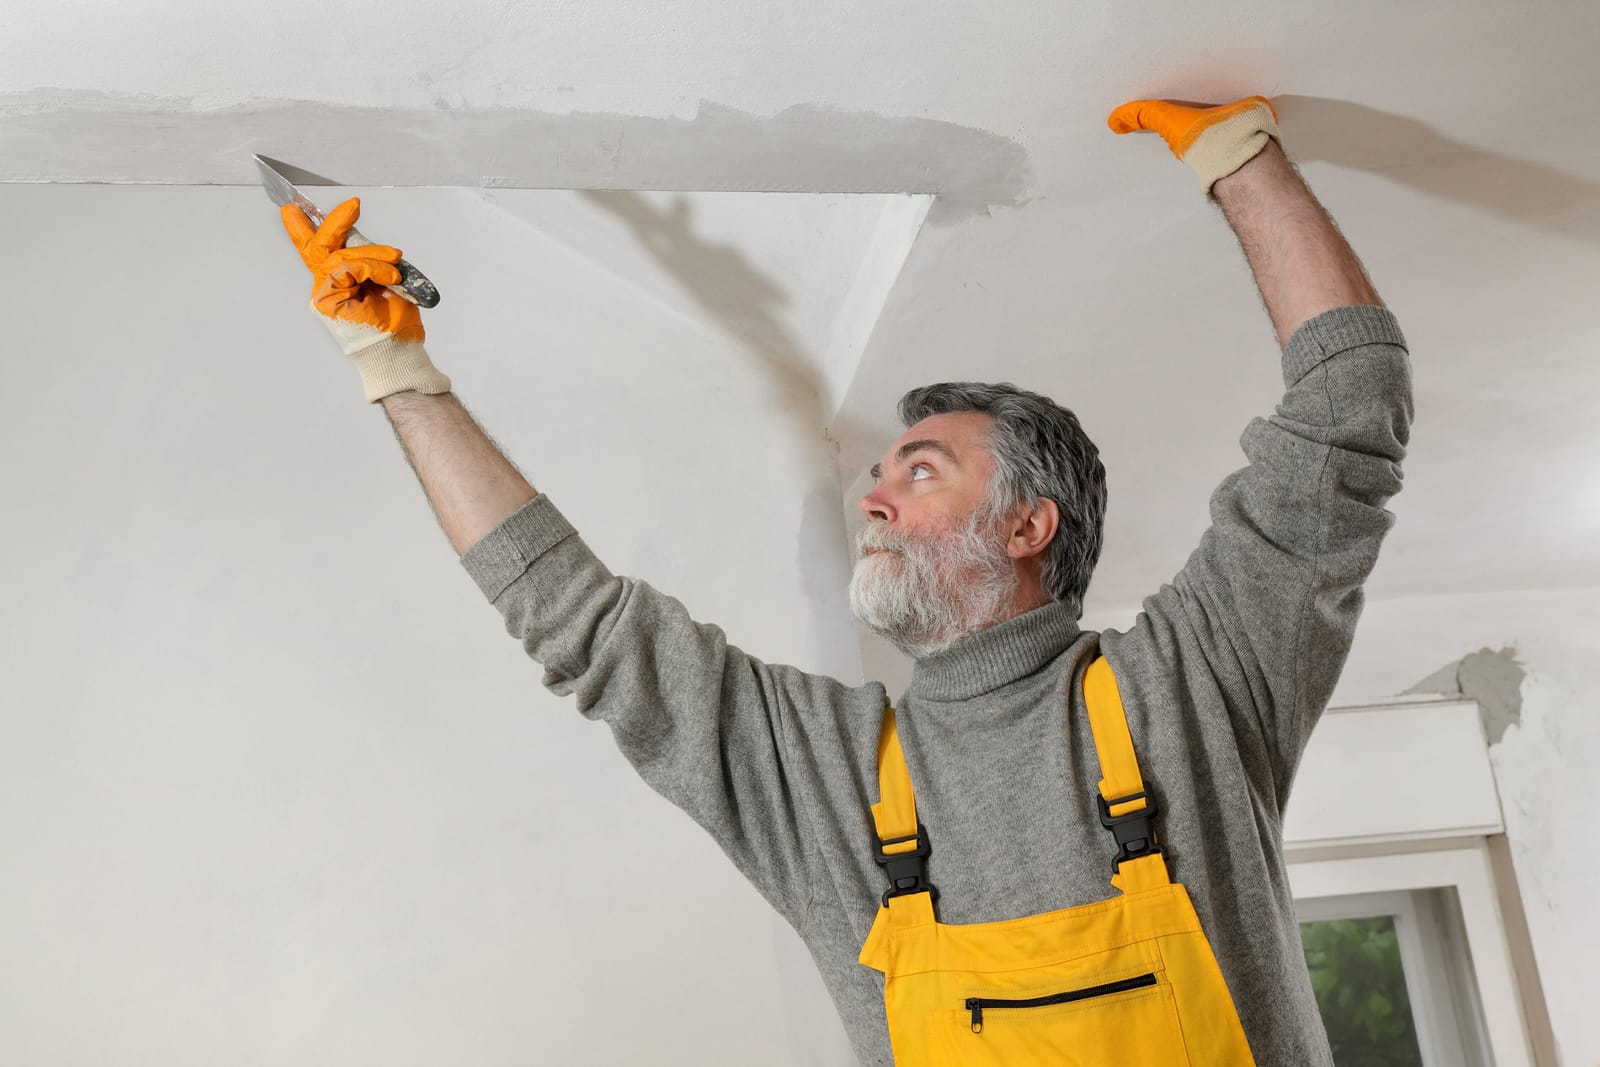
Know which ceiling cracks are serious and which ones are just cosmetic.
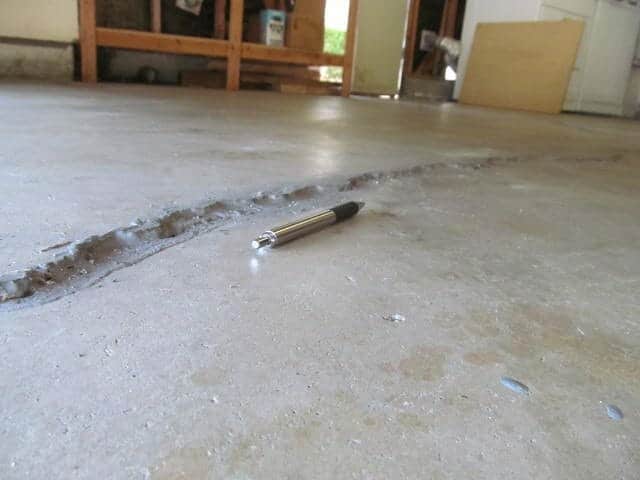
There are a few times that cracks in a garage floor are a warning sign of foundation or other problems; can you recognize them?

If your foundation has a crack or cracks know what to look for to determine if they are major or minor.
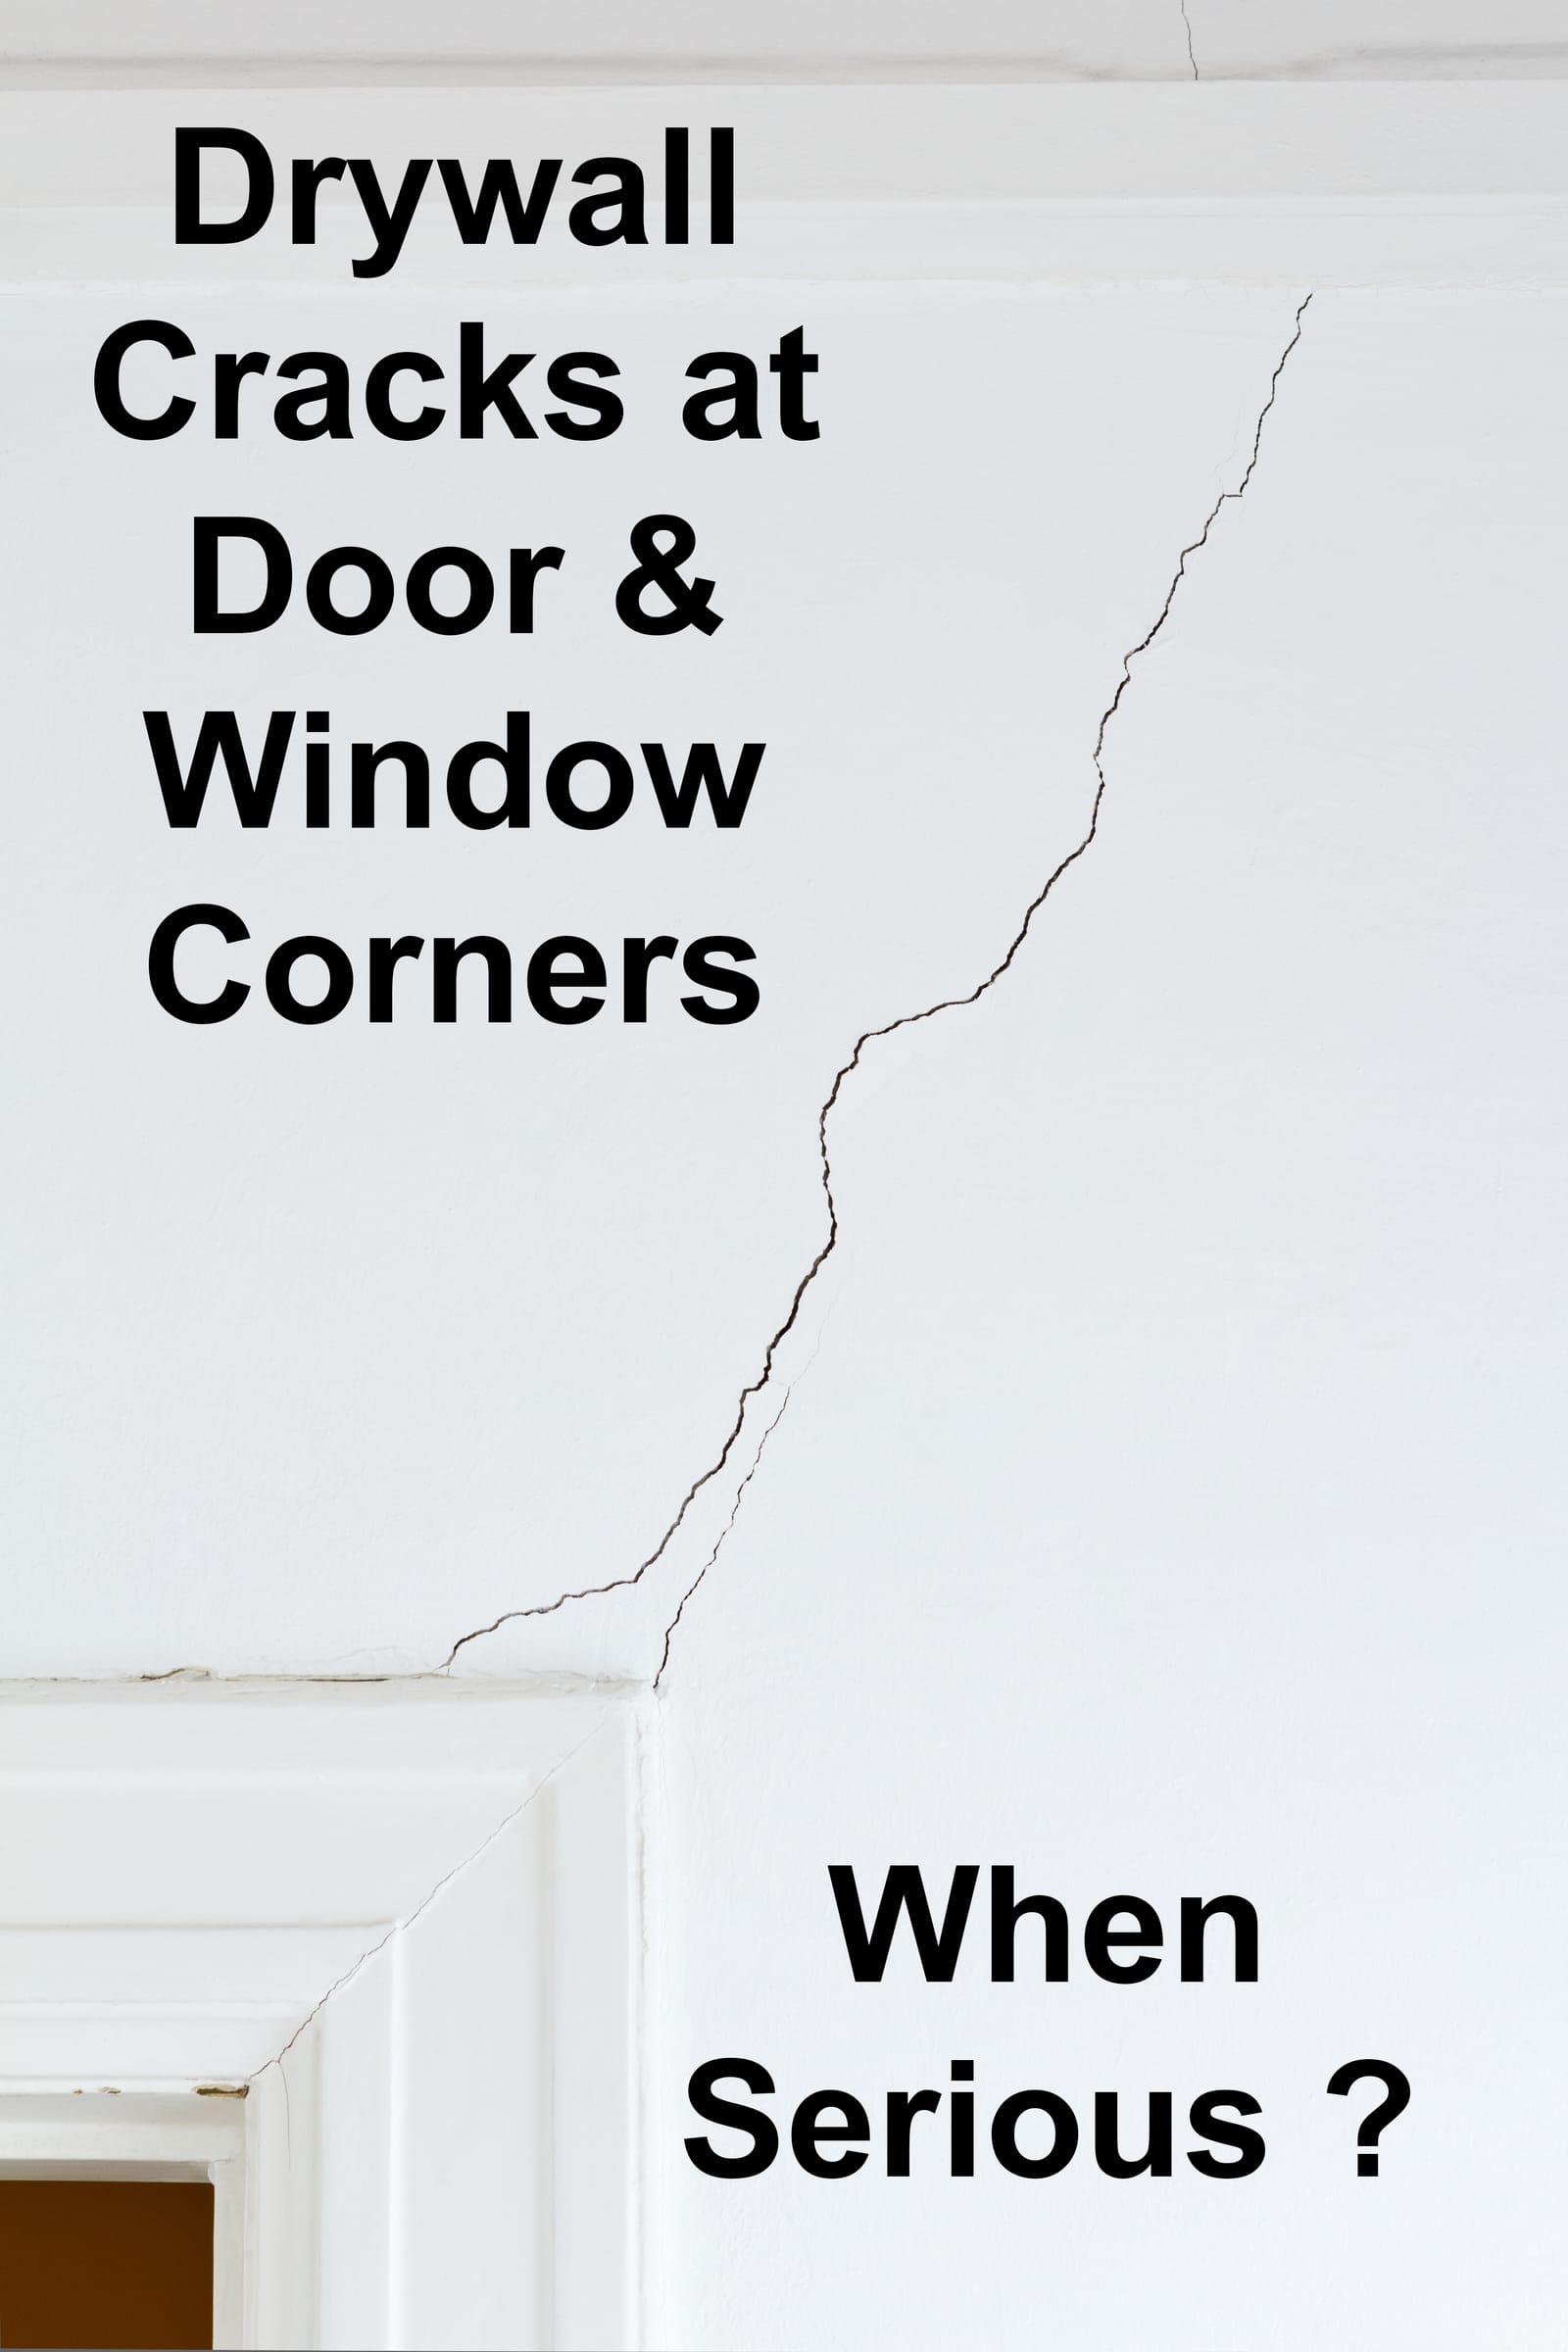
When are drywall cracks at door and window corners NOT normal or cosmetic?
Essential information to keep your home and family safe.
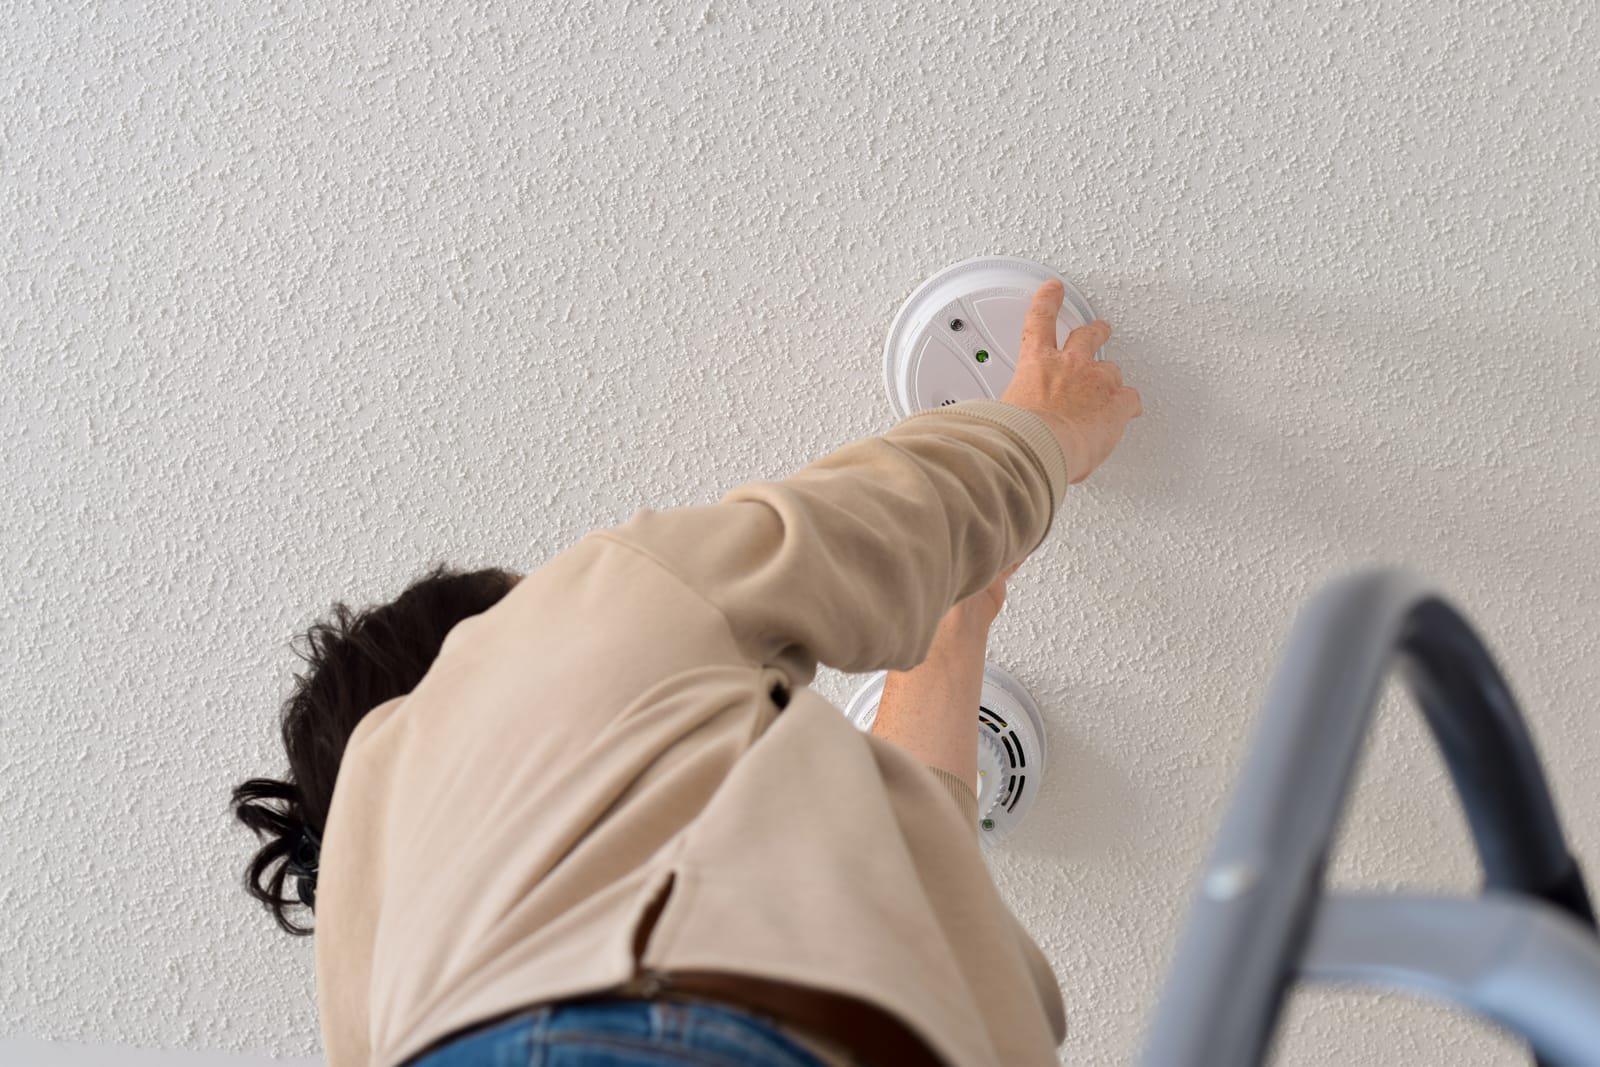
Ensure your safety by knowing where NOT to put smoke alarms. Avoid false alarms and dead zones with this guide on proper smoke detector placement.
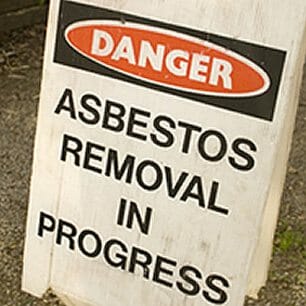
Worried about asbestos? Learn how to identify potential asbestos in popcorn ceilings and specific materials in older homes.

Find out when lead paint was used in homes, when and if it is a hazard and what you can do about it if it is a concern.

Homeowner often wonder if there should be a carbon monoxide detector in their garage, because automobiles give off carbon monoxide; a poisonous and odorless gas that can kill you. The answer surprises many people.
Carbon monoxide is odorless, colorless, tasteless, and poisonous. Knowing where to put CO alarms and where not to can save your life.

Requirements for removing asbestos popcorn ceilings depends on whether you are the homeowner or a contractor. Know them before you start.

Sources of carbon monoxide, the “Silent Killer,” in a home; know the 5 hidden places to look before it’s too late.
The short answer is yes, a carbon monoxide alarm is required, if there is a fossil fuel burning appliance, like a fireplace, in the bedroom or in an attached bathroom with a fireplace.
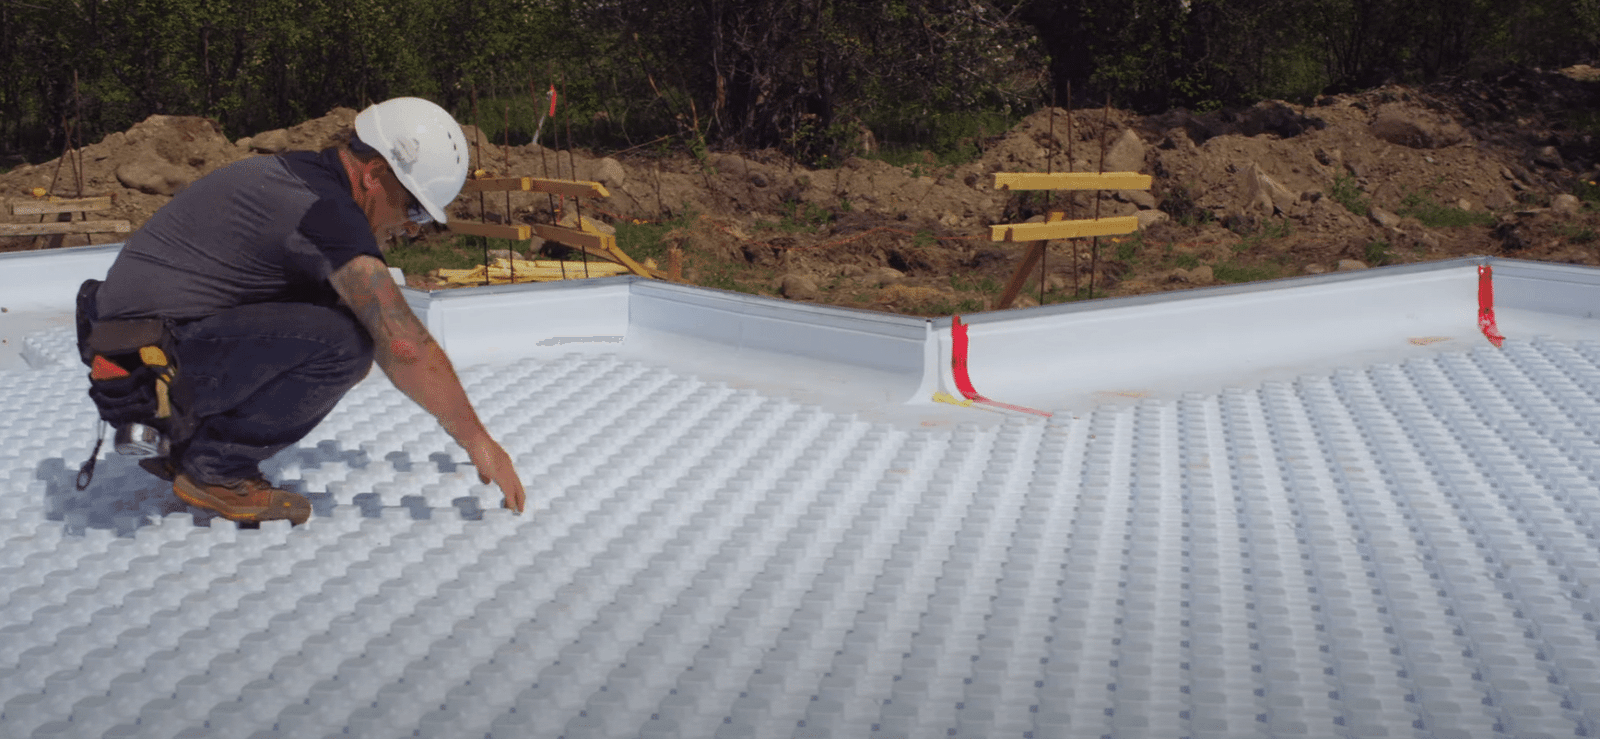
Frost protected shallow foundations mitigate massive potential issues from freeze thaw cycles and the damage they cause to homes.
READ MORE →
Heat a small home for mere dollars with this DIY oil burning heater. Fast, safe and efficient, its a project worth investing in.
READ MORE →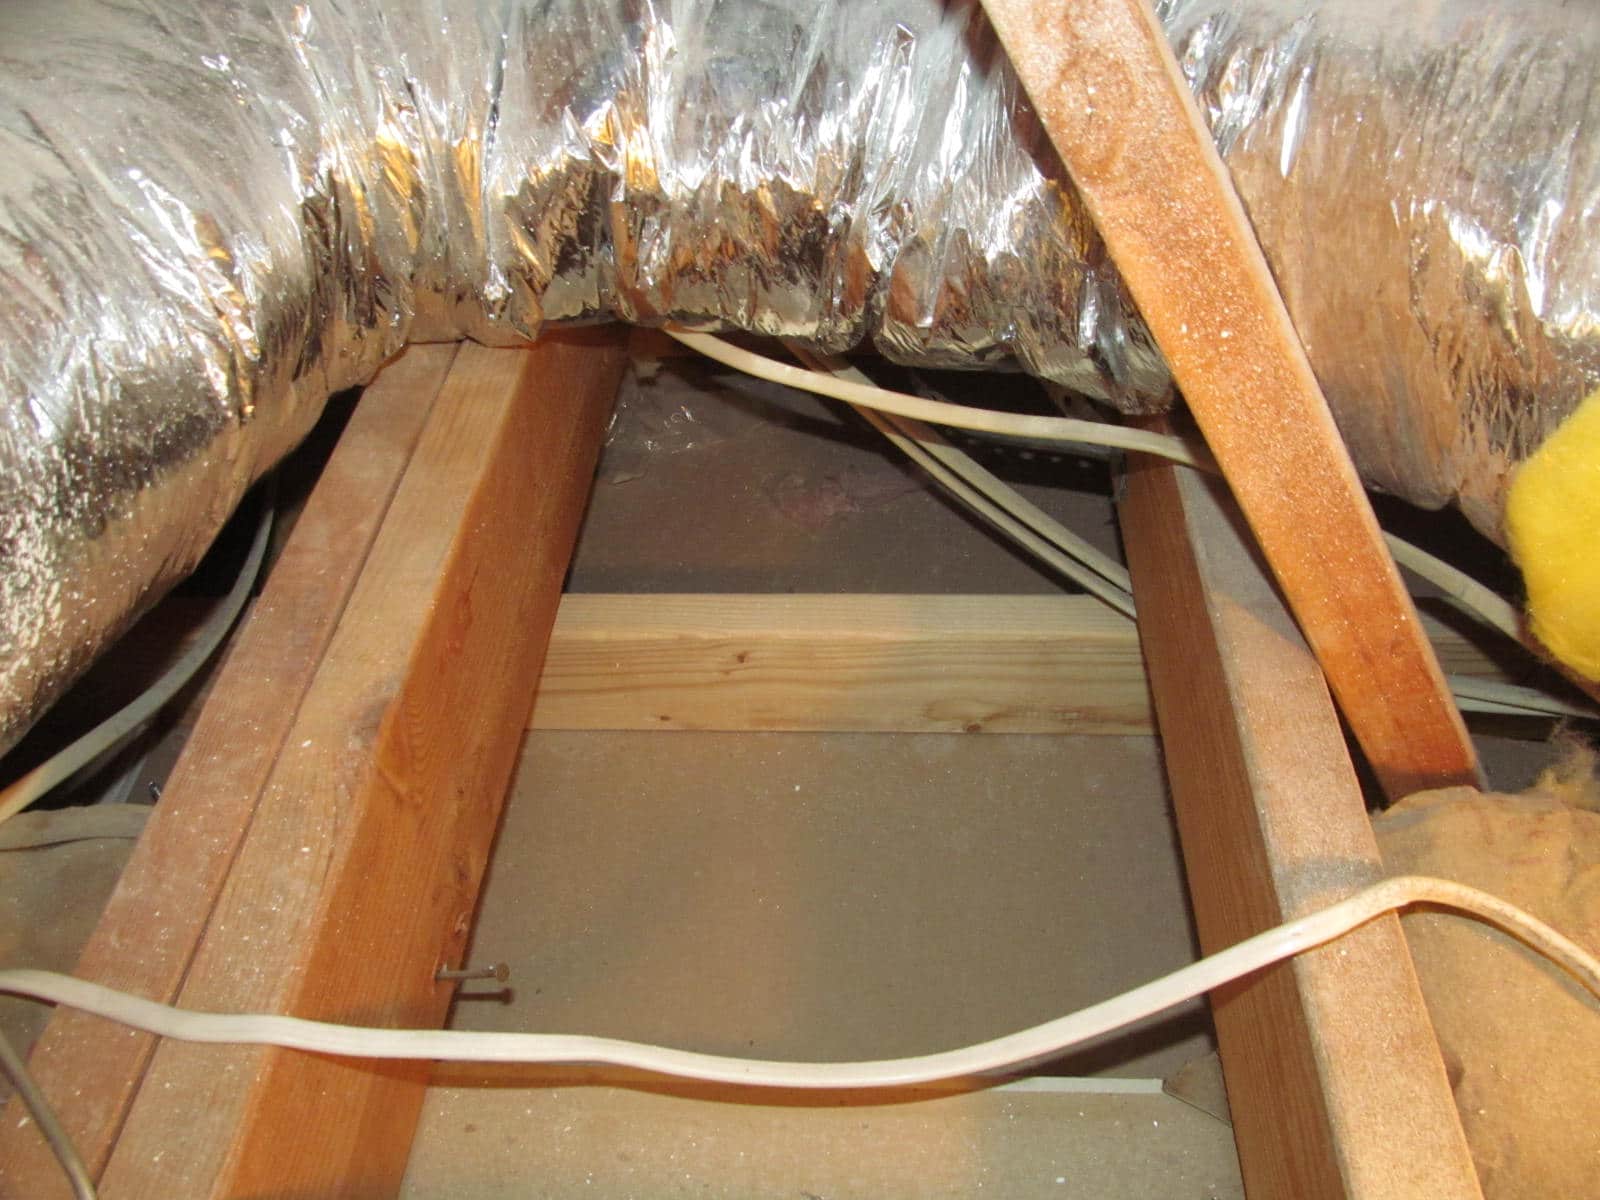
Is your older attic insulation a safety risk? Learn about potential fire hazards and health concerns, including vermiculite, associated with old insulation.
READ MORE → Are those ceiling cracks a structural warning sign or just cosmetic? Learn to identify the difference and know when to call a professional.
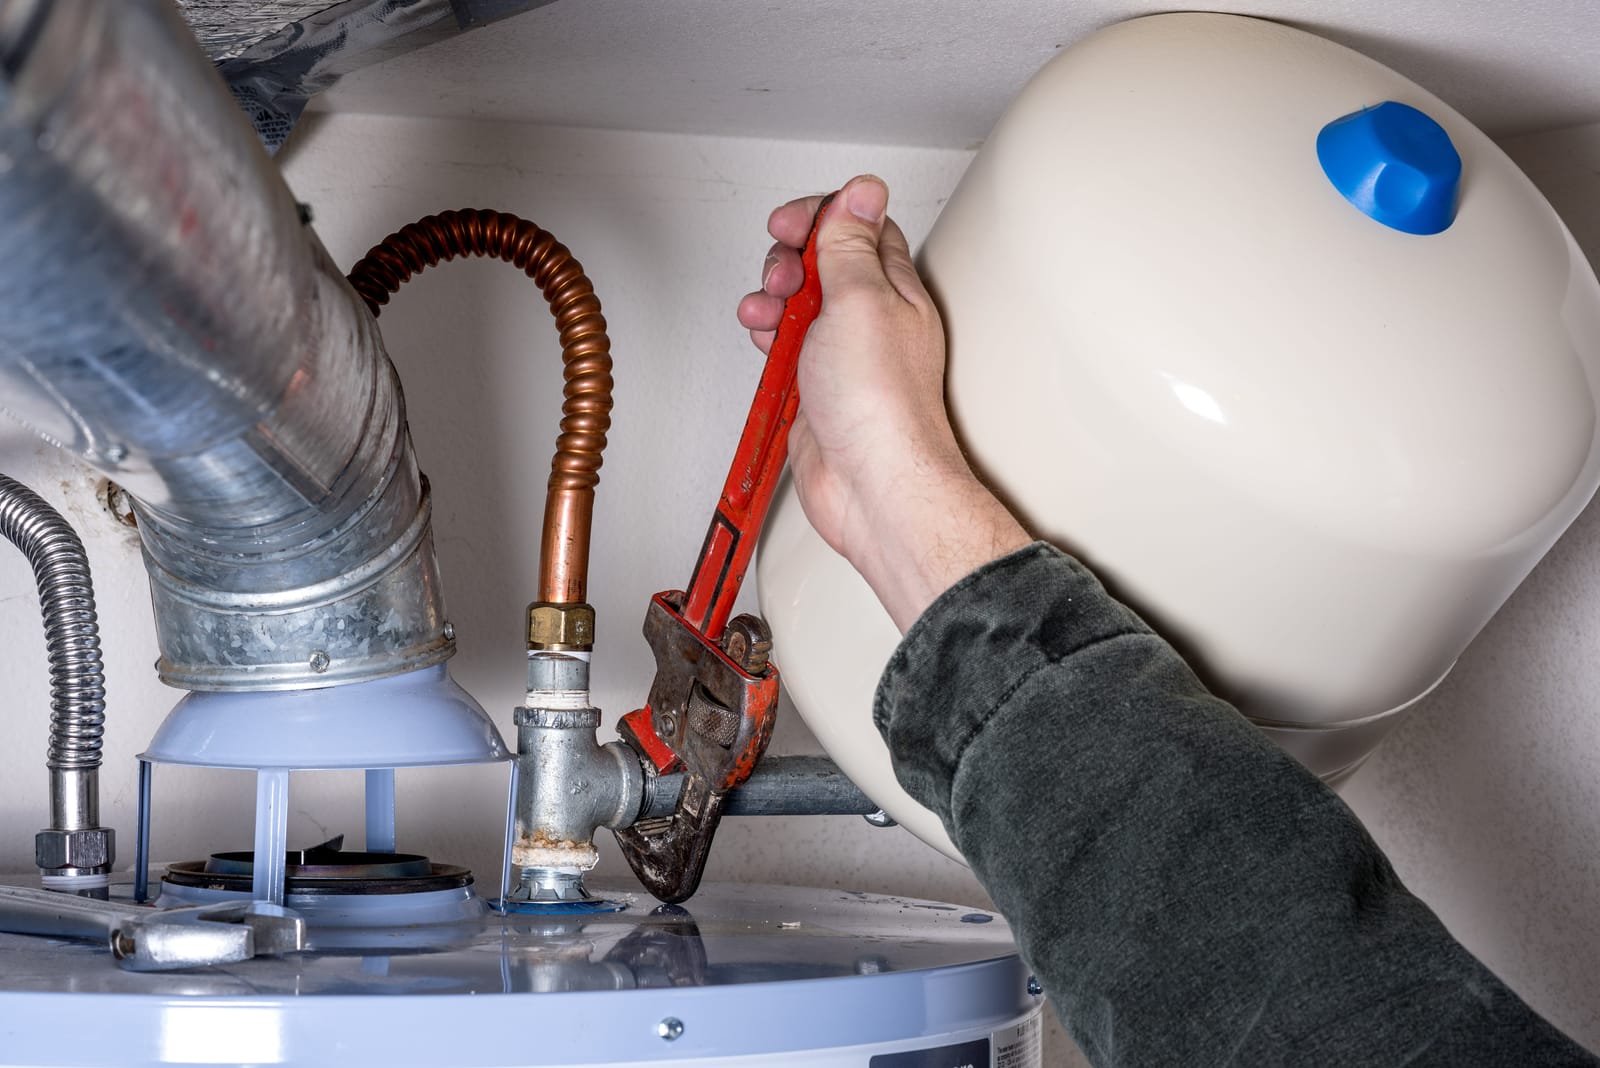
Building jurisdictions in nearly all cities and counties require a permit to replace a water heater for safety and efficiency concerns.
The average person can sense if a floor slopes 1 inch in 10 feet and sloping floors or sagging floors are often one of the warning signs that structural engineers look for when analyzing a house. Although most floors slope, it is important to know how much and why.