How can I add a small wall from the stairs to the end of the header without damaging the recently finished floor when building cabinets and a fort for my kid behind the newly added barn door in my basement?
1 year ago
Last Updated: May 27, 2024
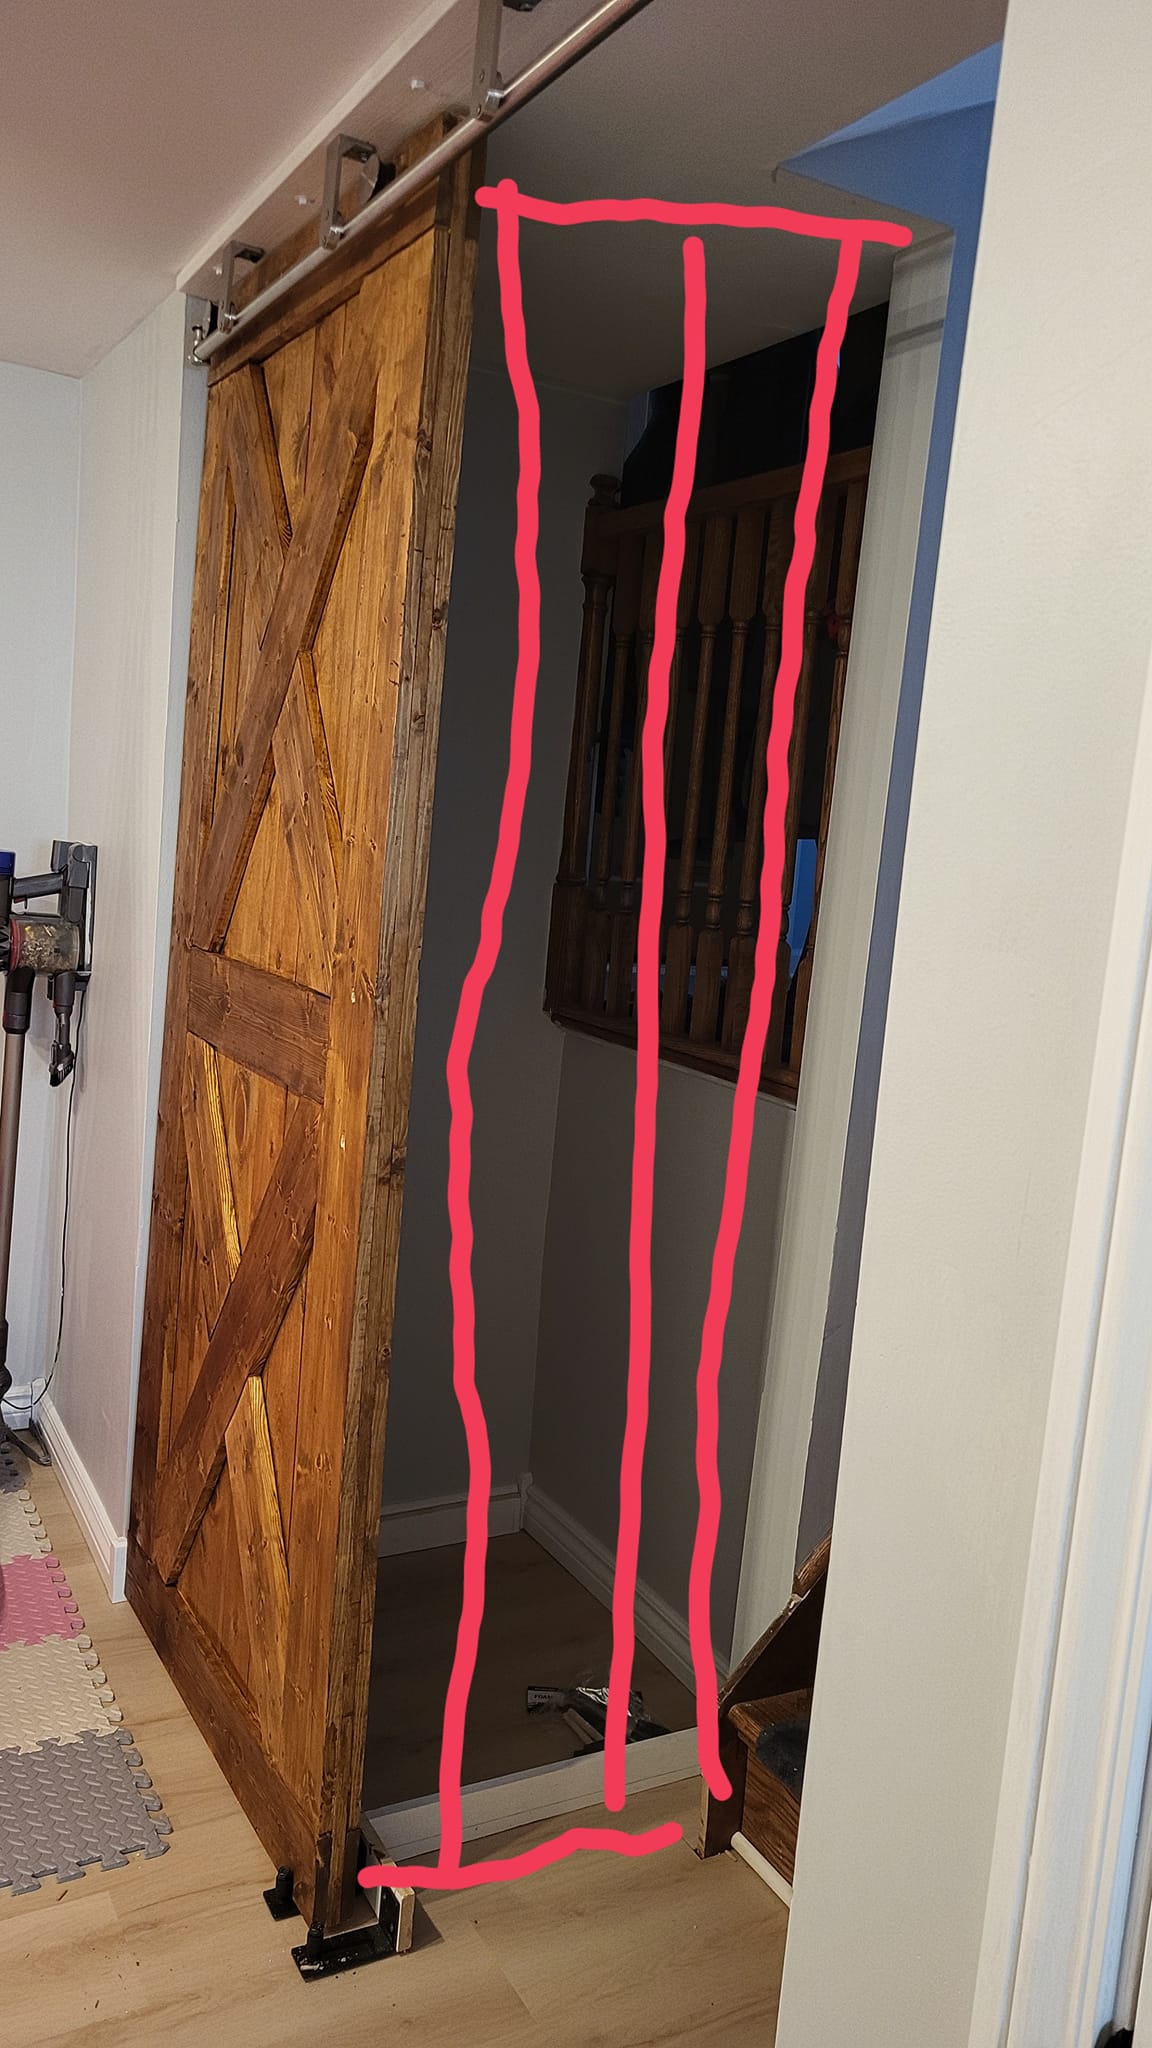
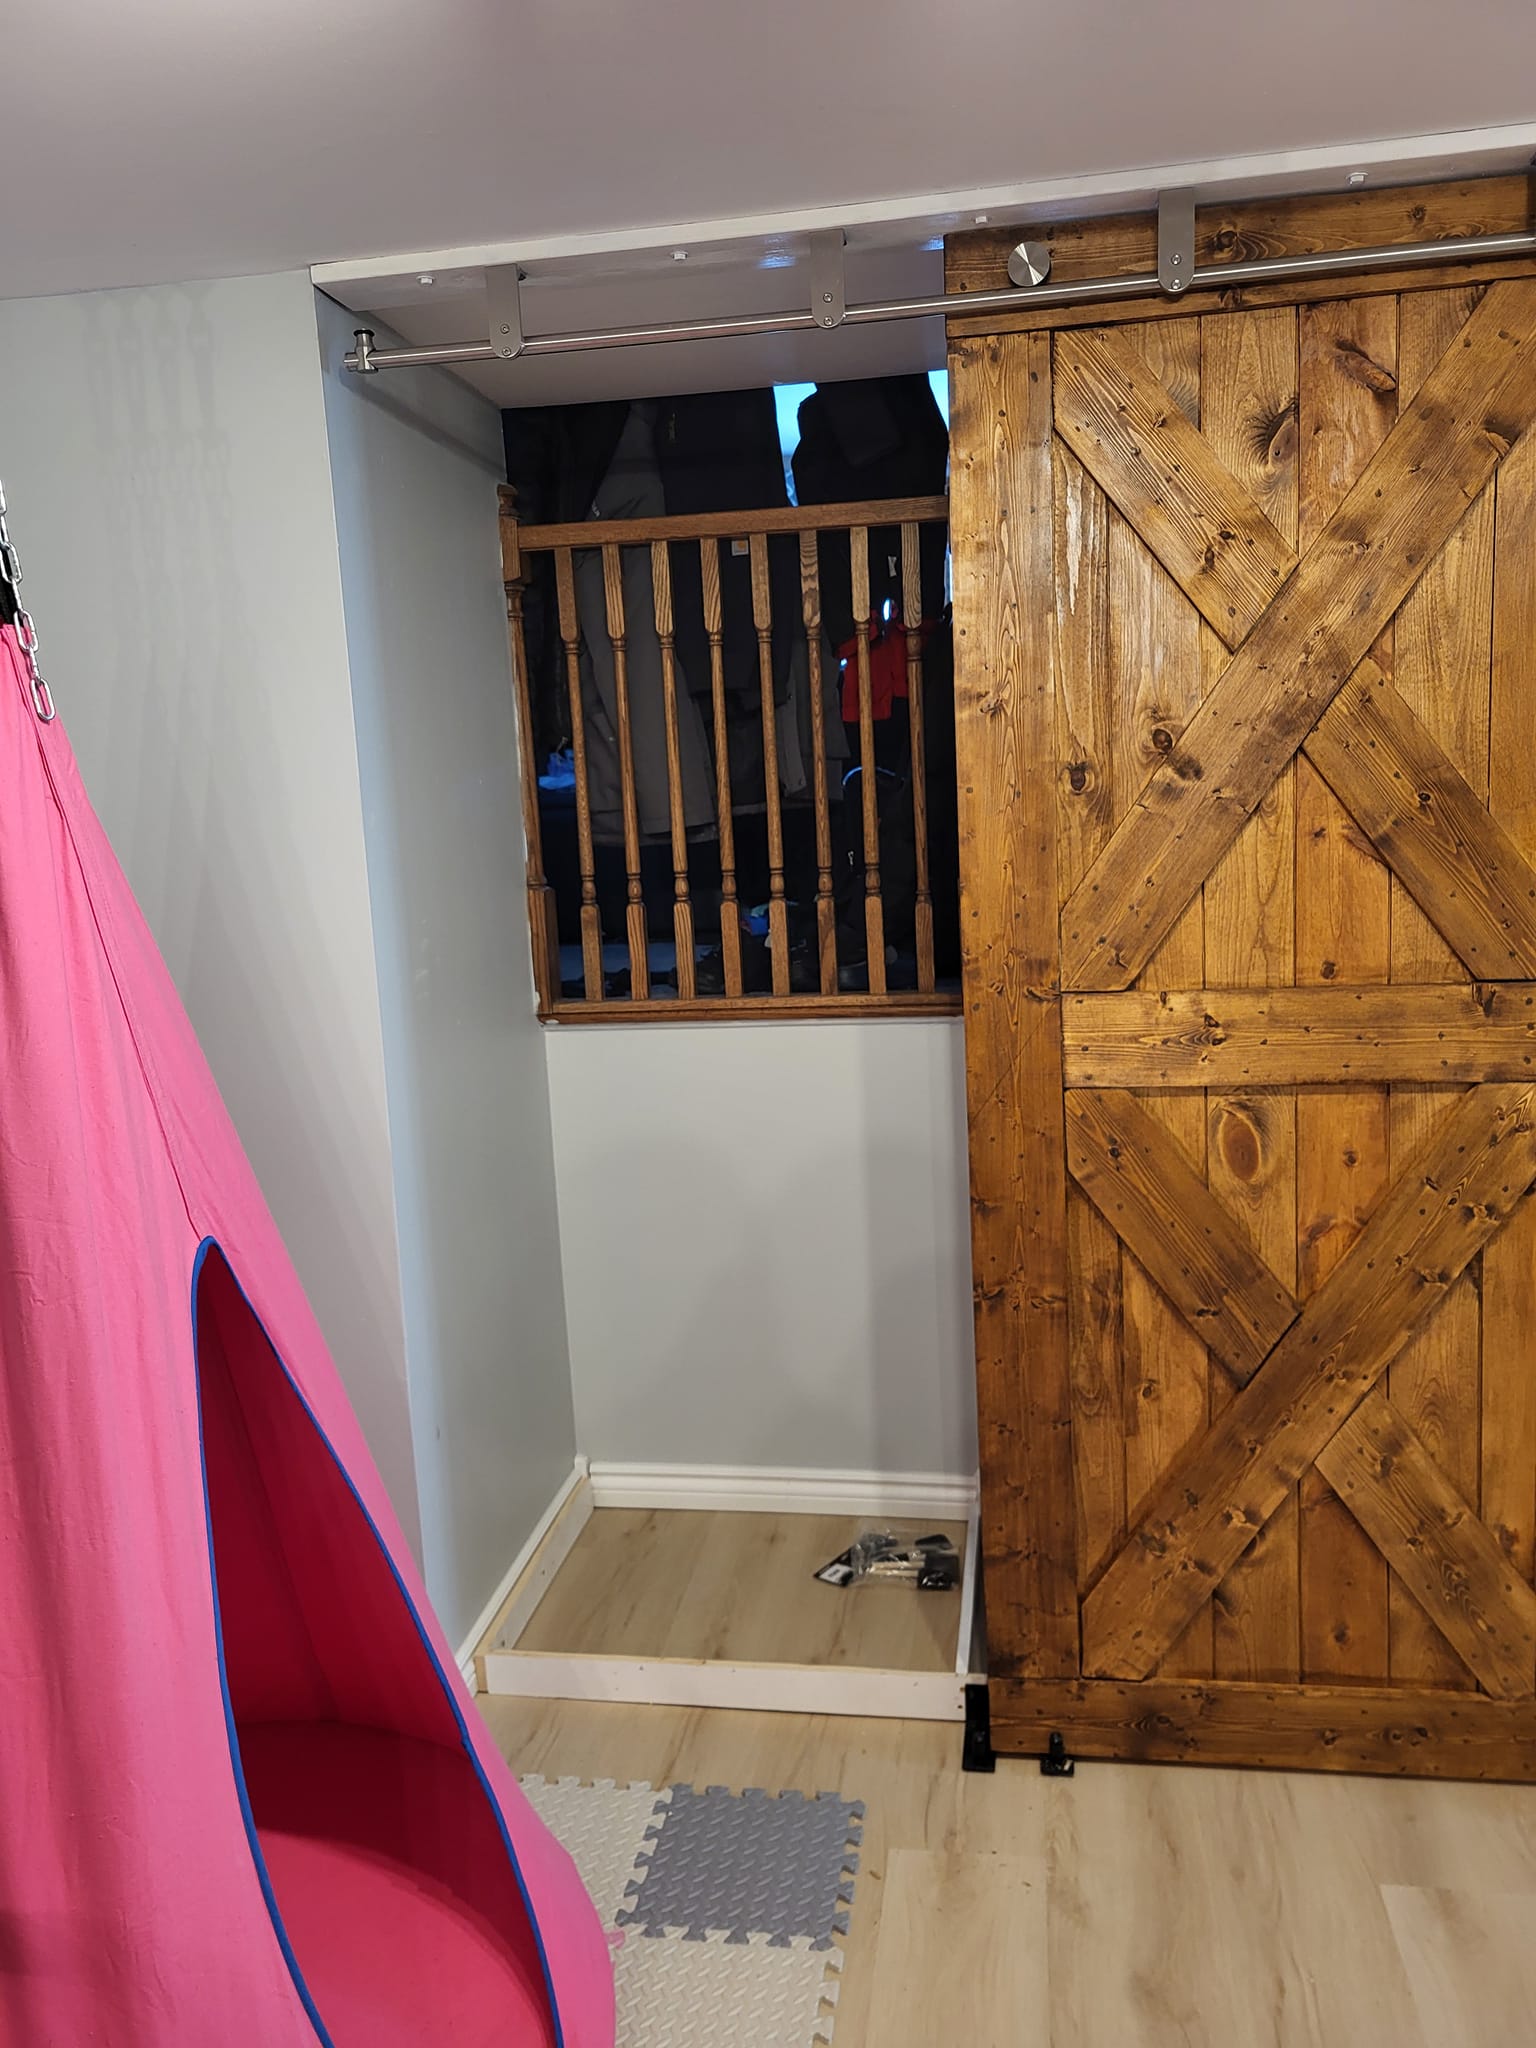
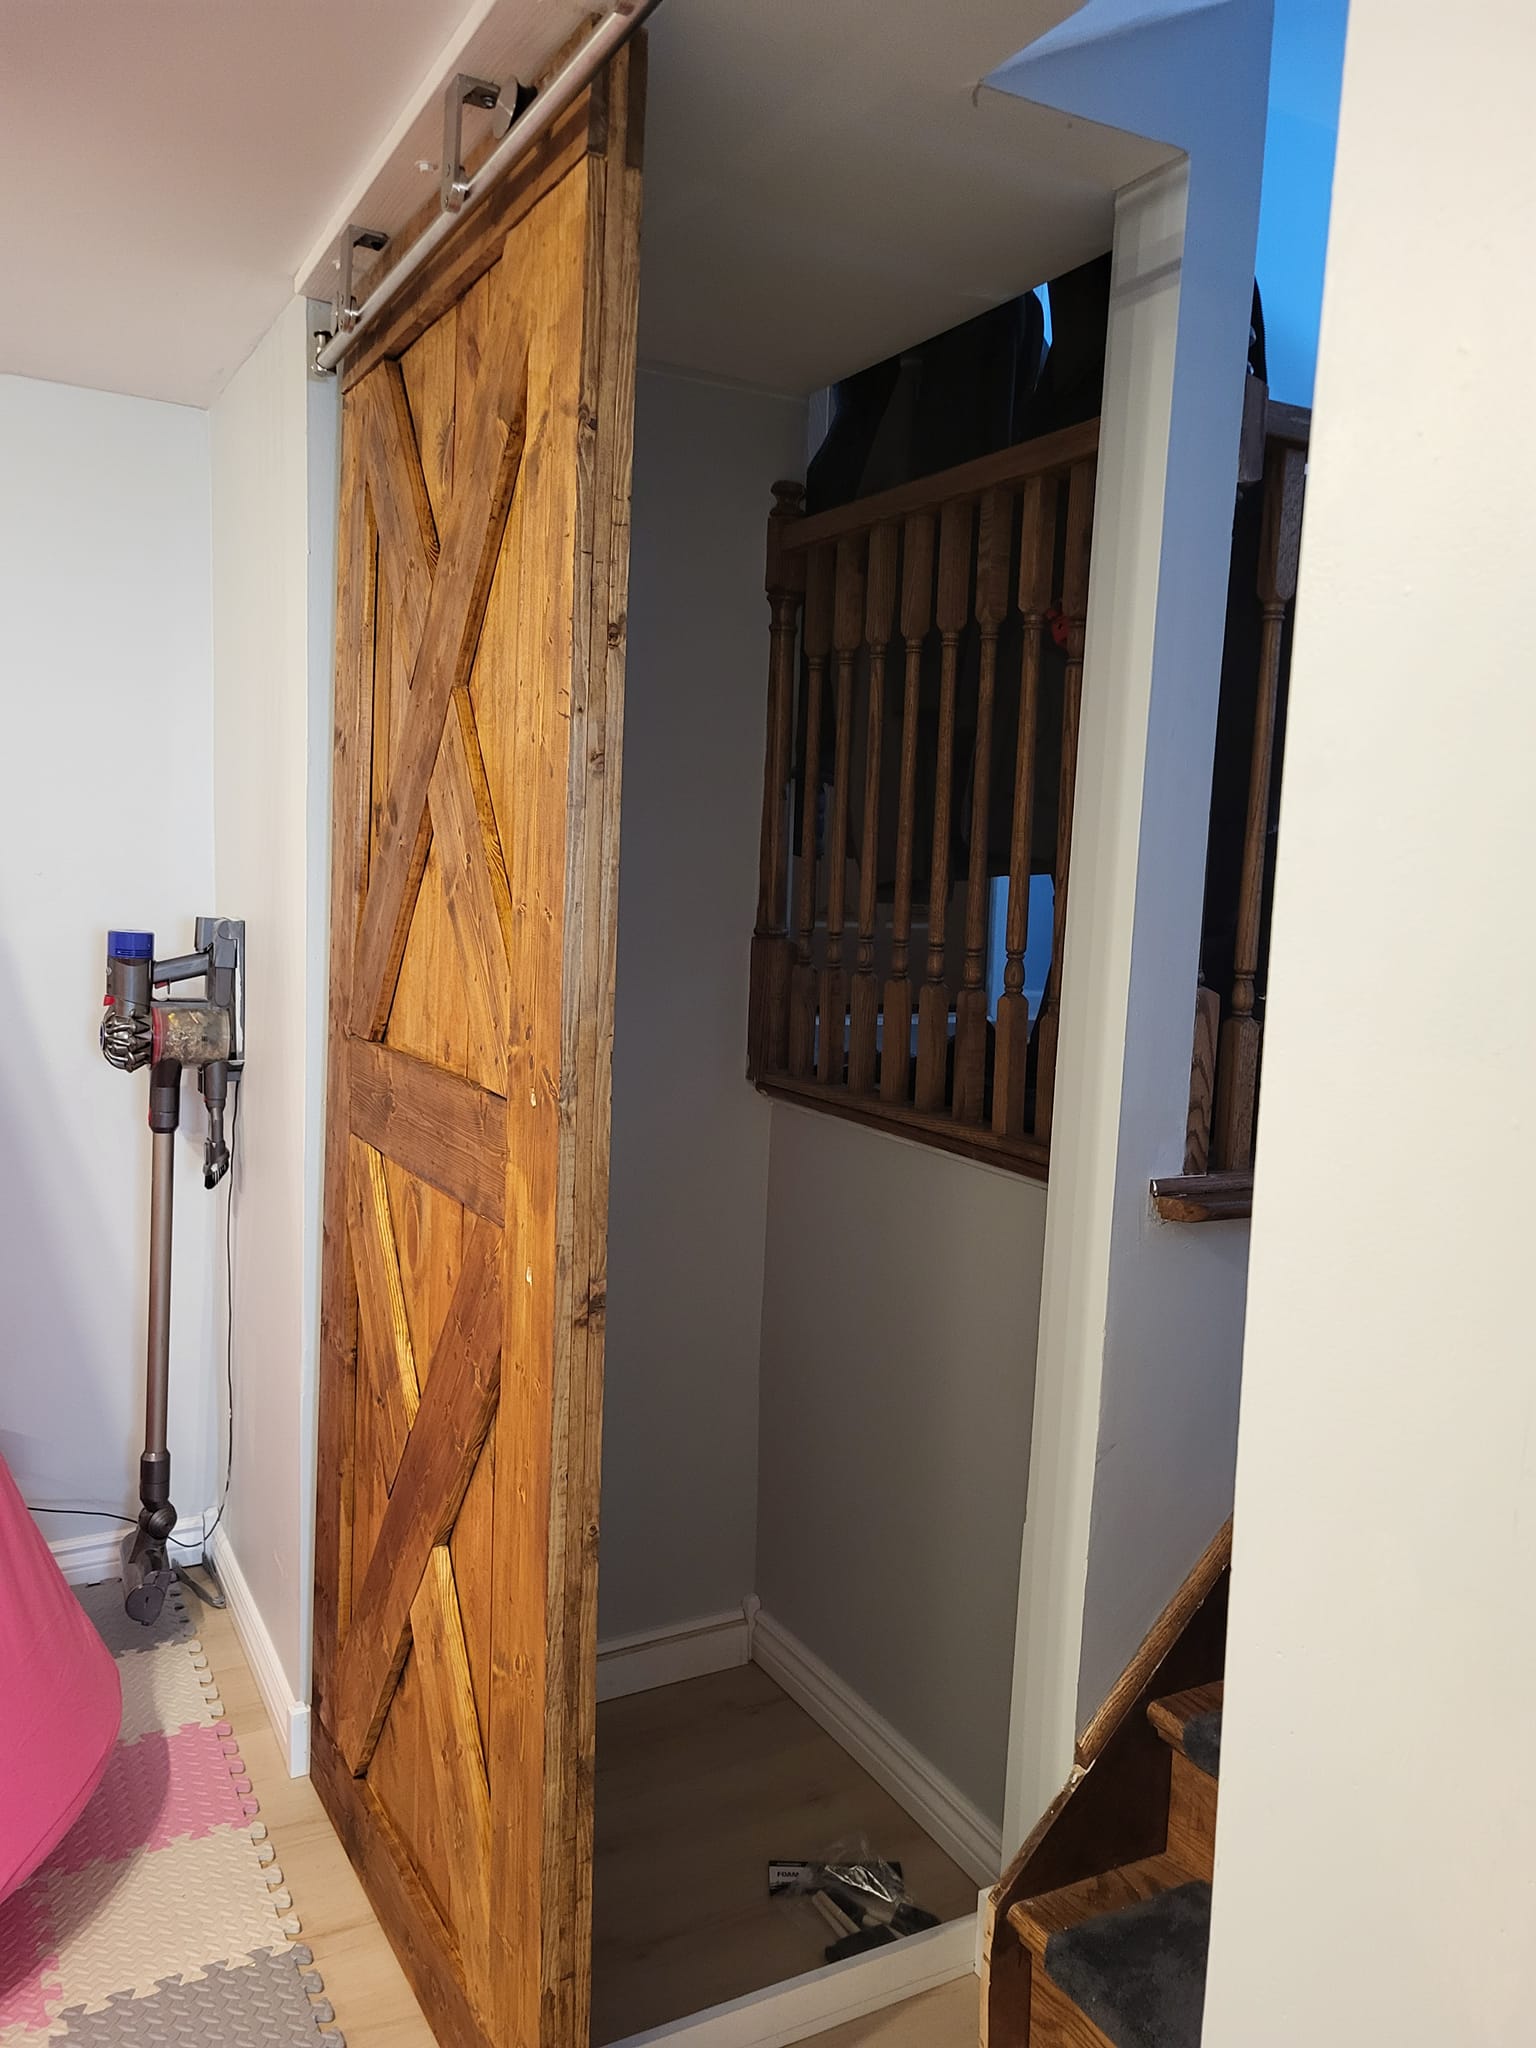
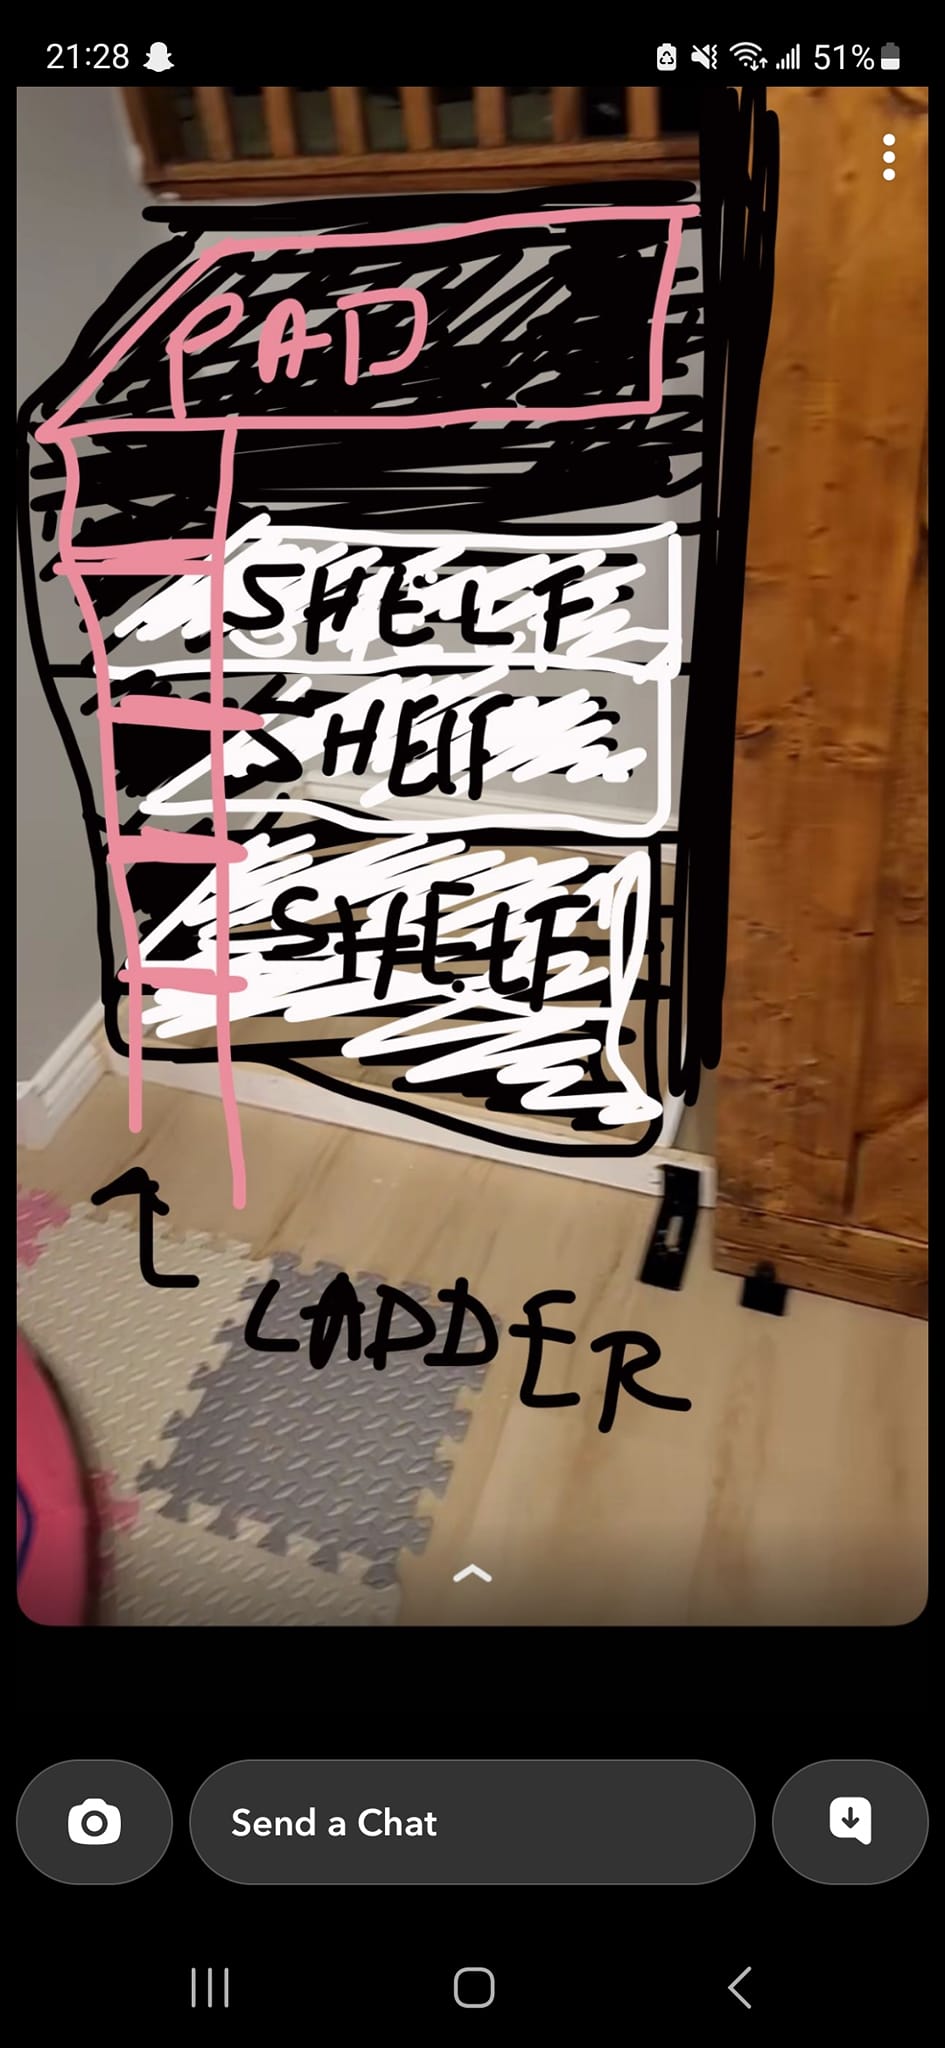
I just put in a barn door in my basement and now I’m trying to figure out how to add a small 89″×23″ wall to frame in the floor guide. My plan is to make some cabinets and shelves behind the door for blankets and toys, as well as a cool fort for my kid.
The floor was recently finished, so I’m hoping I don’t have to tear it up. Any ideas on how to add that wall from the stairs to the end of the header?
I’ve checked out some videos, but I’d love to hear from someone with real experience before diving in.
I’ve attached some photos below. Any advice or suggestions would be awesome.


I would personally build the wall directly on top of the flooring. It may not be the conventional method, but if anyone needs to remove the flooring later on, they can simply cut around the wall. Also, since the new wall won’t be load-bearing, it shouldn’t matter if it’s on the flooring. 🤷🏼♂️
Do you have access below the area where the wall will go to check what’s under the floor? Just to make sure you don’t accidentally drill into any electrical or plumbing lines. I suggest a basic 2×4 wall, screwing the bottom piece directly to the floor.
I would also recommend walling off the railing that leads into the closet/room. Try to align your new wall with the existing wall for a seamless drywall finish.
We just finished ripping up the carpet and laying down the floating floor. It’s just a slab with DMX 1 step underlayment. I was thinking of just placing it over the floor since it’s not supporting any weight. It’s really just for looks, to be honest.
Hey , the idea is to extend from the wall or the edge closest to the stairs all the way to the end of the floor guide, and then include a small piece for the corner.
Screw the bottom plate right on top of the flooring (but first check for square). Place the top plate on top and measure carefully to the ceiling for stud length. Accuracy is key. Ensure ceiling joists are at 90-degree angles to attach the top plate, or add nailers between the joists in the attic if needed. Use a level to plumb the studs and mark the top plate location.
I’m facing an issue locating a floor joist. The track is positioned on the only joist that is near the stairs. Since this is in the basement, it’s not feasible to access it from the attic. It seems like I’ll need to remove a portion of the drywall in the ceiling and insert a stud to secure the top plate.
Personally I feel like you can skip cutting into your ceiling for this wall. Instead, consider attaching the new wall elsewhere up here if you can’t find ceiling joists. You might even try using construction adhesive to bond the top plate to the ceiling. Unless you anticipate significant horizontal forces near the barn door side of the wall?
I totally agree with you, Max. While structural lumber is nice, it’s not really necessary for this project. I think using Liquid Nails and drywall anchors would work perfectly.
I honestly think that using some liquid nails and a few 2×4’s could do the trick. I really doubt that any pressure will be put on the wall.
Since this is not a load-bearing wall, using some 2X4s and drywall should be fine. I don’t think you’ll be hanging shelves on the side wall to support any weight, as the stairs are on that side. A basic wall should do the job. If you plan on installing a handrail on the wall, my only suggestion would be to screw it into the frame or middle support post of the drywall.
The railing is purely for aesthetics. I don’t plan on adding one to that side. I believe drywall anchors/liquid nails will easily support 1/2″ drywall.
I totally agree with you, you’re definitely on the right track. ‘t forget to share the final pics! The door you picked is fantastic!
Thanks for your response. The wall is made of tongue-and-groove pine that I glued, brad-nailed, and stained. It required some planing and ripping, but it’s essentially just 1×6 pine boards. I’ll share the final outcome once it’s ready.