Any tips for repairing drooping popcorn ceiling without replacing large sections of drywall on a budget?
3 months ago
Last Updated: September 5, 2024
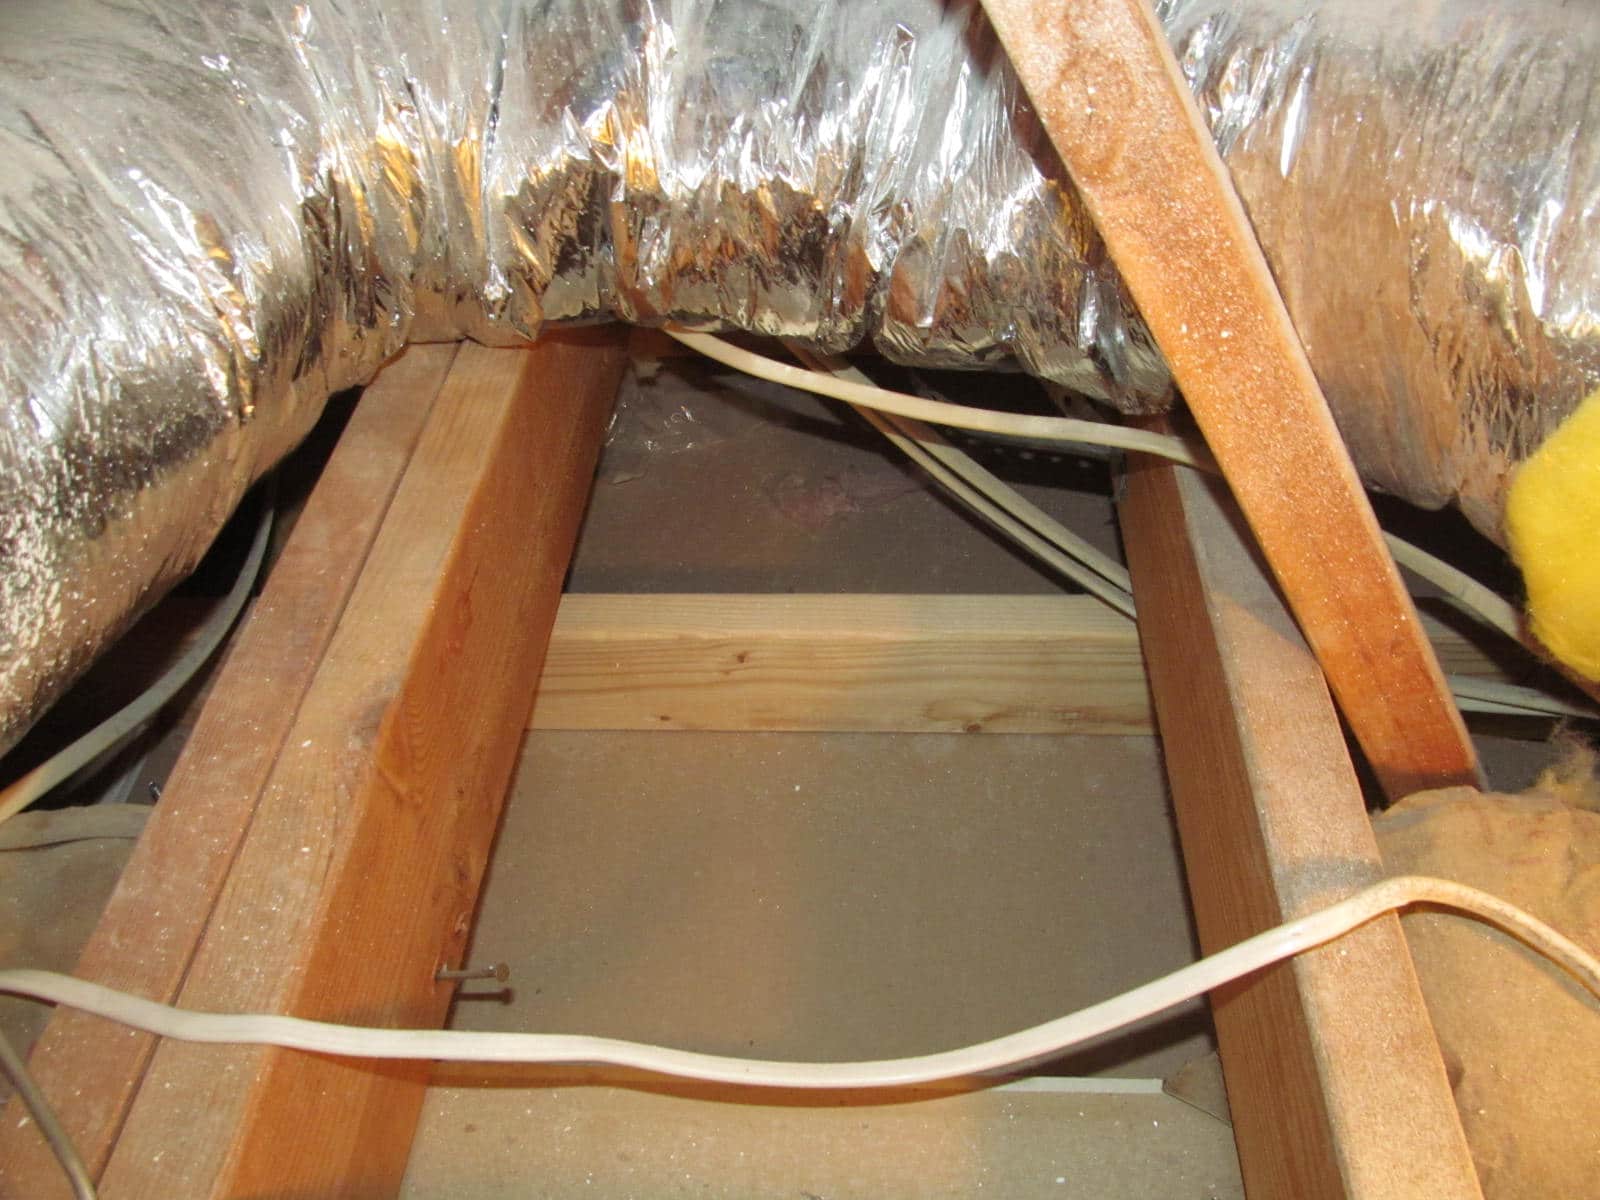
Hey there! I could use some advice. I’m getting ready to tackle the popcorn ceiling in my place. I noticed in the picture some drooping or pillowing – not sure what they call it. I’m not an expert, but I’m thinking the drywall might be too thin. Any suggestions on a budget-friendly way to fix it, or should I start replacing big chunks of drywall? Thanks in advance! Oh, and just a heads up, there’s about 1 foot of blown insulation above the ceiling.
A lot of times it’s just the nails popping out, get someone to help hold it up while you add screws, keep it in place until you have a few screws and it should be stable. I had the same issue in my newly purchased and renovated home.
Hey , I’ll definitely try that out! 🤙
Spray water on it repeatedly for a few hours. Scrape it off afterwards. Make sure to wear a respirator and seal off the house entrance with plastic, as that dust will stick around for a long time.
Drive in some new screws, it will resolve the pillowing problem.
How old is this ceiling?
Just an FYI, if it’s from the 90s or earlier, it probably contains asbestos.
It’s difficult to determine, but roughly 80% of it seems to have been renovated (new drywall, texture, paint, etc).
Drywall is typically 1/2 inch thick. The weight of the texture and paint can lead to that issue. I successfully removed mine using a regular scraper and a modified catch pan made from a plastic paint tray that I drilled a hole in and attached a shop vac to. A DIY trick I came across that worked quite effectively.
If it’s just regular flat paint and not something like satin or semi-gloss, I’ve had success scraping it off with a 6, 8, or 12-foot knife, whichever is easiest to use. Leave the remaining texture as is and paint over it. You’ll be the judge of how it looks and what to do next. I did this on my previous cathedral ceiling in my own house before selling it. If you’re not happy with the results, let a 2-gallon sprayer soak it and it will come off like wet drywall mud.
I don’t want to sound negative, but I highly doubt that using screws alone will fix the bowing issue. It’s unlikely to become completely flat. I’m wondering if the blown-in insulation might have absorbed moisture, adding extra weight to the ceiling?
Mine had 3/4” plus sagging, so I screwed it in, scraped it, skip troweled, and now it appears quite level to me
Let me take a closer peek. The majority of the insulation is pink blow-in. There’s a thin layer underneath that I’ve noticed while working on other projects. I’ll also inspect for any indications of moisture
But it’s been hanging around for 30 years so I’m not sure how easily you’ll be able to relocate it 
I’ve taken some off in the past, but I won’t do it again 😂
A light mist of water and gentle scrape with a wide blade can help get rid of the popcorn texture. You might need to add a few screws to fix any sagging. Make sure to check for leaks or moisture in the attic to prevent future problems. Touch up any screws or imperfections and finish as desired. Since it’s a garage, I personally don’t think excessive detail is necessary, but it’s your call.
Try tightening the screws before attempting to scrape the ceiling to prevent the entire texture from falling on your head.
Contractor here. The success of a fix depends heavily on the drywall’s condition and the insulation above it. Is the attic above insulated? If so, with what material? If it’s not spray foam, is there proper air circulation? I’ve encountered situations in beachfront properties where humid air settles on the insulation, causing it to get wet. The moisture then seeps into the drywall, causing it to degrade to the point where it won’t support a screw. One indicator of damp drywall is when popcorn patches fall off unexpectedly. Your image suggests that the popcorn is intact, which is a positive sign for a garage. If you suspect moisture, consider purchasing an inexpensive moisture meter from Amazon. Once you’ve confirmed that the drywall is dry, you can proceed to reattach it to the ceiling. It appears that the builder may have missed some rows of drywall screws or skimped on glue/nails. Use a studfinder to mark the studs and start screwing drywall screws from the outer sagging area towards the center. This will help prevent the screws from becoming loose. Complete this step before removing the popcorn texture, as wetting the ceiling during removal can worsen the sagging issue if left unaddressed. We frequently remove popcorn textures. Purchase the lightest floor scraper available and gather plastic sheeting, a large pump-up garden sprayer, joint compound, and a 6″ tape knife. Cover the entire floor with the sheeting. Fill the sprayer with warm water and spray it evenly on the popcorn texture. Allow it to sit for a minute, then spray again before using the floor scraper. Work in sections, peeling off the popcorn with minimal effort. Scrape any remaining residue, being careful not to damage the joint compound. Apply joint compound to repair any gouged spots from the scraper and level any dimples left by screws or nails in the ceiling. Let everything dry, prime the ceiling, and then paint it.
Thanks to everyone for sharing their feedback and insights 🤙🤙
I will assume the drywall was installed on the 24-inch on center trusses. Typically, drywall companies avoid hanging drywall directly on trusses spaced 24 inches apart due to sagging concerns. Instead, they usually attach 1×3 strapping to the trusses every 16 inches and then hang the drywall on the strapping. A 24-inch spacing is too wide for drywall on a ceiling.
Hey, all of my walls are 24 inches, so I’m wondering if bracing or adding a backer would be a good option in that situation?
I have relatively easy access to it from above. I’ll explore these options to figure out the best solution. Appreciate the assistance and advice!
That does seem logical. It appears to be larger than 2 feet. If you can access the ceiling, you’ll know what needs to be done.
Personally, I’d prefer to just re-rock the ceiling because I don’t have the patience to deal with that. It’s common for ceilings to sag in older homes due to nails coming loose from dried-up joists. Mine is experiencing the same issue. The best approach is to screw the entire ceiling off. You could just fix the sagging parts, but they’ll likely reappear elsewhere next year. Screws are inexpensive, so it’s better to locate each nail and drive a screw 2-3″ away from it. Make sure to do the entire ceiling and use the drywall tip for your drill. If you’re working with 1/2″ rock, go for 1 1/4″ screws. For 5/8″ rock, consider using 1 5/8″ screws. As you drive the screw, watch the nail pop, indicating success. Afterward, hit each nail with a hammer, then mud both nail and screw at once, ensuring to create a nice dimple with the hammer to hold the mud in place. If your ceiling is already screwed in, I’m not sure what to do. I would assume the screws were installed incorrectly, causing them to pull out or through the rock. In that case, I would recommend a similar approach, focusing on the problematic areas.
Make sure to grab these for your drill. They work well with a driver tip.
This is a tip for using a drill. You might already have one. If not, it’s a good idea to get one. And also purchase a pack of #2 Phillips tips. When they start to get dull, they won’t screw in properly. They will last longer as you improve, but you’ll still need to change them regularly. When you’re screwing in screws, use a medium to high speed. Drive the screw in one continuous motion without stopping. Keep the power on and apply constant pressure on the tool until it hits the rock and you hear the head slipping over the screw. The screw should be just below the paper surface, not poking through! The tip I recommended will do this automatically. If your battery is low, charge it right away. It’s ideal to have two batteries so you can keep working. Also, get yourself a 4-foot step ladder to work from.
I wouldn’t remove that ceiling just because of some minor sagging, especially with blown-in insulation. Check for any roof leaks. Place a 4-foot 2×4 on the ceiling and then use another 2×4 to push it back up. Add bracing or nailers in the attic if necessary and then screw it back in place.
I have a bit of a combination project planned – I’m going to remove the popcorn ceiling and also fix the sag. I’ve been considering adding bracing, which I’ll likely do if it turns out to be more than just loose nails.
That’s fantastic advice! I’m dealing with the same issue in my garage, and you’ve just answered my question on how to tackle it. Thank you!
Was a coat of paint applied?
I think it definitely appears to have around six patches that are the size of a full sheet of drywall
But honestly it might just be a difference in colors because of the texture
Pointed out that if the surface wasn’t painted, it would be easy to spray, scrape, spray, and scrape. But once it’s painted, the best option is to put 1/4” right over it. If the issue is sagging drywall, it’s recommended to remove it and start fresh.
So, shared that he removed a small section in one spot and found it easy to scrape off, reaching the brown drywall paper. He suspects the rest of the ceiling won’t be as simple though.
Hey, mentioned that you should scrape it off first and then touch up the seams and screws with drywall compound. Once that’s done, sand it down before painting.
If the house was constructed before 1990, it’s important to have it checked for asbestos before doing any removal work.
No matter how old it is, make sure to test for asbestos to keep yourself safe
https://www.coj.net/departments/neighborhoods/environmental-quality/docs/renovation-demolition-handout-(05-27-2021).aspx
If the person who installed the ceiling originally knew they were going to apply a popcorn coating, they wouldn’t have finished the seams completely… Can you try pushing up on the drywall? Does it move? It might not have been installed correctly. Ceilings should be double screwed to prevent issues like this… Check for movement, and if there is any, rescrew it and skim coat the seams and fill in the dips.
Thought I saw my own garage ceiling in that picture! It’s on my to-do list for next month so I appreciate all the advice! Best regards!