Garage Floor Epoxy - Everything you need to know

Charlie
Technical Writer
Charlie focuses on the technical aspects of home systems, from electrical wiring to HVAC efficiency. He breaks down complex building codes into actionable advice for every homeowner.
View Full Profile →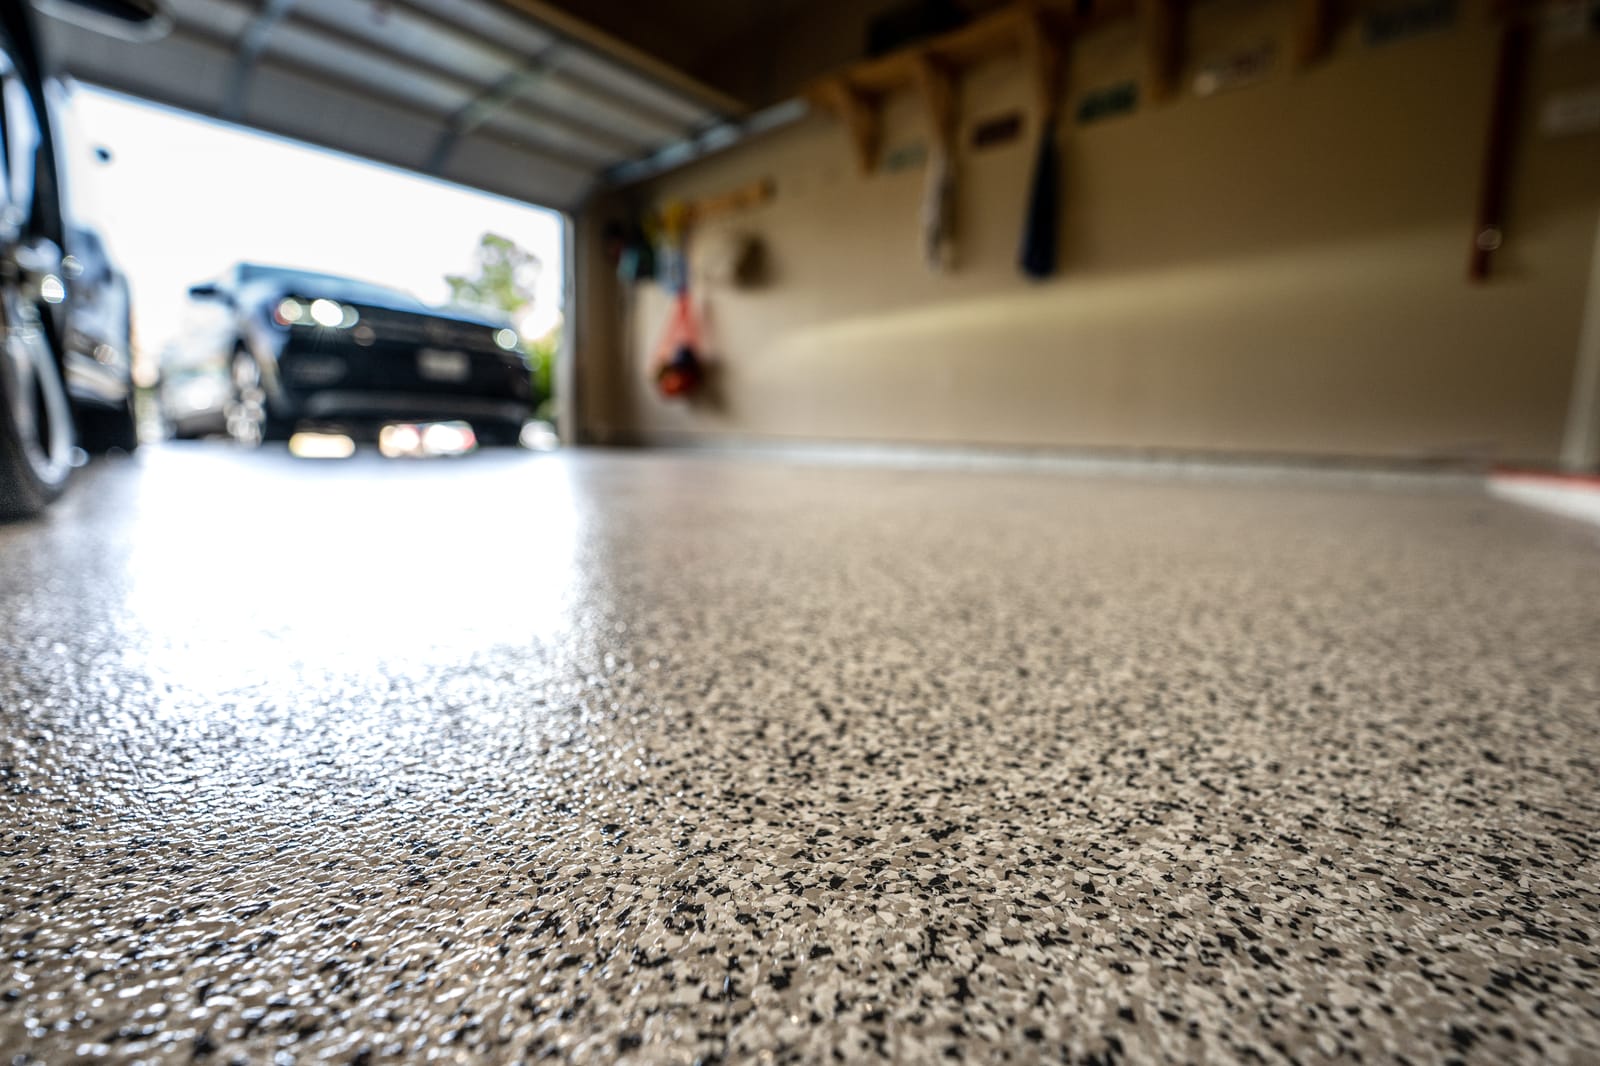
Garage floor epoxy comes in all different colors and styles and serves to seal plain porous concrete with a durable and attractive non-porous finish. Concrete floors in garages are often exposed to various chemicals, oils, and abuse from different activities. Using a sealant which is non-porous like epoxy will help prevent staining and general wear and tear.
An oil spill on a garage floor that is sealed with epoxy will simply wipe right up, however without the epoxy coating the oil will immediately begin to soak into the concrete. Epoxy resins are also fairly quick to apply as well as quick to cure resulting in a great finish with little downtime.
How durable is an Epoxy Garage Floor?
Durability and longevity are important considerations when choosing an epoxy for your application. Depending on how much activity occurs in the space some epoxy coatings will last upwards of 30 years in a residential environment while industrial settings could need re-coating in as little as 2-3 years. After application of the initial epoxy and decorative chips or anti slip materials, applying a final seal will be crucial in the overall durability.
The epoxy resins actually create a chemical bond with the concrete resulting in an extremely hard finish that won’t flake off like regular paint. A properly applied and cured epoxy coating in your garage floor will resist scratches, staining, cracking, oil and chemical spills.
Think of industrial or commercial applications where forklifts and heavy traffic occurs all day - epoxy can stand up to this abuse remarkably well. It can also withstand blunt impact very well such as heavy objects falling on the floor or items being dragged on top of the epoxy.
Prepping the concrete in the garage or driveway
One key step like many other projects is preparation. In order to get a strong and long lasting epoxy finish in your garage, prep work will most likely need to occur. It is important that cracks and joints are filled with an epoxy filler product and that imperfections are ground down.
After all of the crack filler products have cured you will need to degrease the entire floor. This is not a crucial step on newer concrete pours, but if you have had your garage for a long time and dripped oil and other greases on it then you will definitely need to make sure you do this step. Anywhere that has heavy grease or oil will prevent the epoxy from bonding to the concrete.
 A straw-bristled broom and water cleans up an oil spill in a household garage with oil-absorbing cat box litter granules.
Most DIY kits will come with or recommend an etching solution. Usually you will mix an etching concentrate with water and scrub this around the entire concrete surface with an abrasive brush. This chemical will cause a reaction with the concrete and further prepare the surface to be in the ideal condition to bond with the epoxy. The typical etching solution contains a mild citric acid.
Be sure not to use any muriatic acid on your concrete floor. After these steps ensure there is no dust or loose debris. You should now be able to run your fingers over the floor and have no visible dust on them afterwards.
If the concrete garage floor has large cracks or cracks where one side of the concrete is higher than the other this could be a warning sign of structural issues, subsidence, or other issues.
Other considerations:
- Has a previous sealer or paint been used before? Try dripping some water onto the floor and see if it absorbs or beads up. If it beads you may have a sealer already which could affect the adhesion of the epoxy. If there is existing paint be sure to remove it completely.
- Moisture in the concrete: Take a square of plastic sheeting such as a garbage bag, plastic painters drop cloth or visqueen and cut it into a 30 inch by 30 inch square. Tape the plastic down directly to your concrete floor all the way around the plastic with a good quality duct tape.
- Observe after 24 hours if water drops have condensed on the inside of the plastic or if the flooring under that plastic is now wet.
- If the concrete is wet there - it is not recommended to proceed as the finished epoxy may fail prematurely due to the moisture. You must use a Moisture Sealing Epoxy Coating in this scenario.
How to apply the epoxy to the garage floor
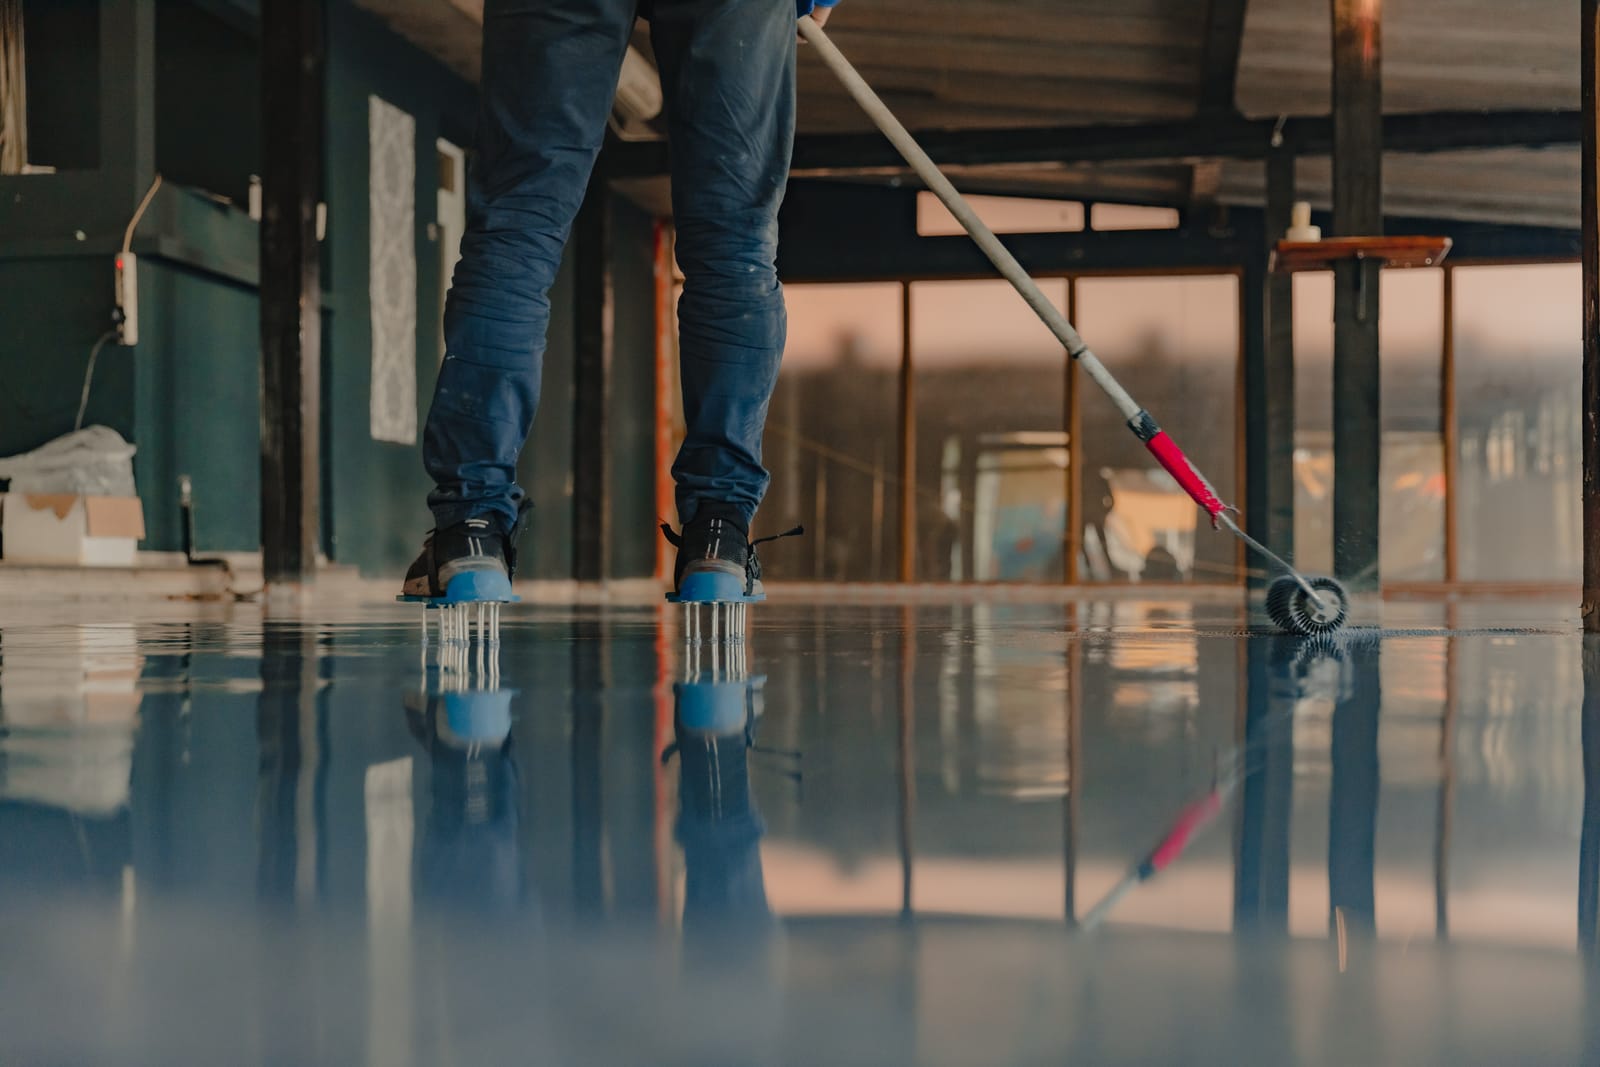 A worker applies gray epoxy resin to the a concrete floor
- Tape and mask off all surfaces that you do not want the epoxy to get on such as walls, wooden steps, doors, garage door components, etc.
- Mix together the two compounds to create epoxy. Epoxy is formulated by mixing a hardener (catalyst) with a resin. This mixing process must occur only when you are ready to apply as the epoxy starts curing somewhat quickly. Be sure to follow the manufacturer’s directions very carefully as even a slight deviation could cause an undesirable finish. Most DIY kits will allow about 1-2 hour working time to get the floor coated.
- If you are using multiple kits to have enough coverage for the entire garage mix all of the resins together first. Mark the level of resin in each bottle before combining as you will need to add it back into its original container after mixing. In a 5 gallon bucket combine all of the colored resin bottles and mix thoroughly to ensure that the color will be consistent across the entire garage. Then pour them back into their original containers exactly to the line you had marked.
- Take one bottle of hardener (usually Part A) and pour into a resin (Part B) and mix constantly for at least 3 minutes. If you have a non slip additive now is the time to add it.
- Wait! Most products will require you to wait 5 minutes up to 45 minutes. This is all dependent on the ambient temperature and will be indicated in the instructions.
- Paint your floors! It is helpful to have two people, one painting the perimeter while the other uses a roller to paint the main area. Use a good quality synthetic brush for the edges and a ½” nap roller for the main areas.
- Decorative Chips - If you are using decorative chips only paint about 4 feet by 4 feet at a time so you can sprinkle the chips on more easily. Don’t worry about painting over the chips when you have moved on to the next section.
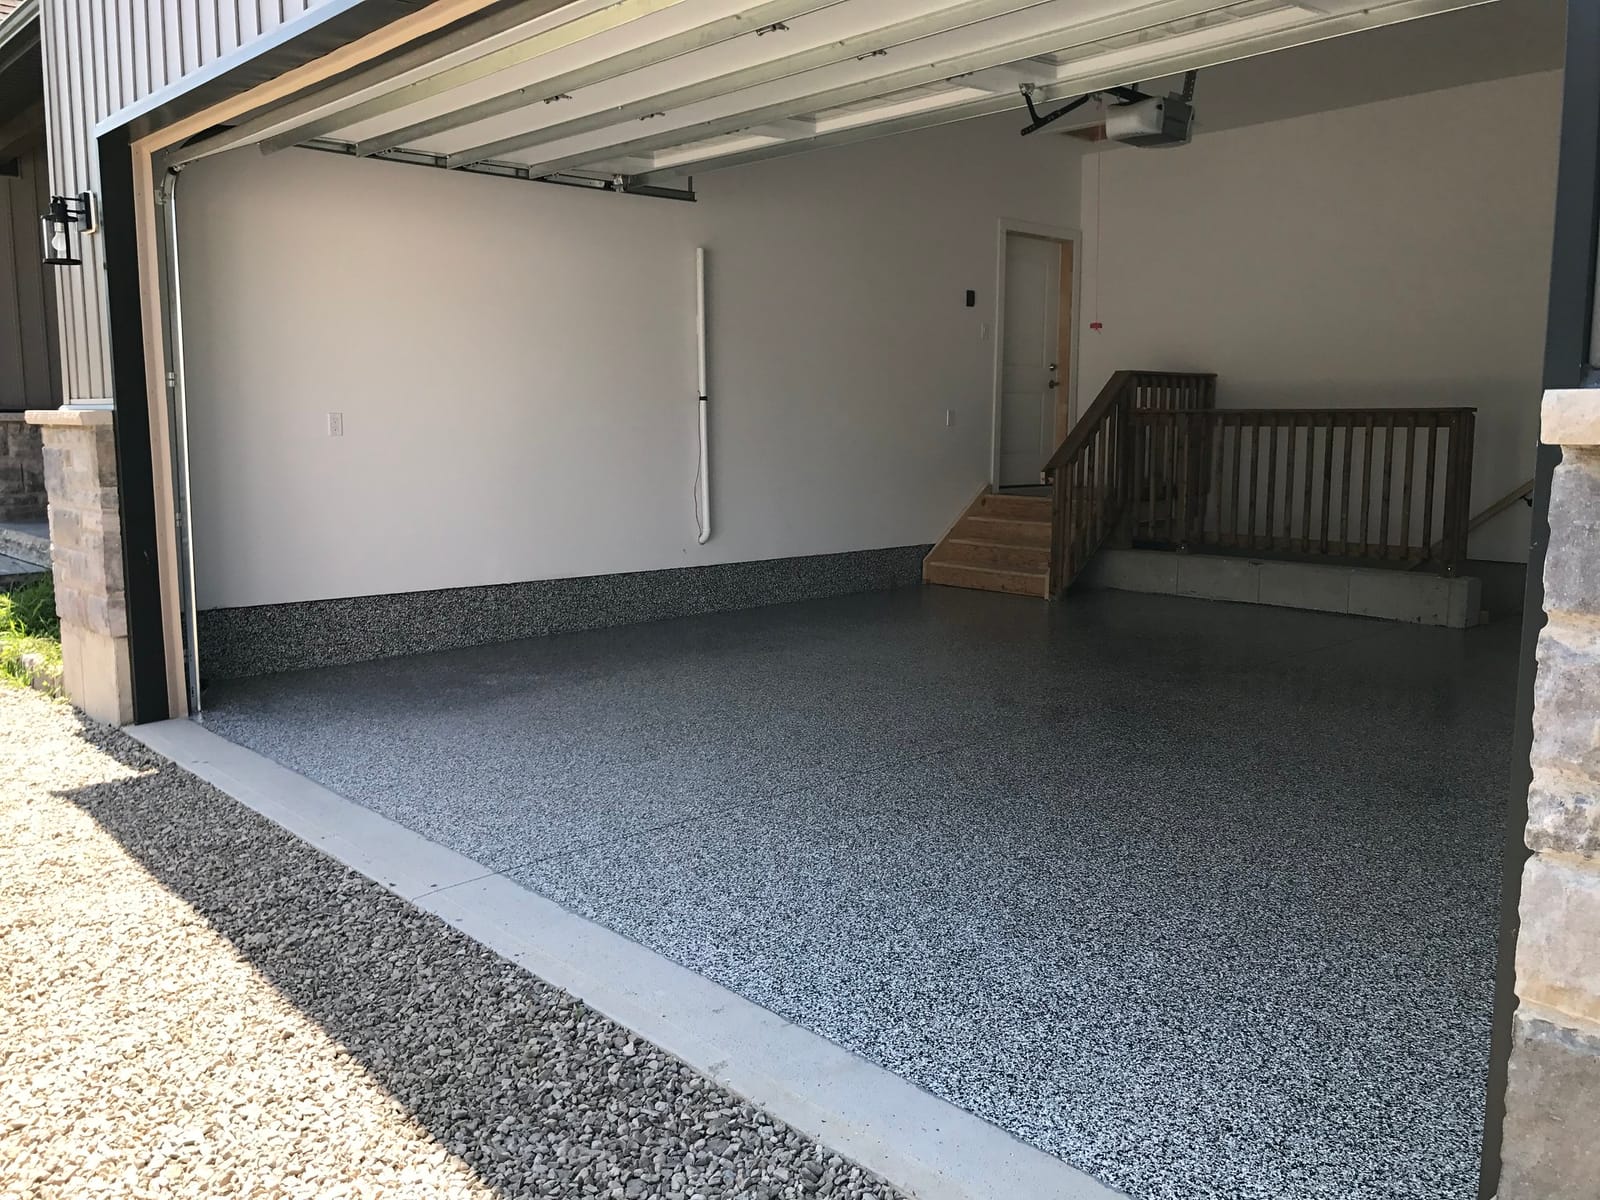
Garage Floor Epoxy Granite Chips
Dry/Cure Time
The following cure times are based on an ambient temperature or 70deg F with 50% relative humidity at the location where the epoxy is to be applied. The epoxy coating should be ready for light foot traffic after around 12 hours while heavy foot traffic and placing heavy items should wait for 1-2 days. Before driving your car into the garage or on the driveway where epoxy was applied, wait a full 3 days.
How much epoxy is needed to cover a garage floor?
A typical 250sq/ft one car garage will use a 120fl/oz kit, while a 2 to 2.5 car garage will use the 240 fl/oz kit which can cover 450-500sq/ft. There are some other considerations such as how porous the concrete is that could require additional epoxy. Common garage sizes are as follows:
- 1 car garage: 240 sq/ft to 384sq/ft
- Widths of 12’, 14’, or 16’
- Depths of 20’, 22’, or 24’
- 2 car garage: 440 sq/ft to 624 sq/ft
- Widths of 22’ 24’ or 26’
- Depths of 20’, 22’, or 24’
- 3 car garage: 620 sq/ft to 816 sq/ft
- Widths of 31’ to 34’
- Depths of 20’, 22’ or 24’
Adding a clear coating to the epoxy
Some manufactures suggest applying a clear coat over the top of the epoxy coating to provide additional durability and protection. Clear coatings will usually be a high gloss protective finish that can really make the floor shine. Any previously applied epoxy coatings must be fully cured before applying a clear coat over the top. Without a clear coat the repeated action of hot car tires turning back and forth will dull the beautiful shine that was initially crystal clear after application. Some types of clear coat products are not all recommended for prolonged UV light exposure such as a driveway since they will yellow over time.
Polyaspartic clear coatings on the other hand are UV and light stable with a much lower yellowing tendency. Polyaspartic sealers are also able to be pigmented or stained, mixed with chips as well as metallic pigments. Interestingly polyaspartic chemistry has only been around since the early 1990s. The main benefit over polyurea is that polyaspartic esters reaction time can be slowed down to a manageable time for application. This makes it a popular ingredient in two part polyurethane coatings.
The more clear coats that are applied the longer the finish will last. Some top specialists recommend 3 coats for an ultra durable finish.
What is the best type of epoxy for concrete garage floors?
The key considerations for choosing an epoxy product are ensuring that it is 100% solids, not water based, and that it is an Aliphatic type. 100% solids means that there are no additives which will simply evaporate after painting the concrete. 100% of the product is solids that will stay down on the floor as opposed to high solids which means some percentage of the product will not remain after cure. It is okay for primers or top coats to be not be 100% soilds but make sure that the main application is.
Water based epoxy is not as strong as 100% solids but it is usually easier to apply and does not give off as many VOC’s or volatile organic compounds. If epoxy is to be applied on a concrete surface inside of a home be sure to consider water based for that application to prevent air pollution. Popular brands sold in big box stores which are marketed to DIY homeowners for their garage floors may be water based.
Garage Epoxy Colors, Finishes & Chips
There are an incredible amount of color and finish options available to the consumer when applying epoxy to their floors. Since a straight gloss finish can be slippery when wet it is often recommended to use an anti slip additive or chips to give the floor some texture. Popular chip colors and styles will emulate a granite look, however creativity can run wild with epoxy. Taping off different squares or shapes and painting different colored epoxy in each one can create a tile look. Mixing color additives in different ways can even result in a floor that looks like water! Many car enthusiasts love the checkered floor aesthetic, and this can also be achieved with a little extra prep work and patience in the application.