How to Prepare and Install a Standing Seam Metal Roof
Preparing the Hem for a Standing Seam Metal Roof
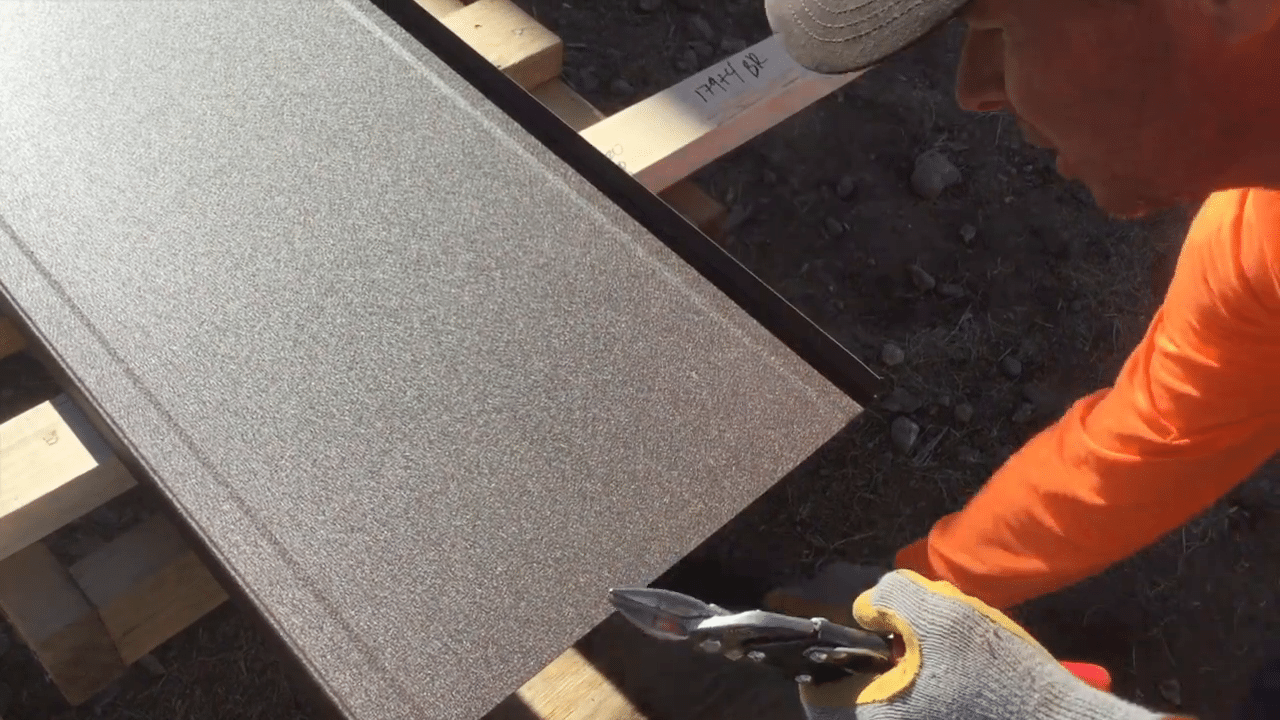
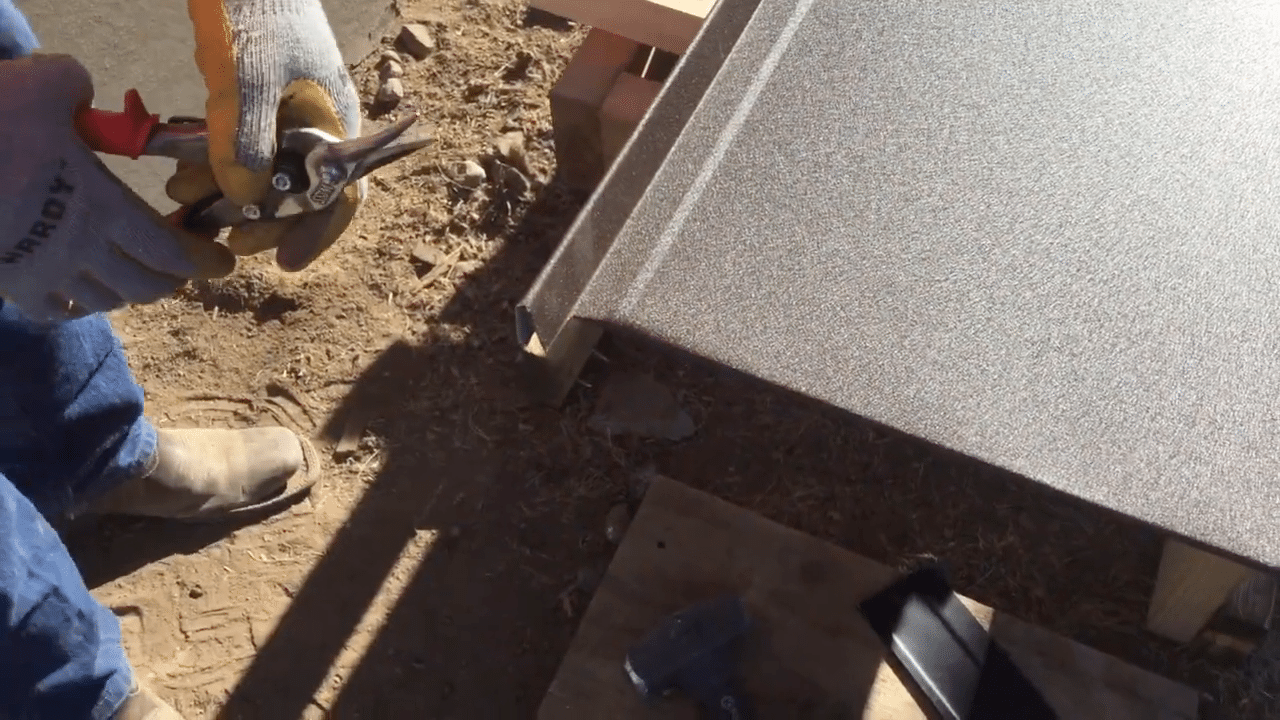
The first step in preparing a standing seam metal roof involves making precise cuts and folds. Using a Sharpie, measurements are marked one inch down from the hemline. This ensures that the subsequent folds and cuts are accurate and consistent. A hem is an essential part of the roofing process as it ensures a secure and clean edge for the metal panels.
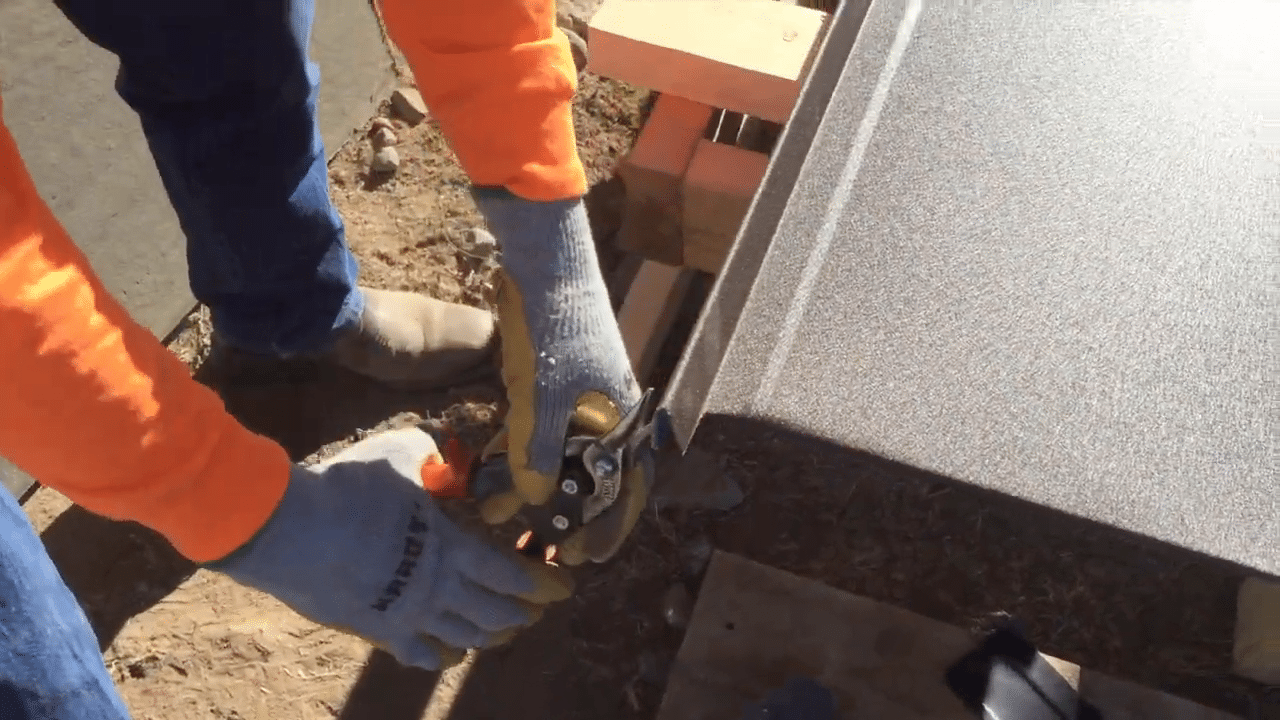
To begin, cut back any excess material using snips and a crimping tool. These tools help in making precise cuts at the required angles, which are crucial for the standing seam to fit perfectly and lock properly. The marks made with the Sharpie guide these cuts, ensuring they are one inch down from the hemline. It is also important to cut the material at an angle that keeps it out of the way for the standing seam.
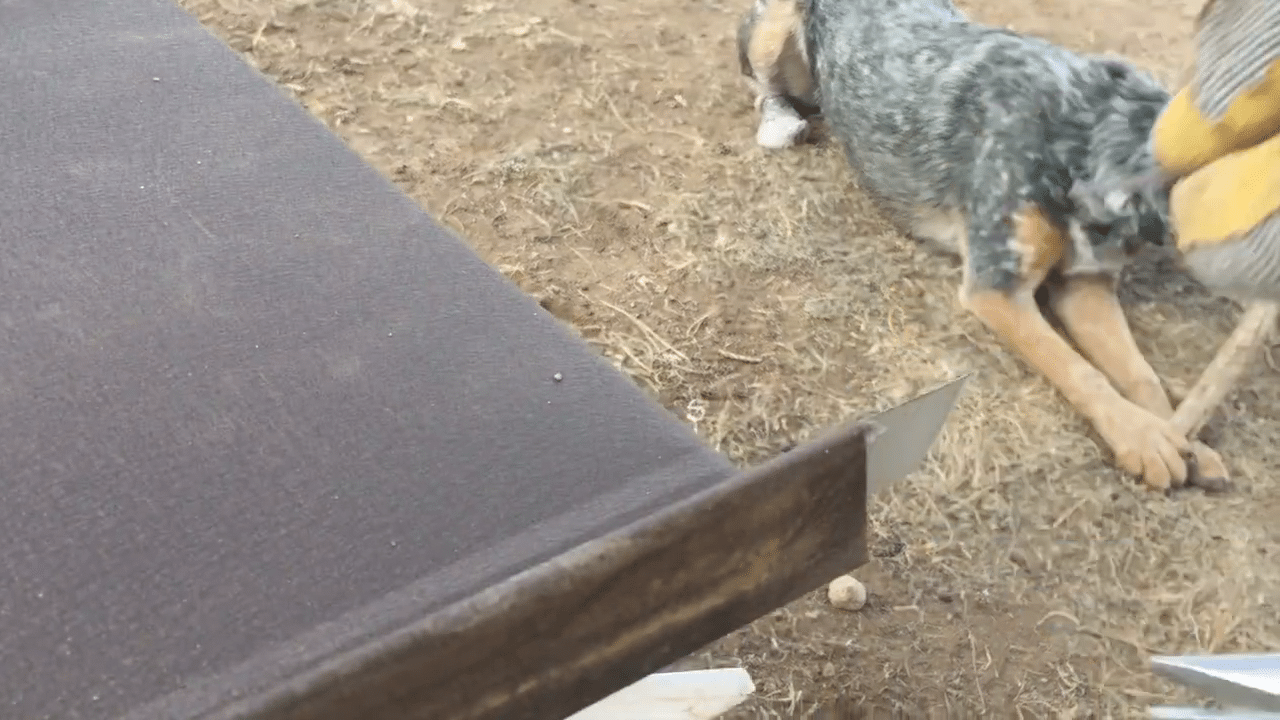
Next, the hem tool is used to bend the material over. This tool is designed to assist in creating a clean and precise hem, which is important for the overall integrity of the roof. The hem tool ensures that the fold is uniform and securely in place, preventing any potential issues with the roof’s installation or performance.
Detail Work and Roof Angle Adjustments
Detail work is crucial in the preparation of a standing seam metal roof. After the initial hem is made, additional cuts are required to match the angle of the roof, which in this case is 14 degrees. These cuts ensure that the metal panels align perfectly with the roof’s slope, providing a seamless finish.
Once the excess material is removed, the hem tool is used again to start the bending process. This initial bend is critical, as it sets the stage for the final adjustments. Ensuring that the hem is correctly positioned and secure helps to prevent any future issues, such as water ingress or pest intrusion.
For added security and detail, a sledgehammer may be used to fine-tune the hem. This helps to close any gaps and ensures a tight fit, preventing elements like snow or bees from getting into the roof. By taking the time to perform these detailed adjustments, the overall quality and durability of the metal roof are significantly enhanced.
Installing the Standing Seam Metal Panels
The installation of the standing seam metal panels is a critical step in the roofing process. The goal is to have no exposed fasteners, which enhances the roof’s aesthetic appeal and longevity. Each panel is held in place by two screws at the top, with clips over the seam edges. These clips are screwed into the substrate and allow the panel to expand and contract with temperature changes.
By not connecting the hem with fasteners, the entire panel can move freely over the drip edge. This design prevents stress on the panels and ensures they remain securely in place without warping or buckling over time. The screws at the top are covered by the ridge cap, maintaining the roof’s sleek appearance.
Proper installation involves sliding the panels into the clips and securing them without visible screws. This method not only looks better but also reduces the risk of leaks and other issues associated with exposed fasteners.
Finishing the Roof with a Ridge Cap
The finishing touch for a standing seam metal roof is the ridge cap. Before installing the ridge cap, a Z-bar is placed to hold it securely and provide a clean finish. The Z-bar also ensures that there are no exposed fasteners, maintaining the roof’s integrity and appearance.
The ridge cap protects the roof’s peak and sides, preventing water and debris from entering. For added security, a box end is riveted to the ridge cap, providing a neat termination point. This is particularly important for single-slope roofs, where the termination is more exposed.
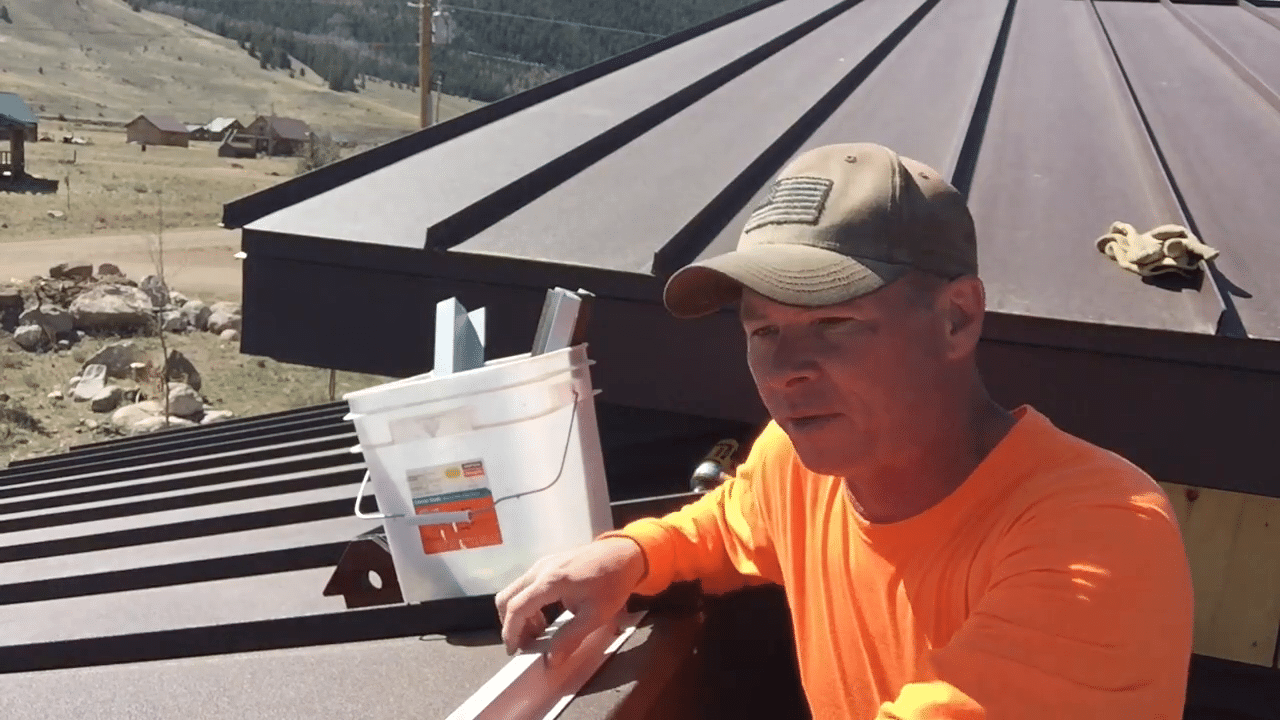
Z-bars come in 10-foot lengths and need to be pre-cut to match the roof’s width. These bars are typically cut on the ground and then taken up to the roof for installation. This repetitive process requires a routine to ensure efficiency and consistency.
Applying Waterproofing and Final Adjustments
Waterproofing is a crucial step in ensuring the longevity and performance of the roof. Applying B-tape beneath the Z-bar provides an additional layer of protection against water ingress. This tape also helps to hold the Z-bar in place, ensuring a secure fit.
After placing the B-tape, the Z-bar is secured with screws and rivets. Locking pliers can be used to hold the pieces together while drilling and installing rivets. This method ensures a tight, secure fit, preventing any movement or gaps that could lead to leaks.
For an airtight seal, expanding foam is used to fill any gaps and provide insulation. This foam expands to fill the space, ensuring that the roof is completely sealed against the elements. Using high-quality expanding foam, such as fire-rated foam, adds an extra layer of protection and durability to the roof.
Final Steps and Considerations
The final steps in the installation process involve securing the ridge cap and ensuring that all components are properly aligned and locked in place. Rivets are used to secure the ridge cap every few feet, providing additional stability. Hex screws are used on the fascia to keep everything in place and prevent any movement.
It’s important to make sure the ridge cap overhangs slightly to deflect rain and prevent water from entering the roof. This small detail can significantly enhance the roof’s performance and longevity. By taking the time to secure all components properly, the overall quality and durability of the roof are ensured.
In summary, the preparation and installation of a standing seam metal roof involve several detailed steps, each crucial to the roof’s performance and longevity. From making precise cuts and folds to applying waterproofing and securing the ridge cap, each step requires careful attention to detail. By following these steps and using high-quality materials and tools, a durable, long-lasting roof can be achieved.


Additional Resources
-

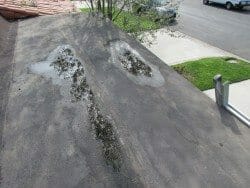
Deterioration or leaking may occur if water stands on a roof too long. A little puddling is acceptable provided that it is not too deep.
-

Most shingled roofs have metal drip edge flashing. If damaged, missing or not installed, then moisture intrusion may occur causing damage or mold and mildew.
-

There are a few things we all should know about our roof. For example, what can affect the health or life expectancy.