Effective Ceiling Crack Repair: A Comprehensive Guide to Fixing Drywall Damage
Identifying and Preparing the Ceiling Crack
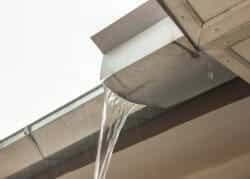
Cracks in the ceiling can occur for various reasons, including house settling, poor installation, or, as in this case, water damage. Fortunately, once the underlying issue, such as water damage, is resolved, it’s crucial to approach the drywall repair properly to ensure a lasting fix. A common mistake is to simply cover the crack with joint compound (mud) without proper preparation, which is often insufficient for a permanent solution.
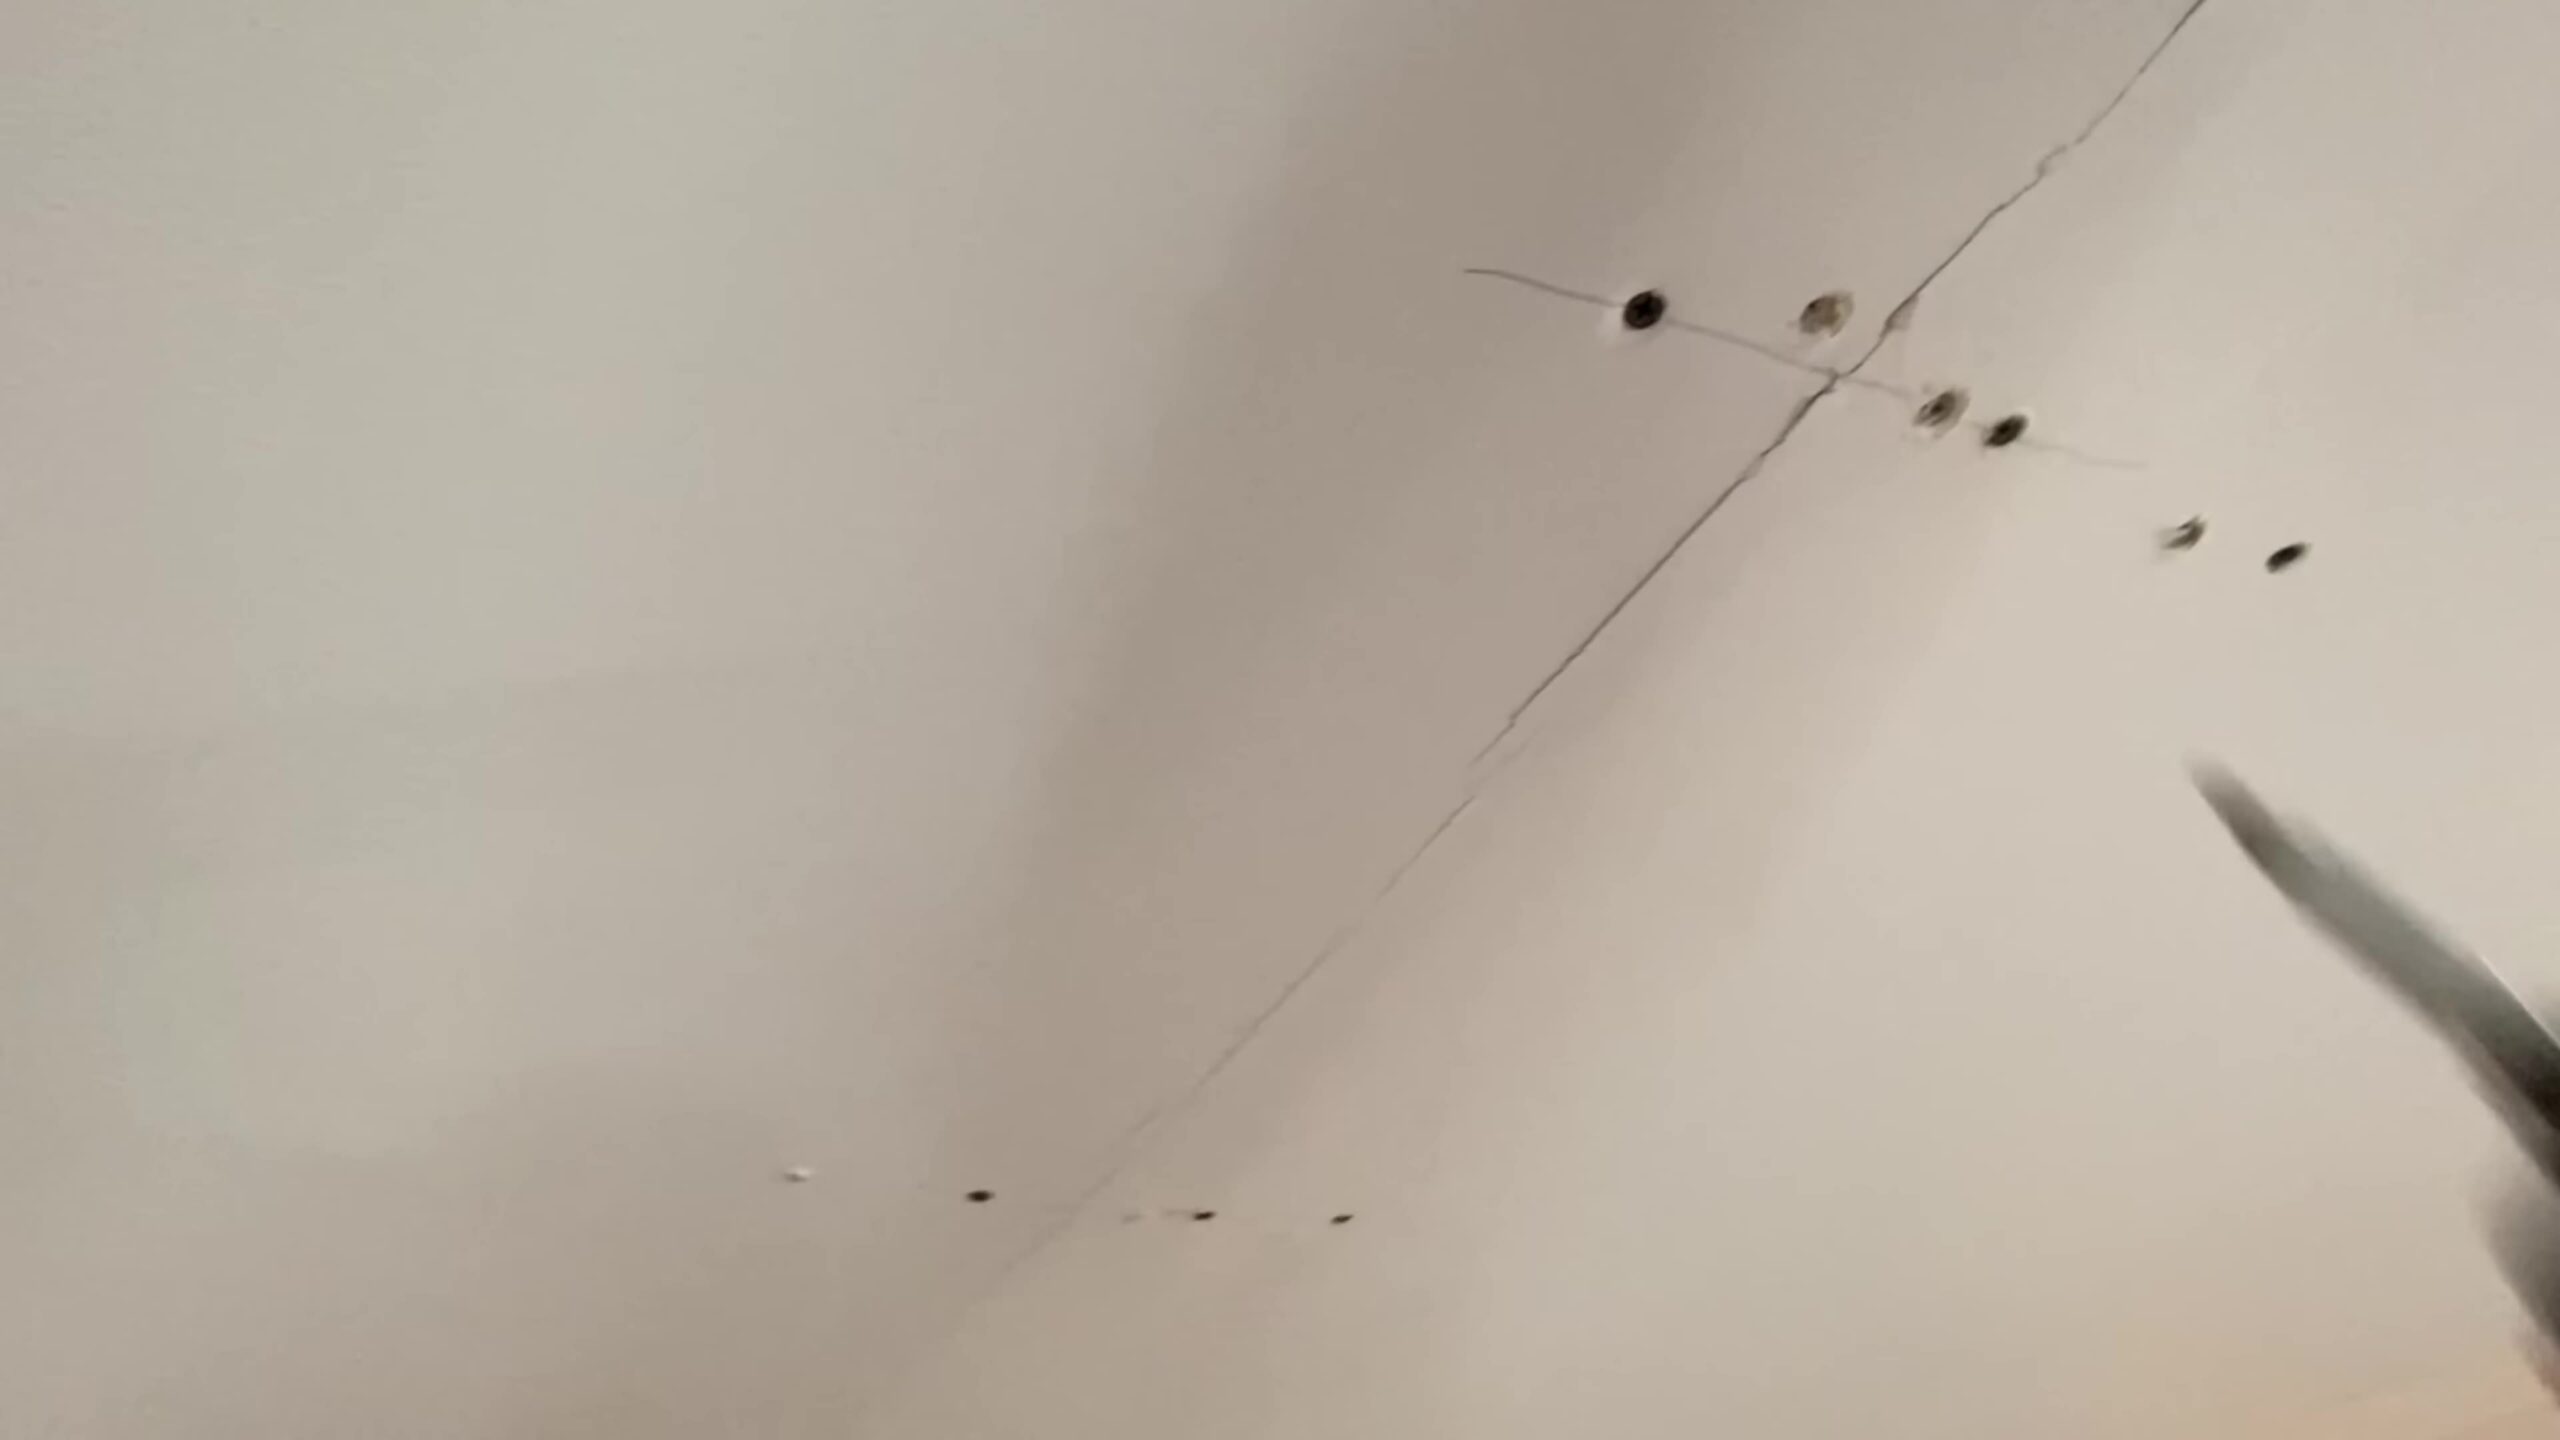
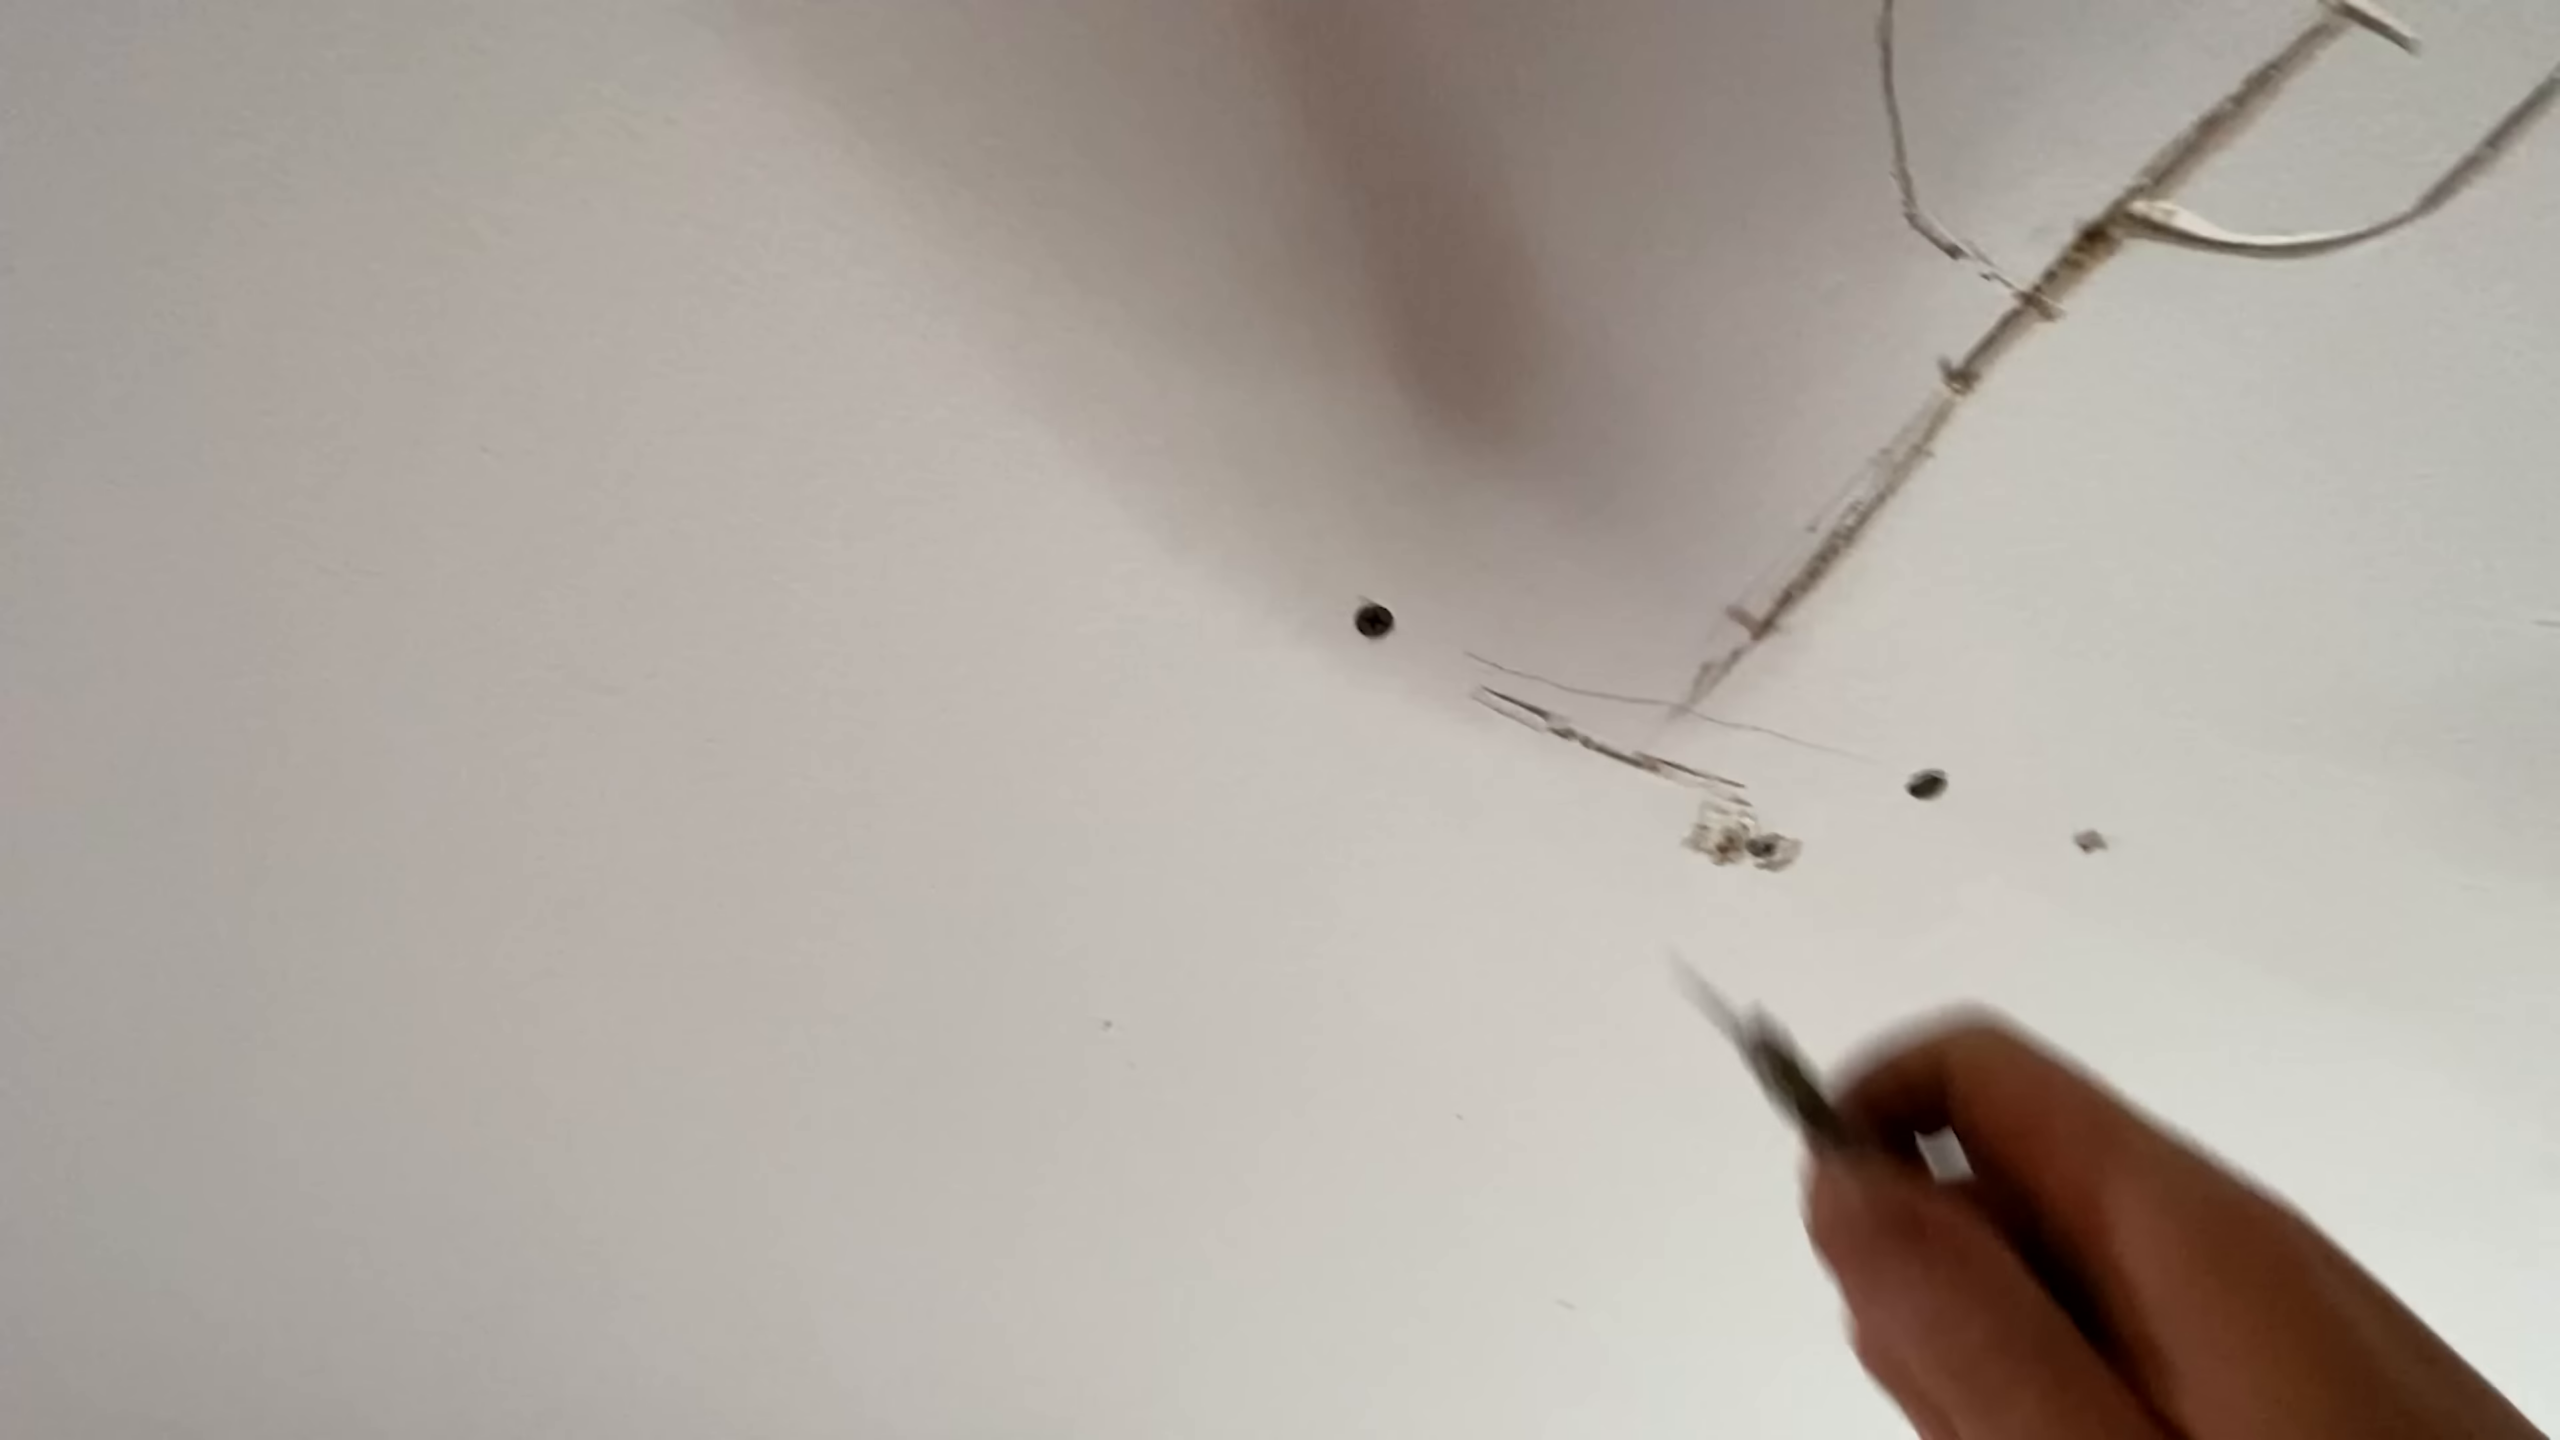
The initial step in the repair process is locating the ceiling joists, which can sometimes be identified by the spots of old nail pops. However, using a stud finder is recommended for accuracy. This structural preparation is critical as drywall can begin to sag, causing the cracks to reappear if it’s not properly secured. In this repair, 1 and 5/8 inch drywall screws were utilized to secure the drywall to the joists on both sides of the crack, pulling the sagging drywall back into place, and sometimes even tightening it by an eighth of an inch.
Widening the Crack for Effective Repair
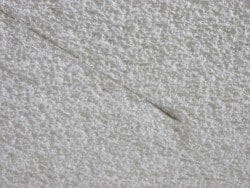
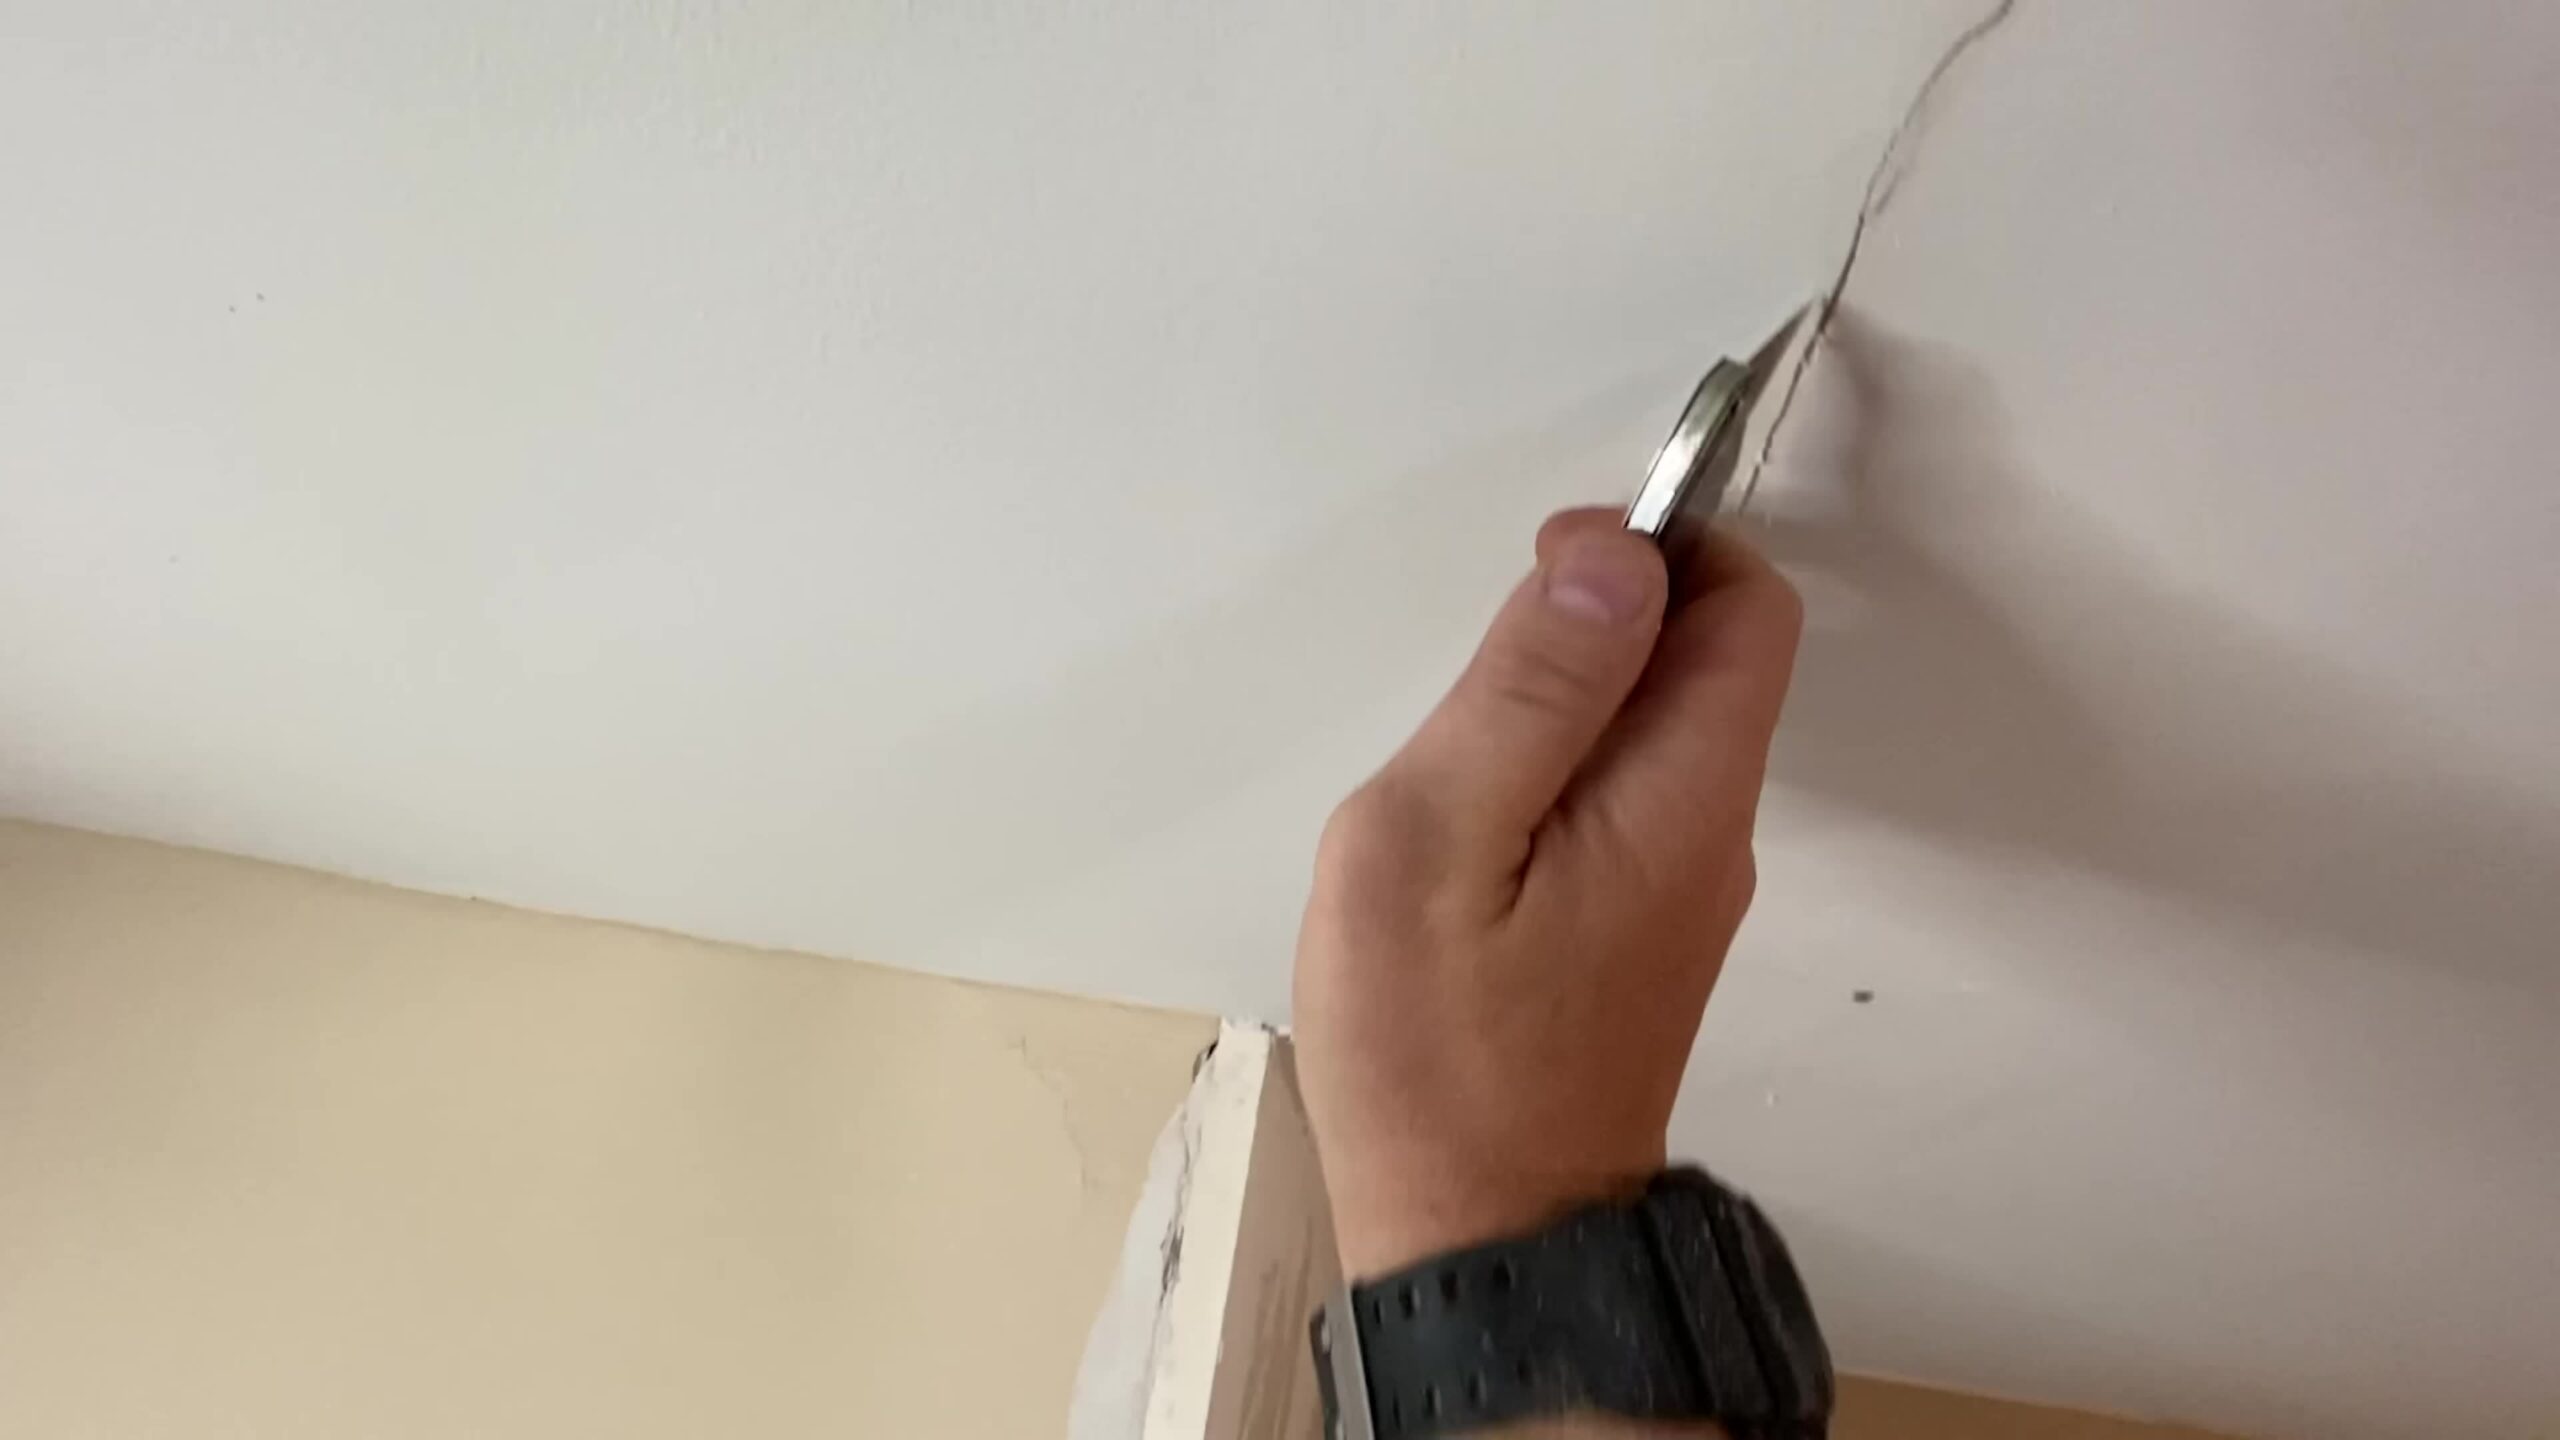
It might sound counterintuitive, but widening the crack slightly with a utility knife is a crucial step. This method involves carving a V-shaped groove along the crack to provide a “shelf” for the joint compound to adhere to, effectively anchoring it in place. This step is essential for a robust repair. Additionally, any crack ends were encircled to prevent further propagation. This simple technique aims to redirect any potential cracking back onto itself, rather than allowing it to extend further across the ceiling.
This precaution helps ensure the longevity of the repair, especially in scenarios where not all potential weak points could be addressed initially. With the drywall now firmly secured and the crack adequately prepared, the next phase involves applying the joint compound.
Applying the First Coat of Joint Compound
The choice of joint compound is crucial for the first coat. In this instance, Durabond was used because of its hard-setting properties, which make it almost as tough as concrete once dried, and difficult to sand. This quality makes it excellent for ensuring the crack does not reappear. The compound was mixed to a consistency between peanut butter and ketchup, which allows for effective application. It’s applied carefully using a six-inch trowel, taking care to spread the mud evenly and sufficiently wide to cover and adhere to the mesh tape placed over the crack.
Mesh tape was chosen over paper tape because it allows visibility of the crack under the first coat, making it easier to ensure complete coverage. After applying the mesh and more Durabond over it, any excess was smoothed out with a damp sponge to minimize sanding later.
Adding Final Coats and Sanding
Depending on the smoothness of the first coat, one or two more coats of a different joint compound might be necessary for a flawless finish. For these layers, a lighter compound that is easier to sand, like Sheetrock Dust Control, was used. This product is preferable for its ease of application and minimal dust production. After these coats, the area around the repair was extended further with each layer to blend seamlessly with the rest of the ceiling.
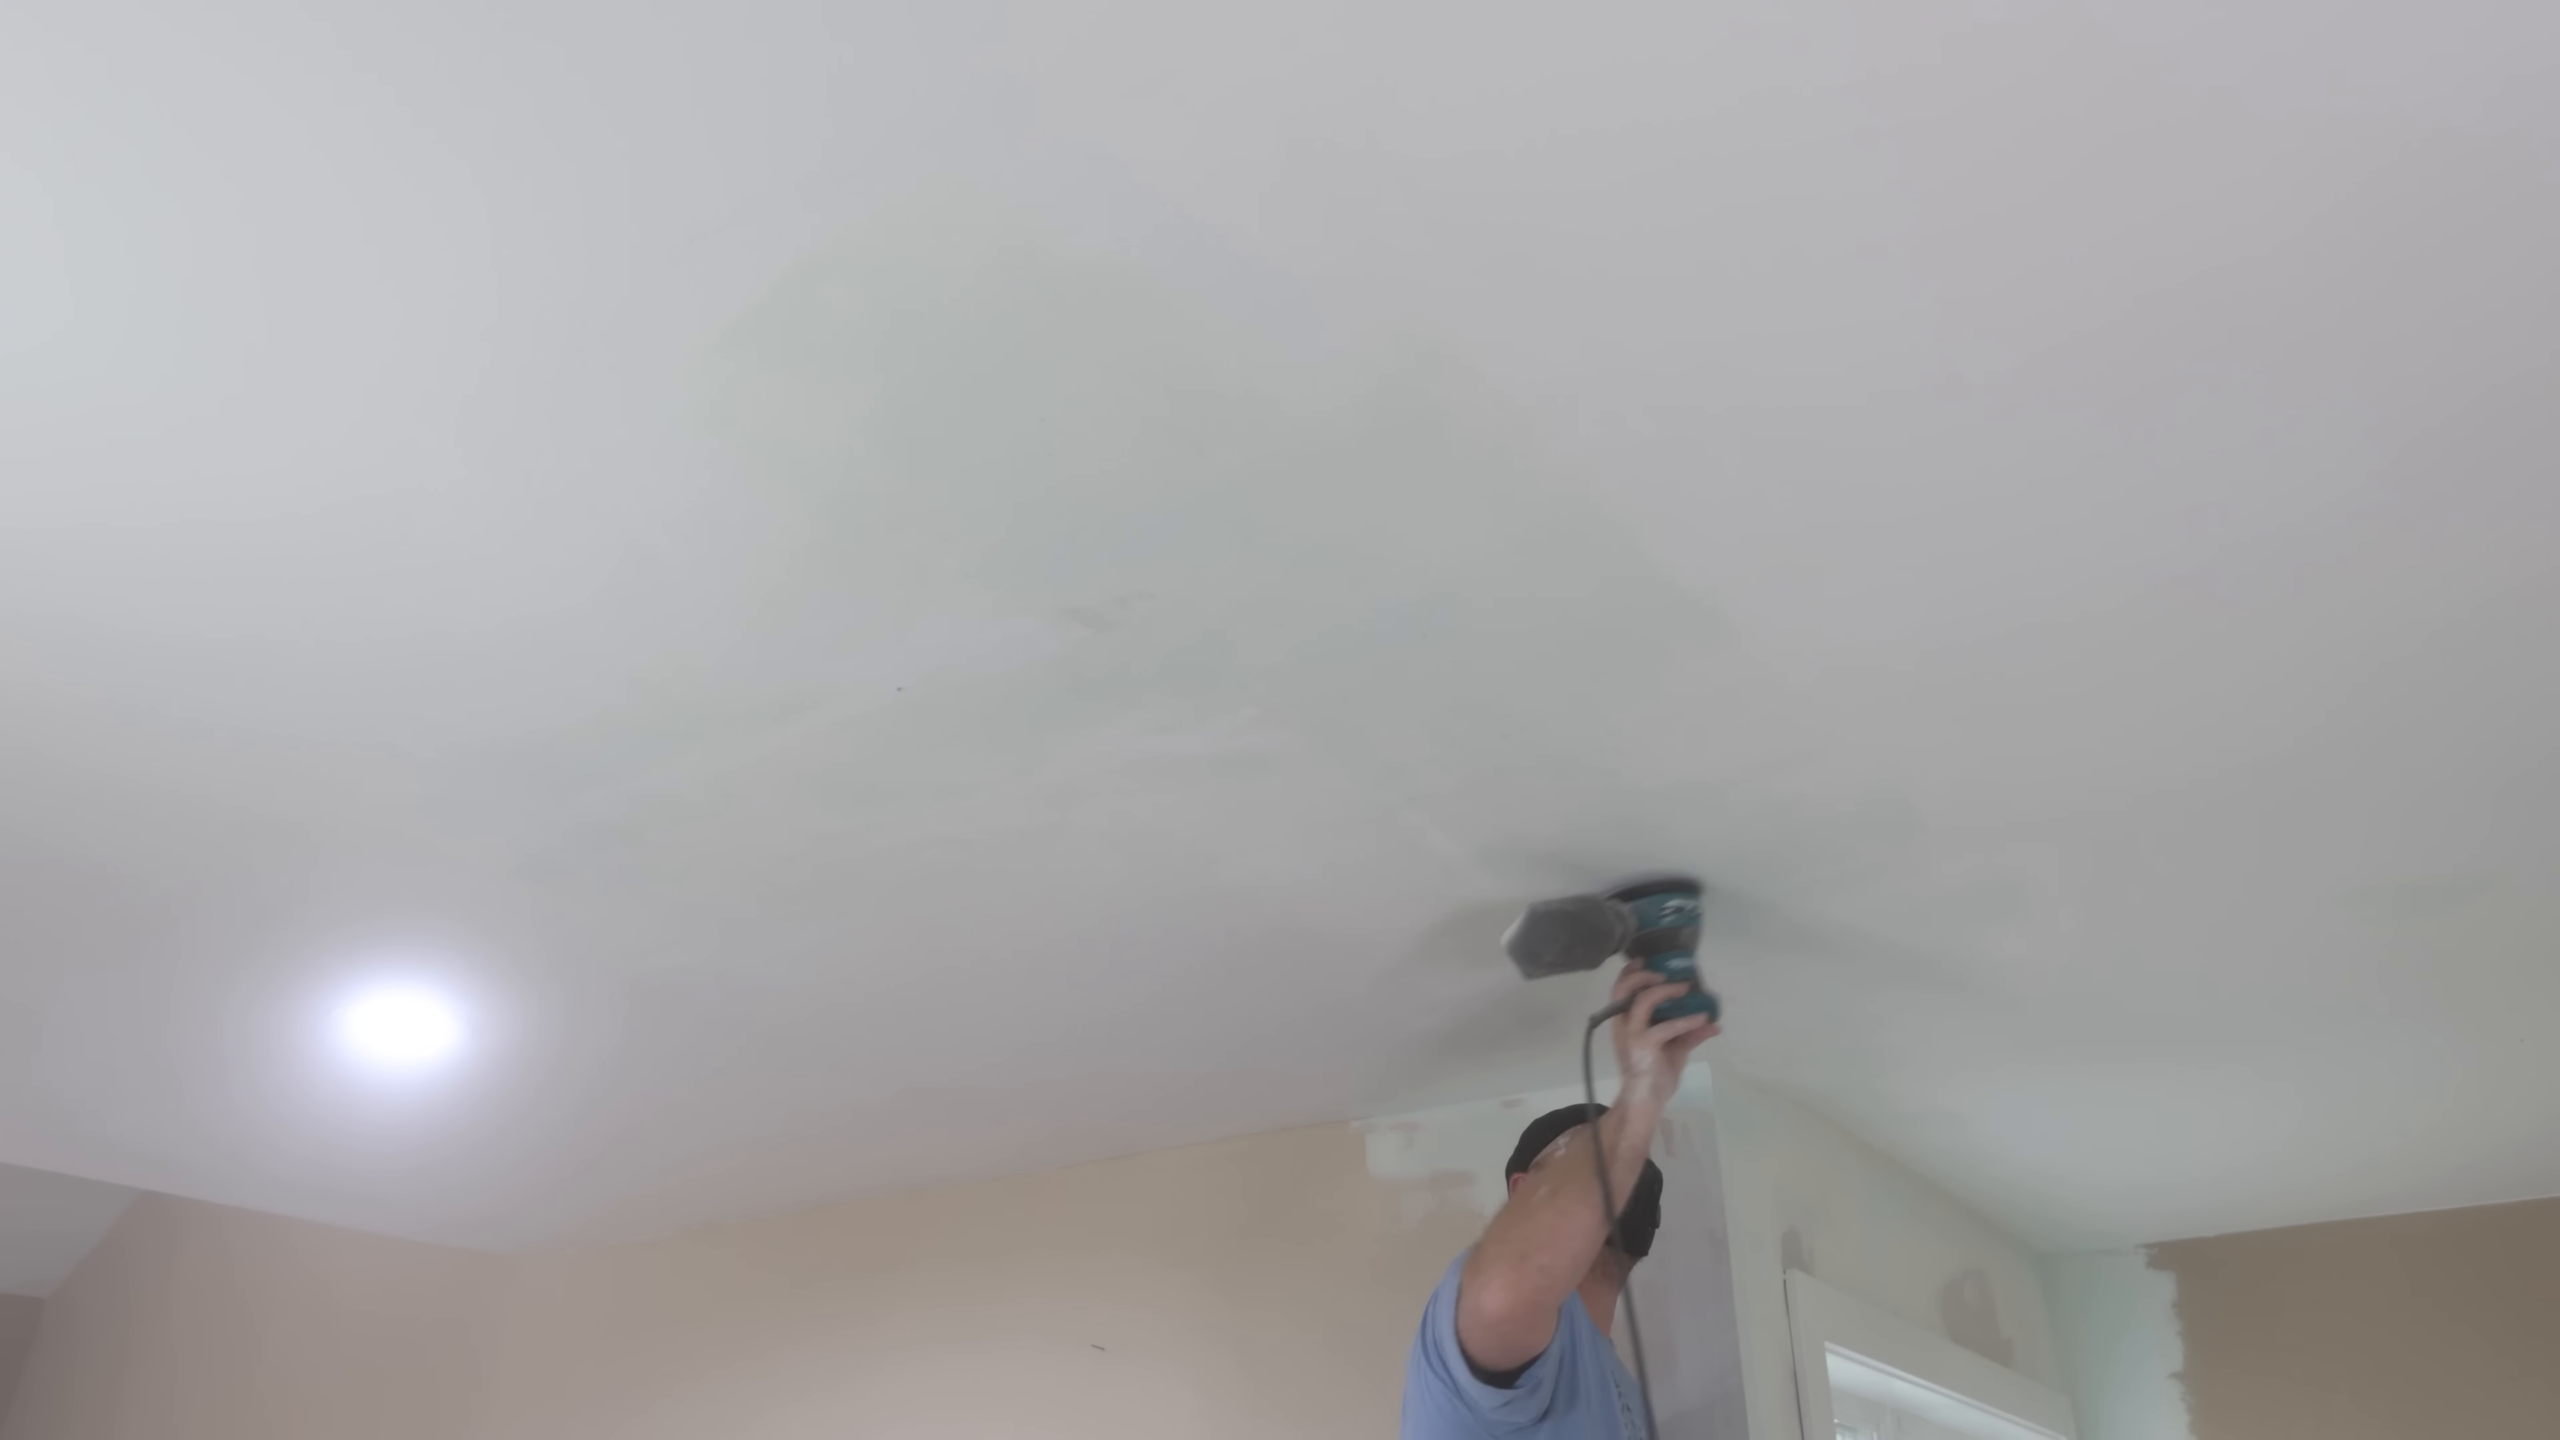
Between coats, light sanding was performed using 220-grit sandpaper on an orbital sander, focusing on knocking down any high spots and feathering out the edges for smooth integration with the existing ceiling texture. The final touches were then applied, ensuring a flat and uniform surface over the entire affected area.
Finishing Up with Priming and Painting
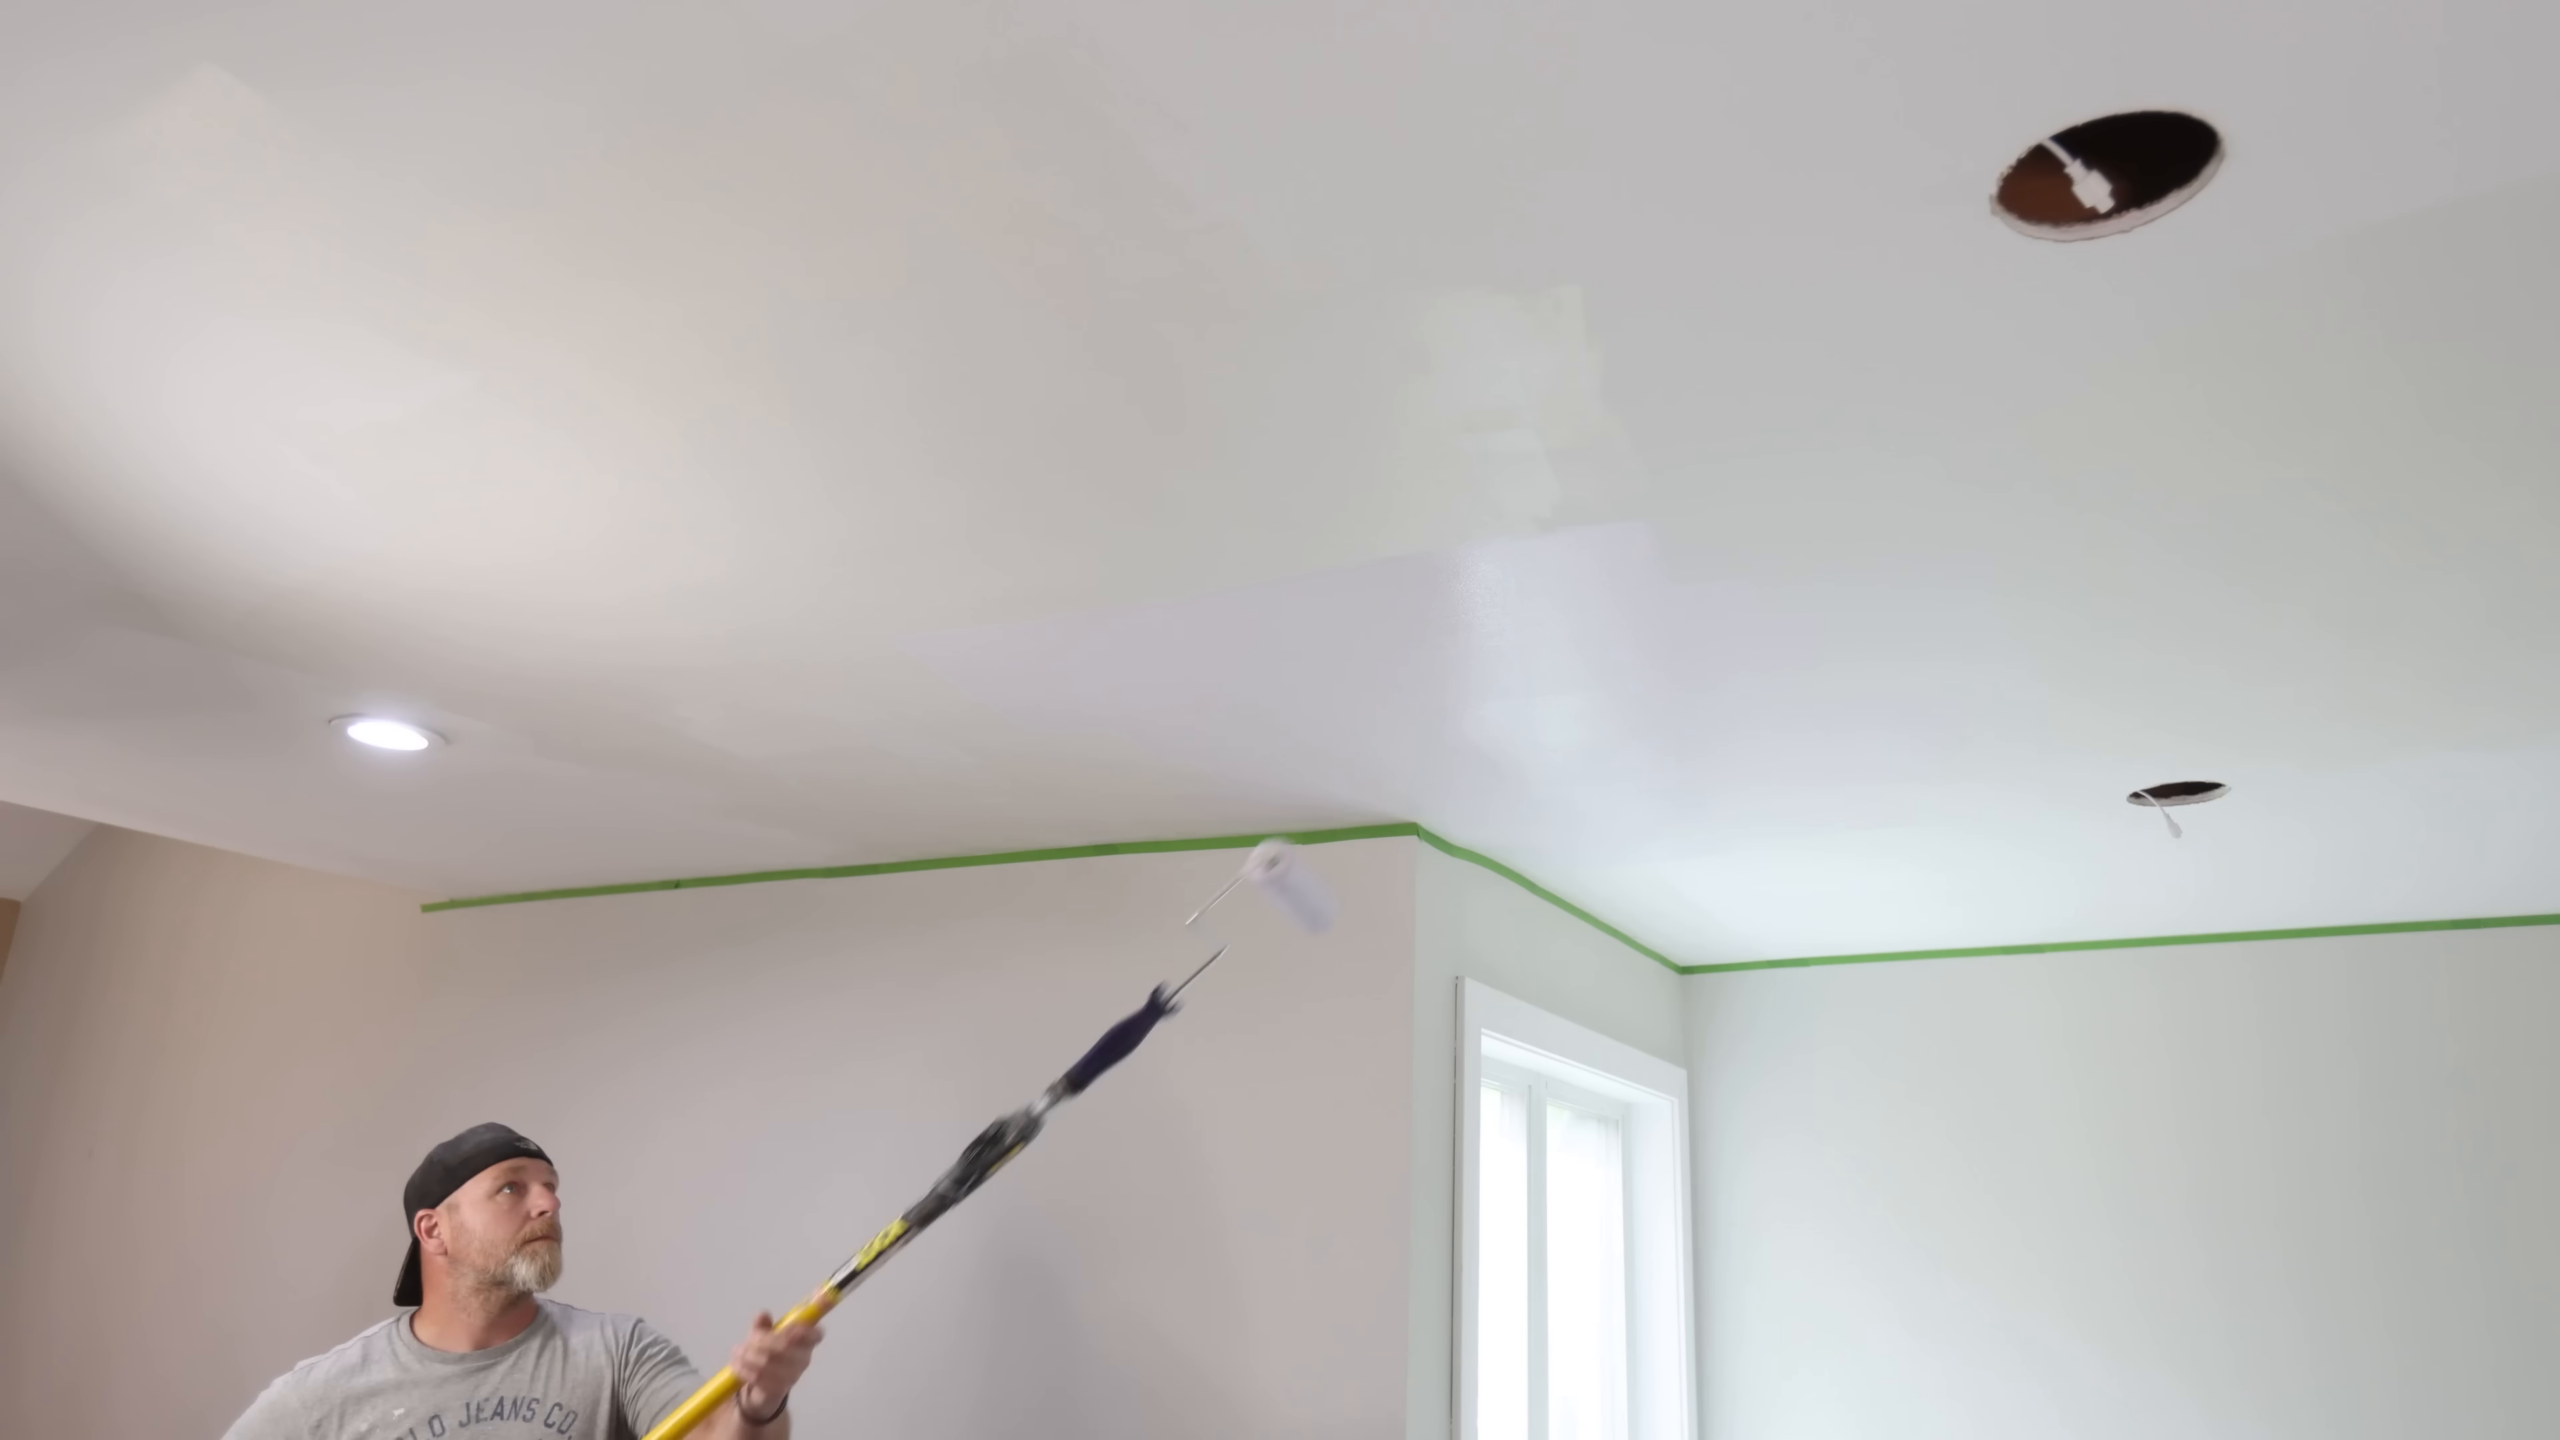
Once the sanding was complete and the surface was clean and smooth, a primer specifically designed to block stains and adhere to new drywall was applied. In this case, a primer called Bin from Zinsser was used, which is excellent for ensuring that any residual marks or differences in texture do not bleed through the final paint job. The ceiling was then painted with a special ceiling paint from Valspar, which appears purple when applied but dries to a bright white. This color-changing feature is incredibly helpful for ensuring even coverage on a white ceiling.
The final result is a seamlessly repaired ceiling, free from cracks and visually indistinguishable from the surrounding areas. With the right tools, materials, and techniques, similar results can be achieved in other areas of the house, offering a durable solution to ceiling cracks and other drywall issues. Drywall cracks can even result in air leaking to or from unfinished areas, reducing the heating and cooling effectiveness.


Additional Resources
-

Maintenance, such as caulking or rubber sealant usually works most of the time.
-

Do you believe that tree roots can really cause the drywall to crack in a home?
-

Has the drywall tape come loose or is there wrinkles in it? Then...