DIY Radon Mitigation: Can it be Done Yourself
Home » Health & Safety »
Understanding Radon and Its Risks
Radon is a colorless, odorless, radioactive gas that poses significant health risks. It is produced from the natural breakdown of uranium in soil, rock, and water, and can accumulate in homes, particularly in basements and lower floors. Prolonged exposure to high levels of radon can lead to lung cancer, making it the second leading cause of lung cancer in the U.S. after smoking. The Environmental Protection Agency (EPA) recommends action when radon levels exceed 4 picocuries per liter (pCi/L) as prolonged exposure above this level increases the risk of lung cancer.
Personal Experience with Radon Mitigation
Like many homeowners, the person described in the scenario faced a significant radon issue with readings at 16 pCi/L, which is four times higher than the EPA’s recommended action level. Deciding to tackle the problem head-on, they opted for a DIY radon mitigation approach after extensive research. This included installing a radon mitigation system themselves to avoid the higher costs associated with professional installation, which can typically range from $800 to $1,500 or more depending on the complexity of the installation and the size of the home.
DIY Radon Mitigation System Installation
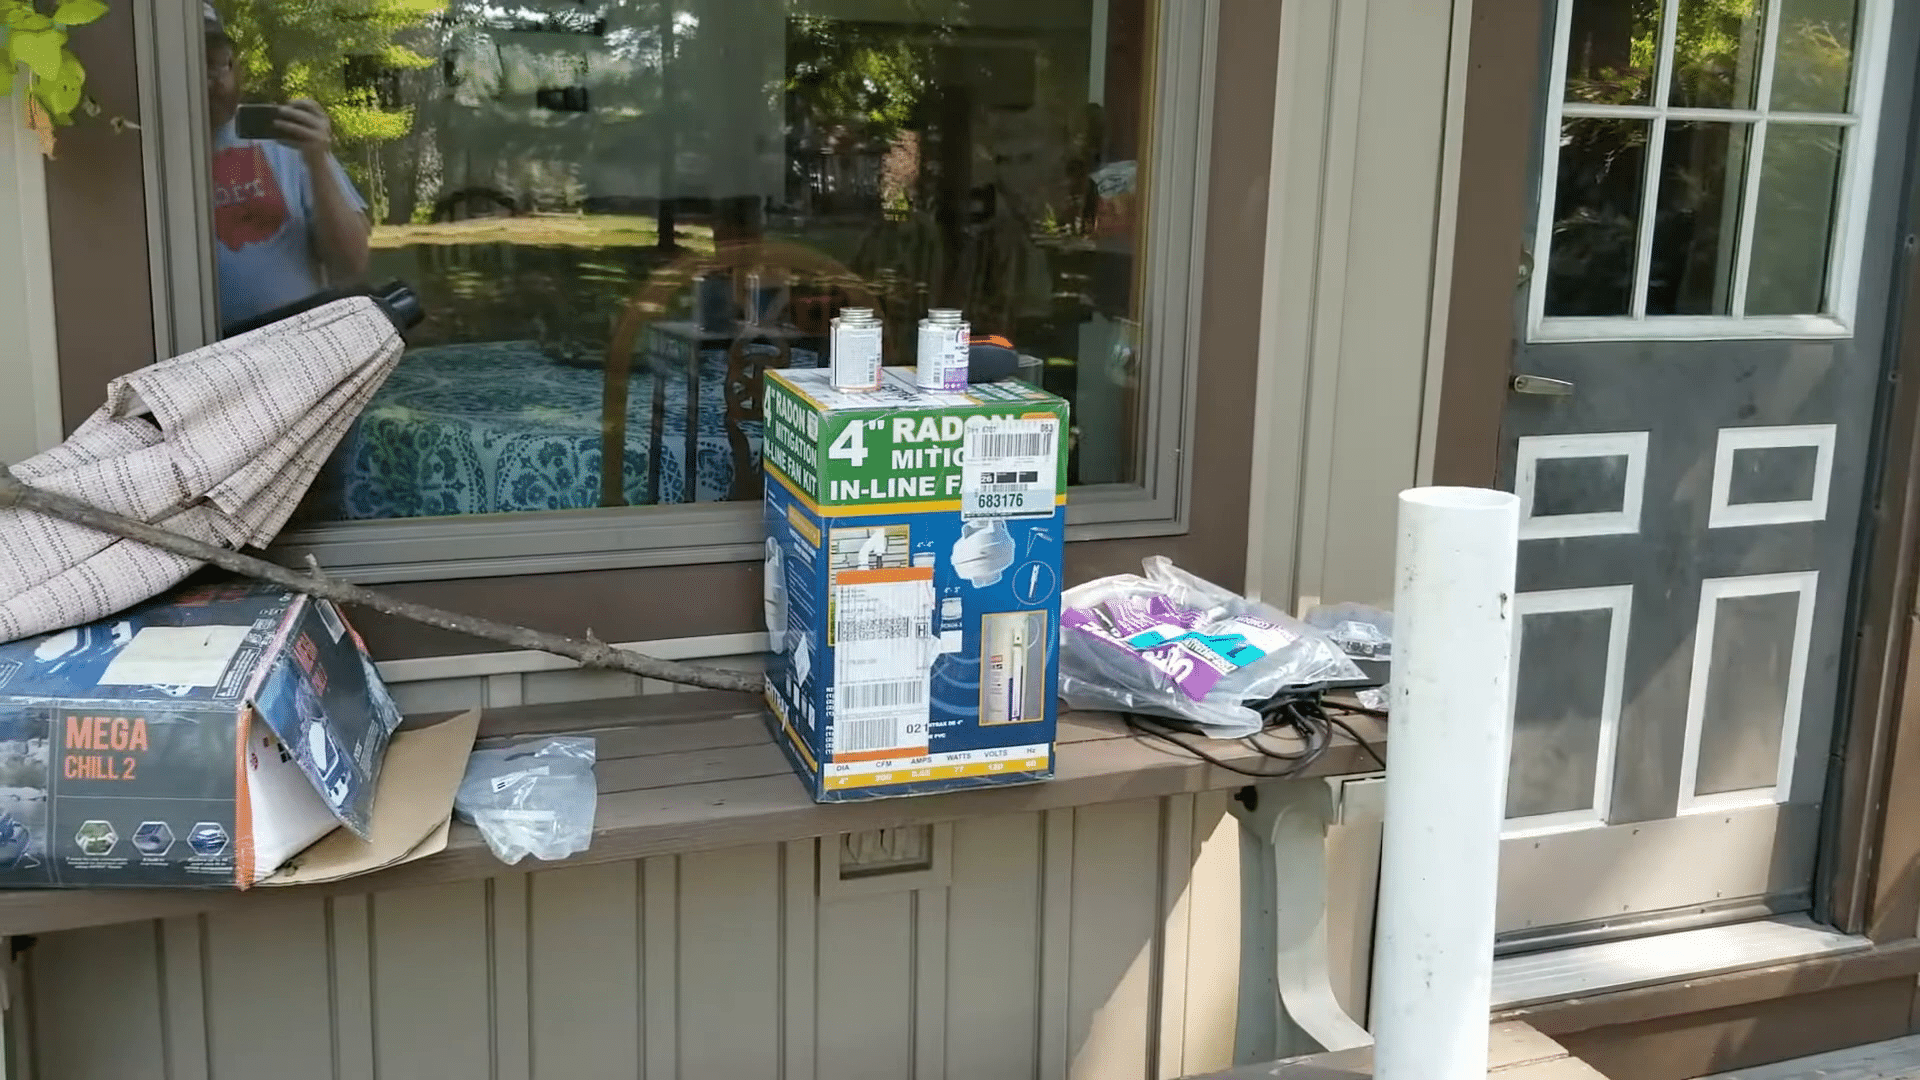
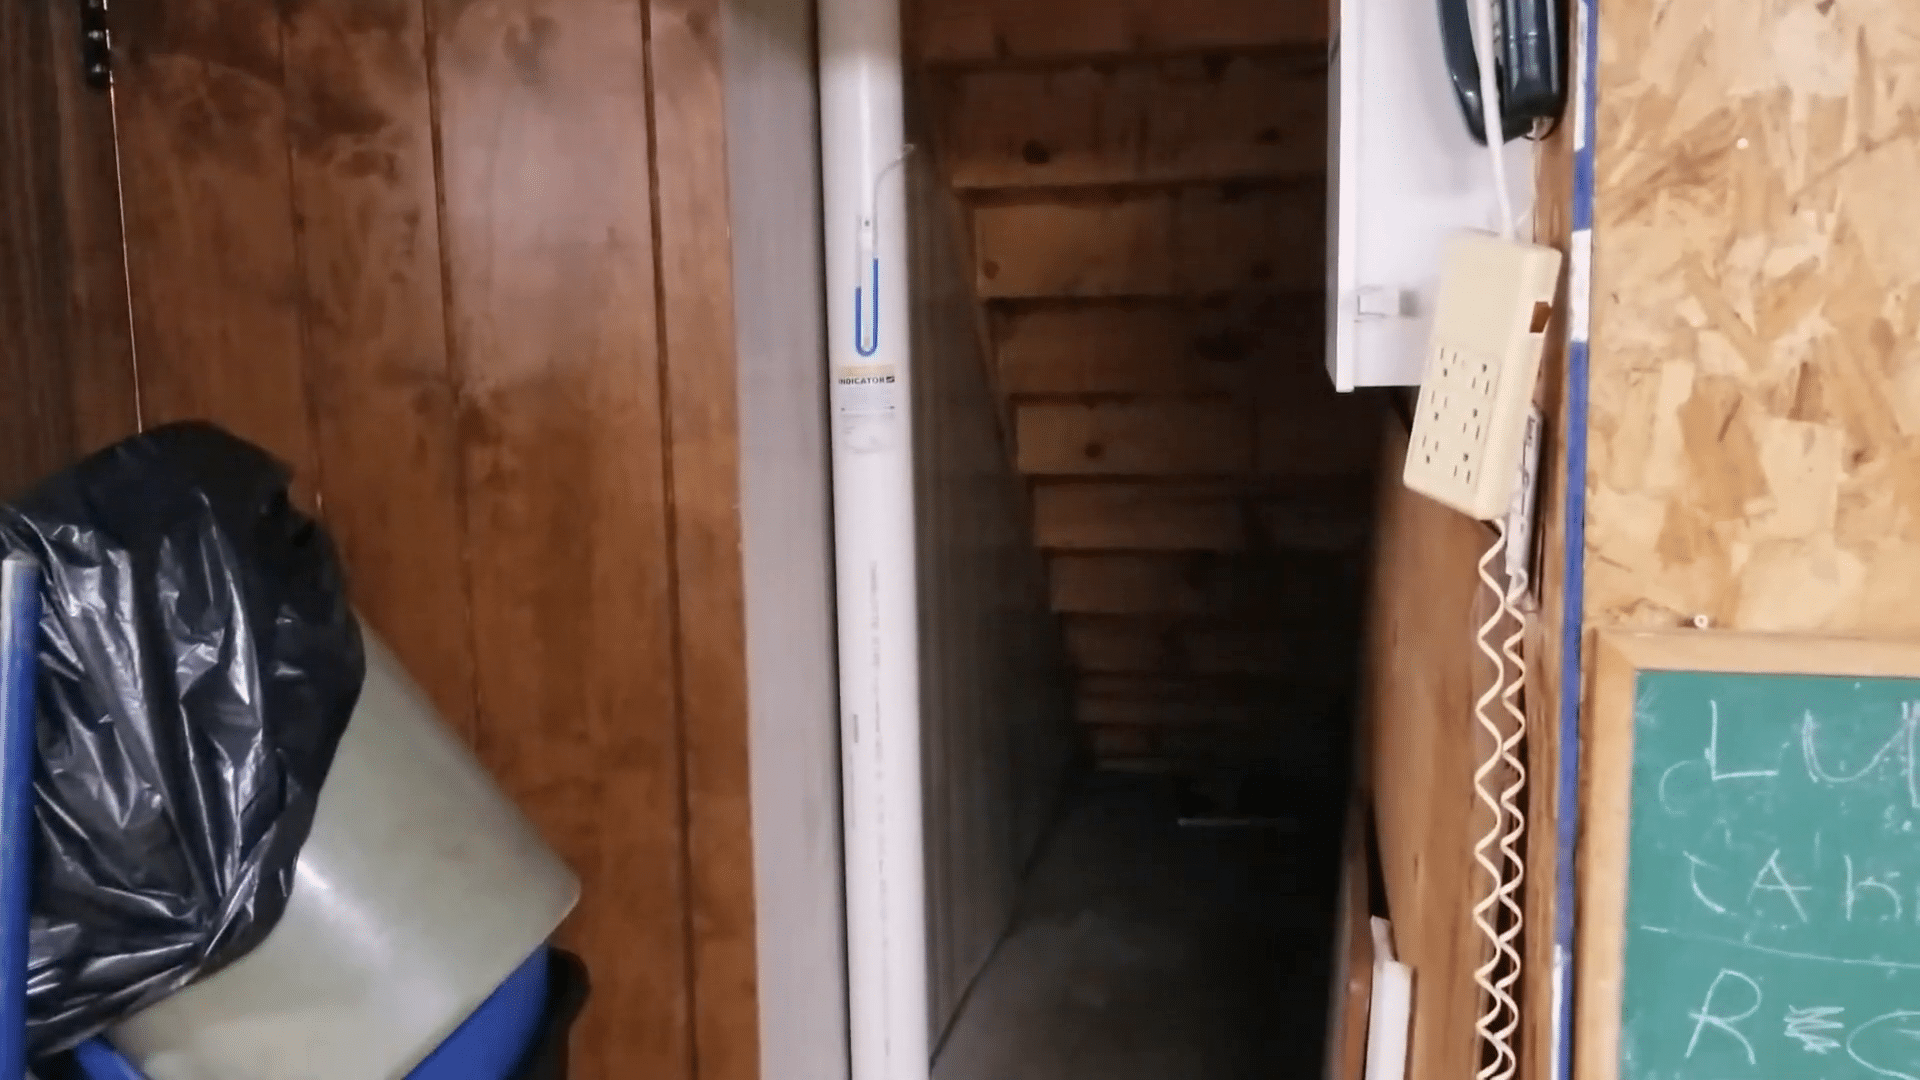
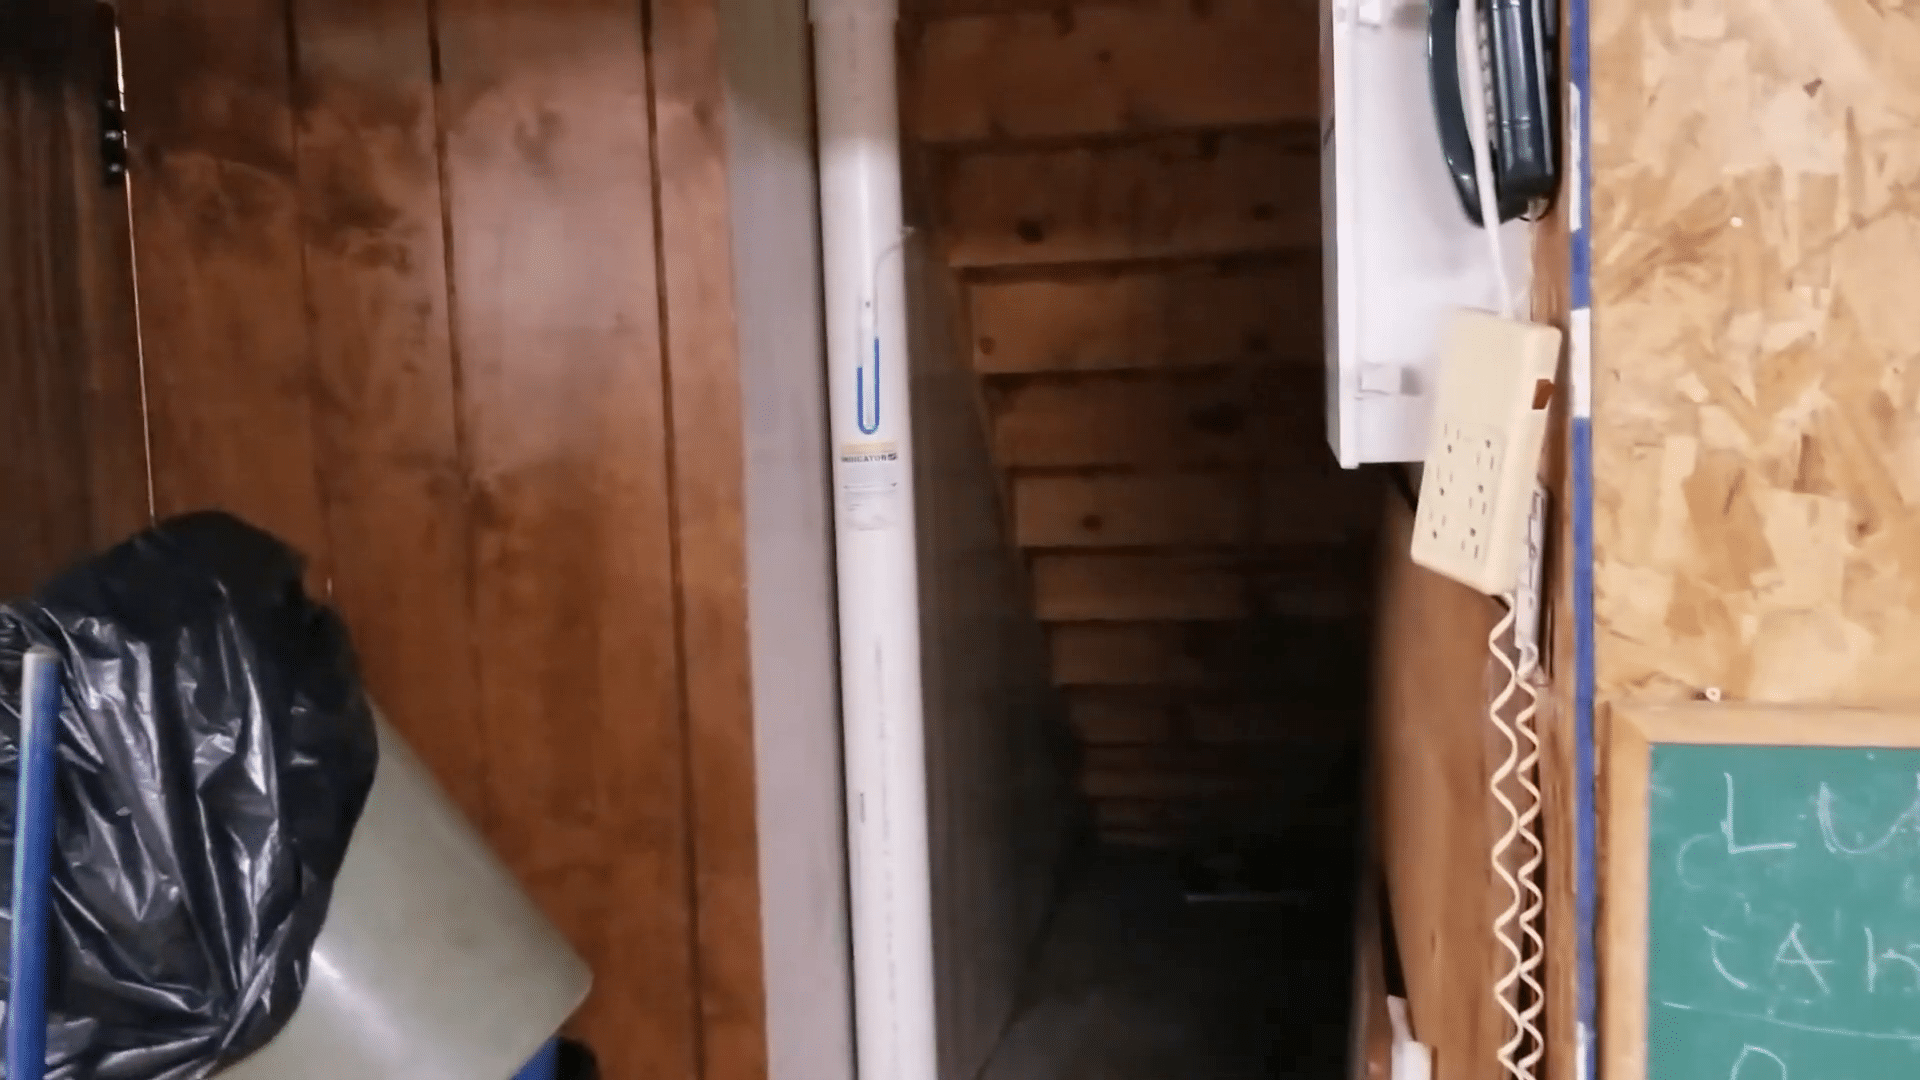
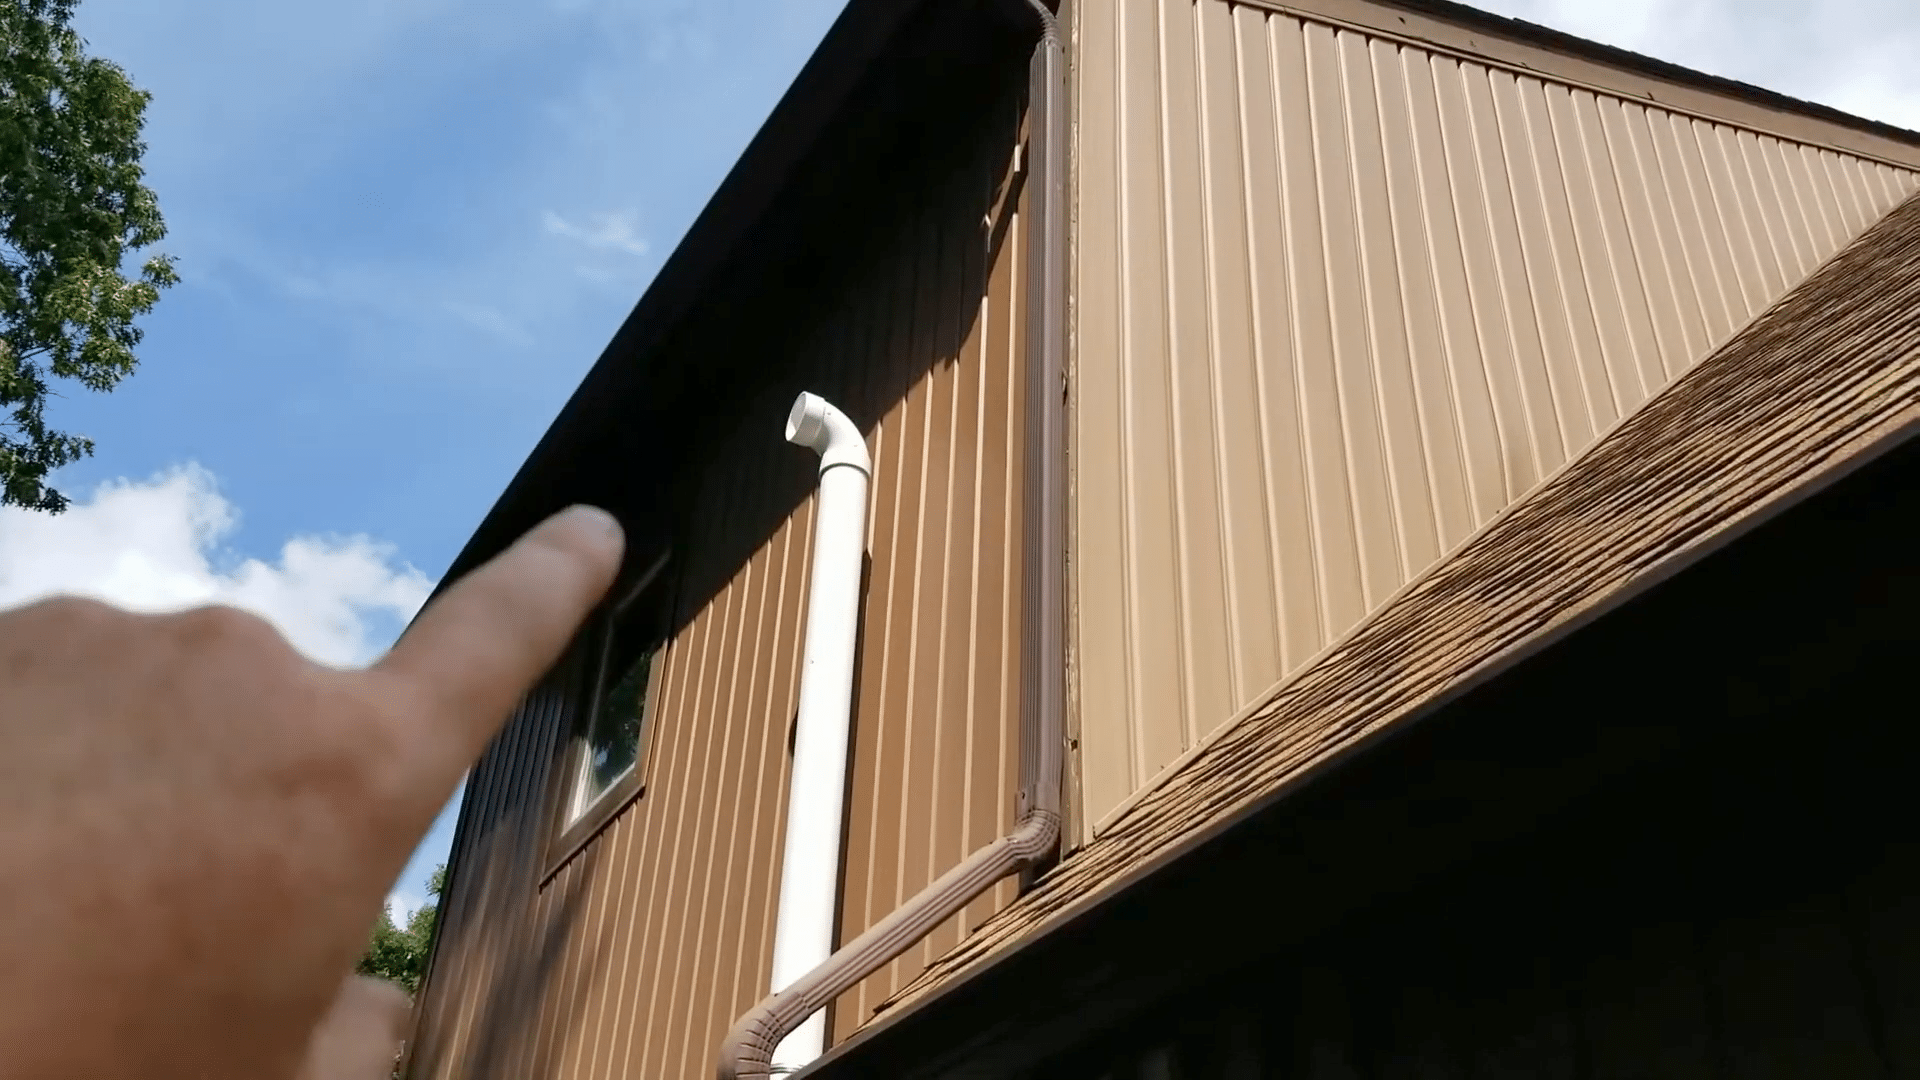
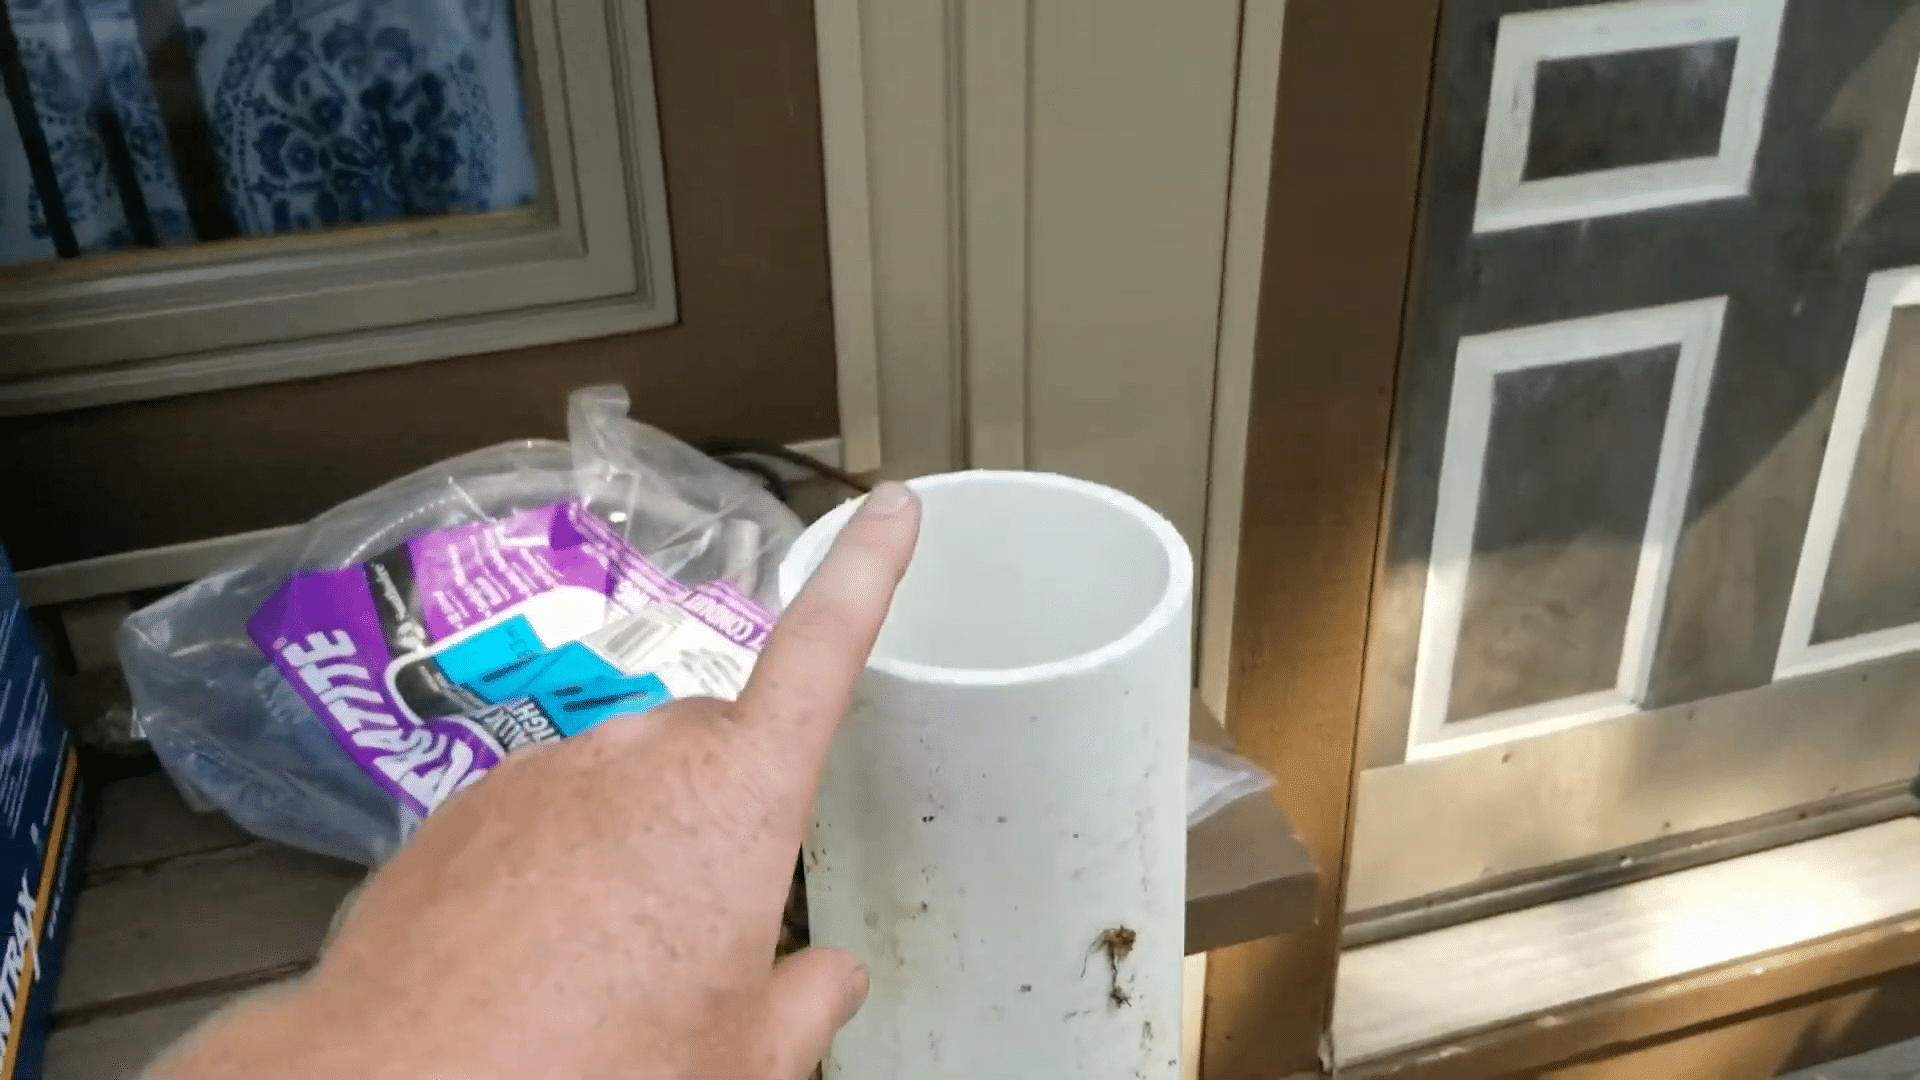
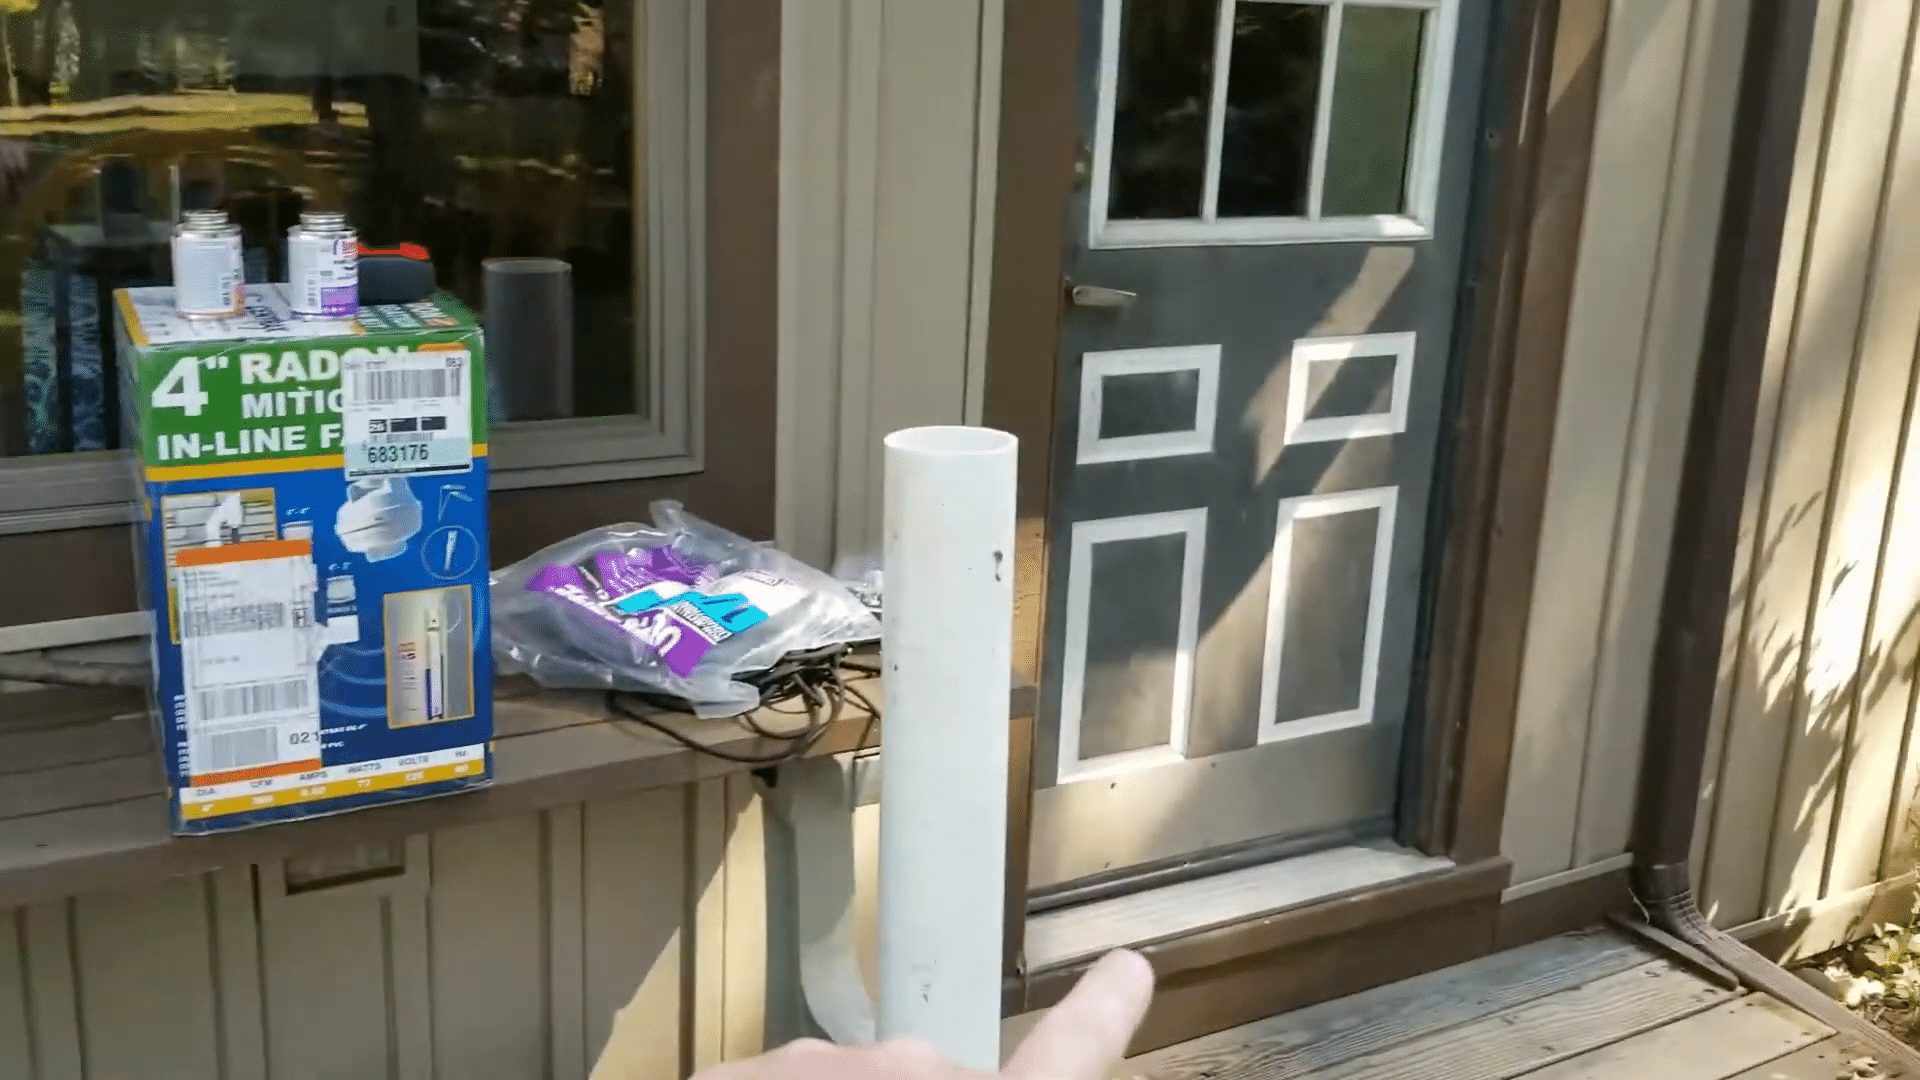
The homeowner invested in a radon mitigation kit and additional necessary materials such as PVC piping and a specialized fan, totaling around $400. The kit included an inline fan suitable for 4-inch ducts and a mercury gauge to measure the system’s effectiveness. By sourcing a borrowed five-inch hole saw, they saved on rental fees that would have increased their expenses. The system’s installation involved careful planning to ensure it met building code requirements, including placing the system’s exit point above the eave of the house to prevent radon re-entry through attic vents.
Challenges and Adjustments in Installation
During the installation, several adjustments had to be made. For instance, the exit pipe needed to be extended above the roof line to avoid radon leaking back into the house through the soffit vents, which allow air flow into the attic. This adjustment was crucial as improper venting could lead to radon accumulation within living spaces, defeating the purpose of the mitigation system. Consulting with a certified neighbor provided additional insights that guided these adjustments, highlighting the importance of community resources and expert advice in DIY home projects.
Post-Installation Testing and Results
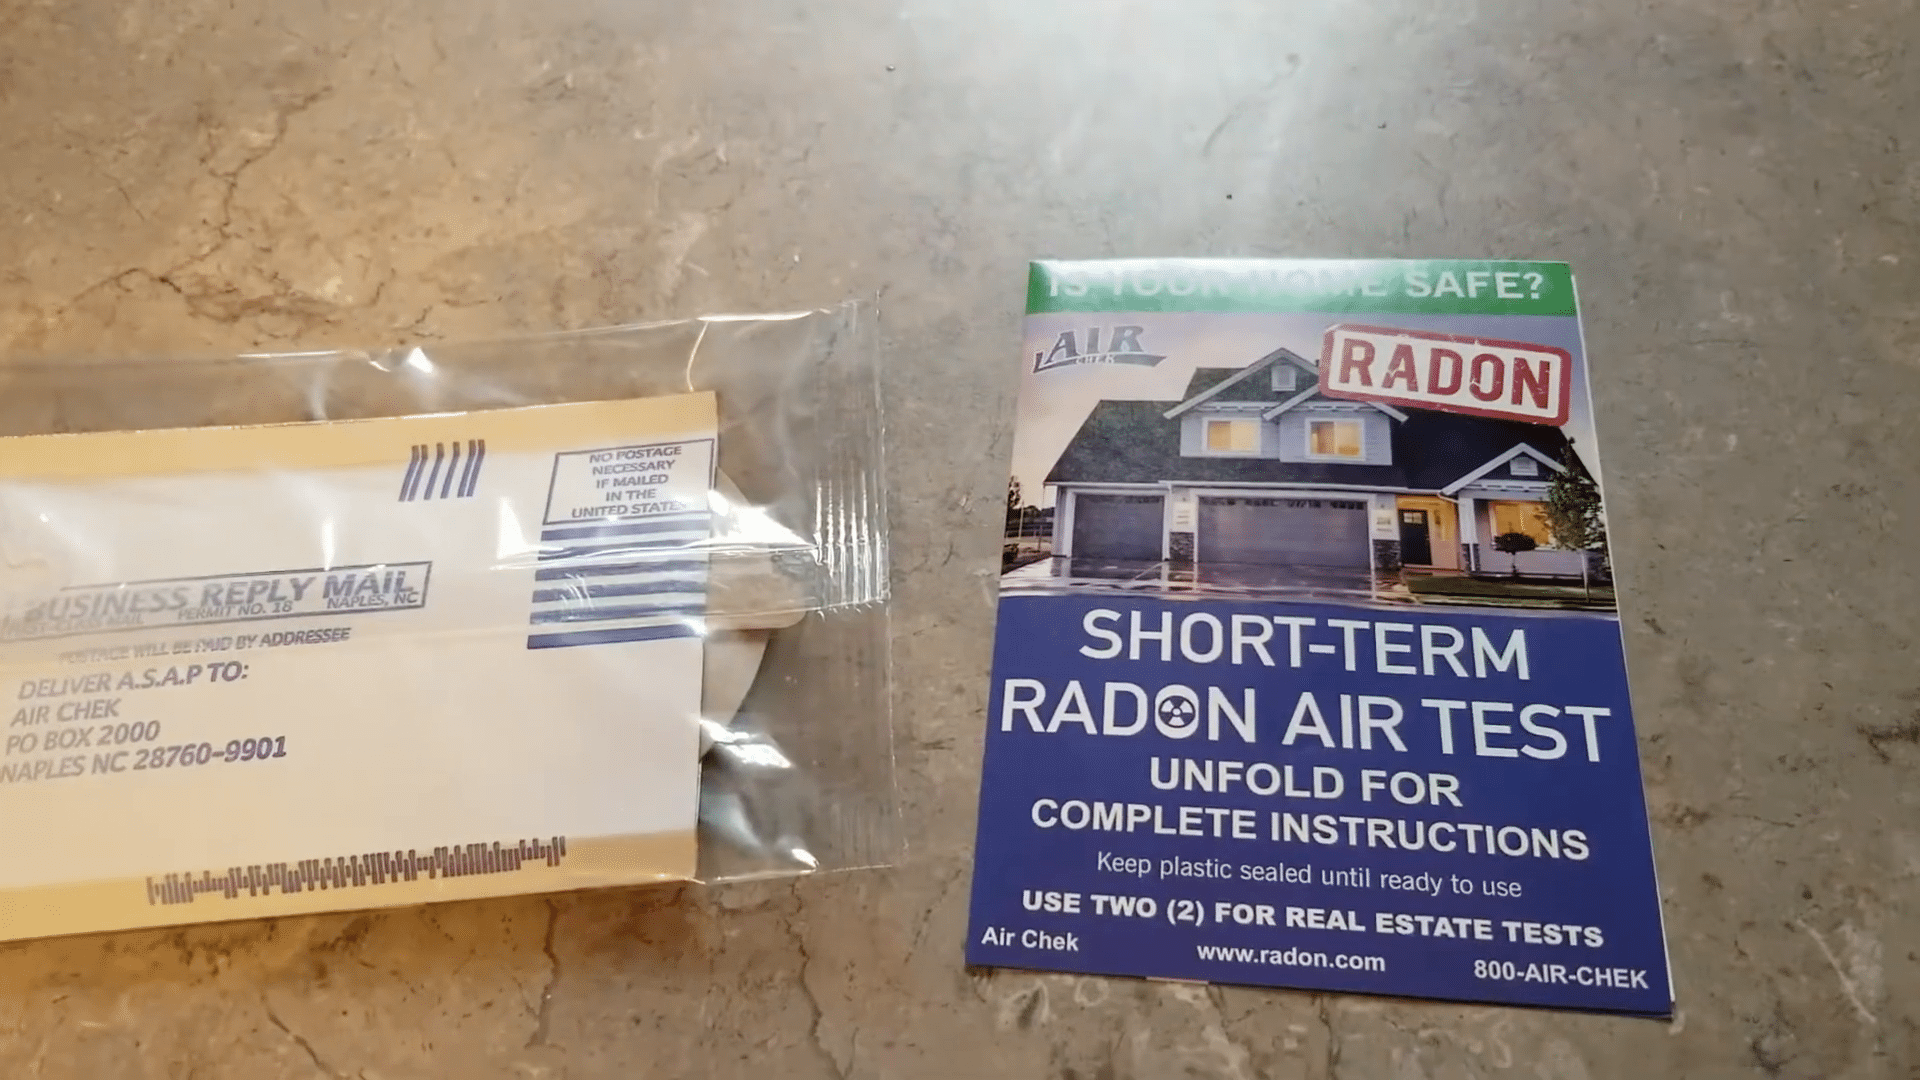
After completing the installation, the homeowner conducted another radon test to measure the effectiveness of the new system. Initial results were promising, showing a significant reduction in radon levels from 16 to 3.2 pCi/L, just below the EPA’s action level. This successful reduction underscores the efficacy of properly installed radon mitigation systems, even in a DIY scenario. However, follow-up testing is recommended, as radon levels can fluctuate, and ensuring long-term safety is crucial.
Continuous Monitoring and Long-Term Safety
While the immediate post-installation test results were favorable, radon levels can vary with changes in weather, seasons, and home ventilation. Ongoing monitoring is essential to ensure that radon levels remain low over time. Homeowners are advised to conduct radon testing periodically or consider installing a continuous radon monitor for real-time tracking. Long-term testing, which can last for more than 90 days, provides a more accurate assessment of average radon levels and is less likely to be influenced by external factors.
In conclusion, addressing a radon issue in a home requires a solid understanding of radon mitigation techniques and careful adherence to safety guidelines. While Radon DIY projects can be cost-effective, they come with challenges that require diligence and sometimes, consultation with experts. For homeowners facing similar issues, this account not only provides a practical guide but also highlights the importance of post-mitigation testing to ensure the living environment remains safe for all occupants. Maintaining vigilance and being proactive about further testing will help manage radon risks effectively.

Additional Resources
-

Learn how your home could be harboring radon gas and how to mitigate the problem.
-
-
