Building a Simple and Functional Garage Workbench
Building a Simple Workbench in Your Garage
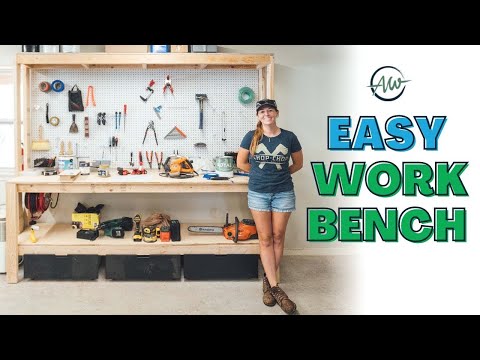
This week’s project involves creating a functional and straightforward workbench in the garage. This workbench features a primary work area with room for a full sheet of pegboard, a lower shelf for storage, roll-out drawers, and a top shelf to utilize the space above the pegboard. Despite its simplicity, the entire build only takes about half a day to complete. Here’s a step-by-step guide to help you create your own.
Preparation and Cutting Materials
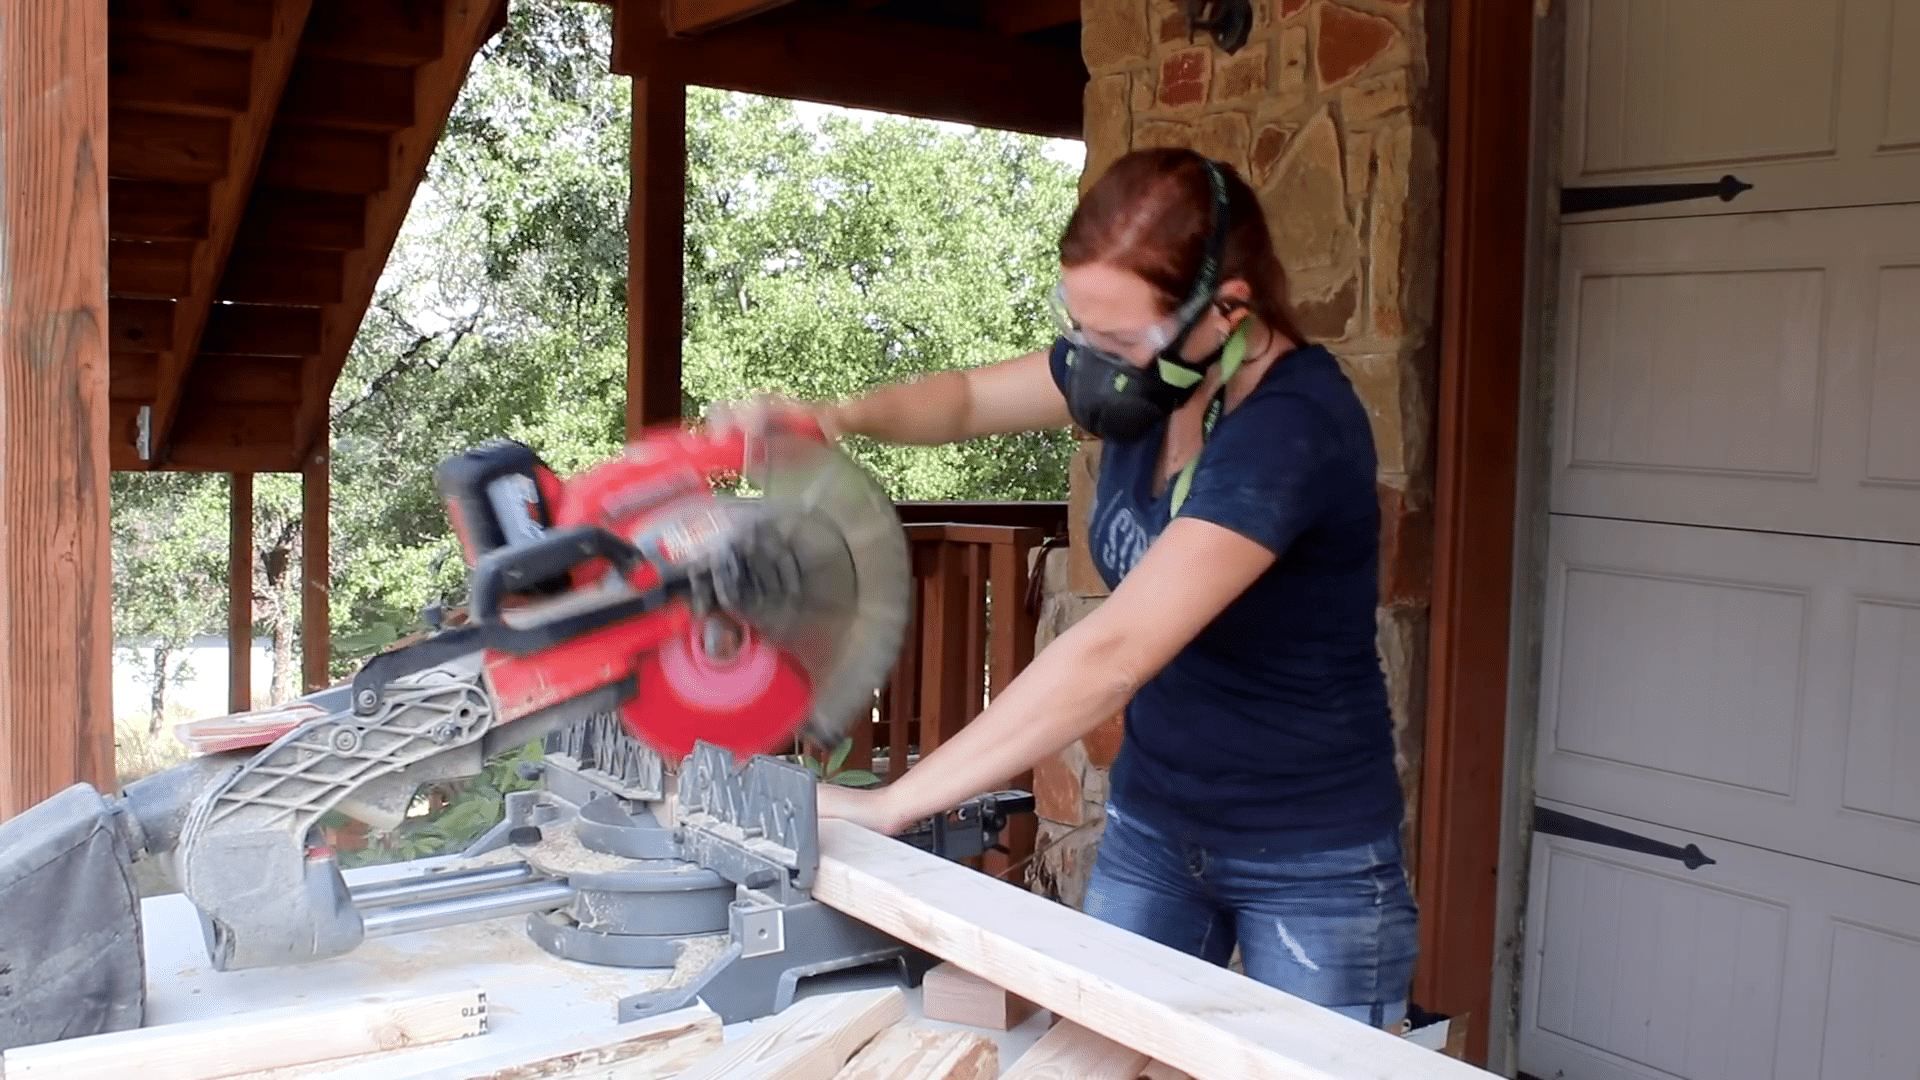
The first step is to cut all the materials to length. Having a set of plans for your project is incredibly beneficial as it allows you to set up a miter saw at the start and cut all the boards before beginning the assembly. If you need free plans for this workbench, there are resources available online. Once the materials are cut, the next step is to build the two matching platforms that will form the lower shelf and the main workbench shelf.
Constructing the Shelves
Both shelves are made from two-by-fours. Since they are identical, start by laying all four next to each other with the ends flush. Mark the locations of the cross members and transfer these markings to the rest of the group. Once separated into what will be the front and back of the shelf, start attaching the cross members at the marked locations. Secure both ends first to ensure the unit is square, then fill in the center members. The top side of these shelves will eventually be decked with plywood, so ensure the two-by-fours are attached flush at the top.
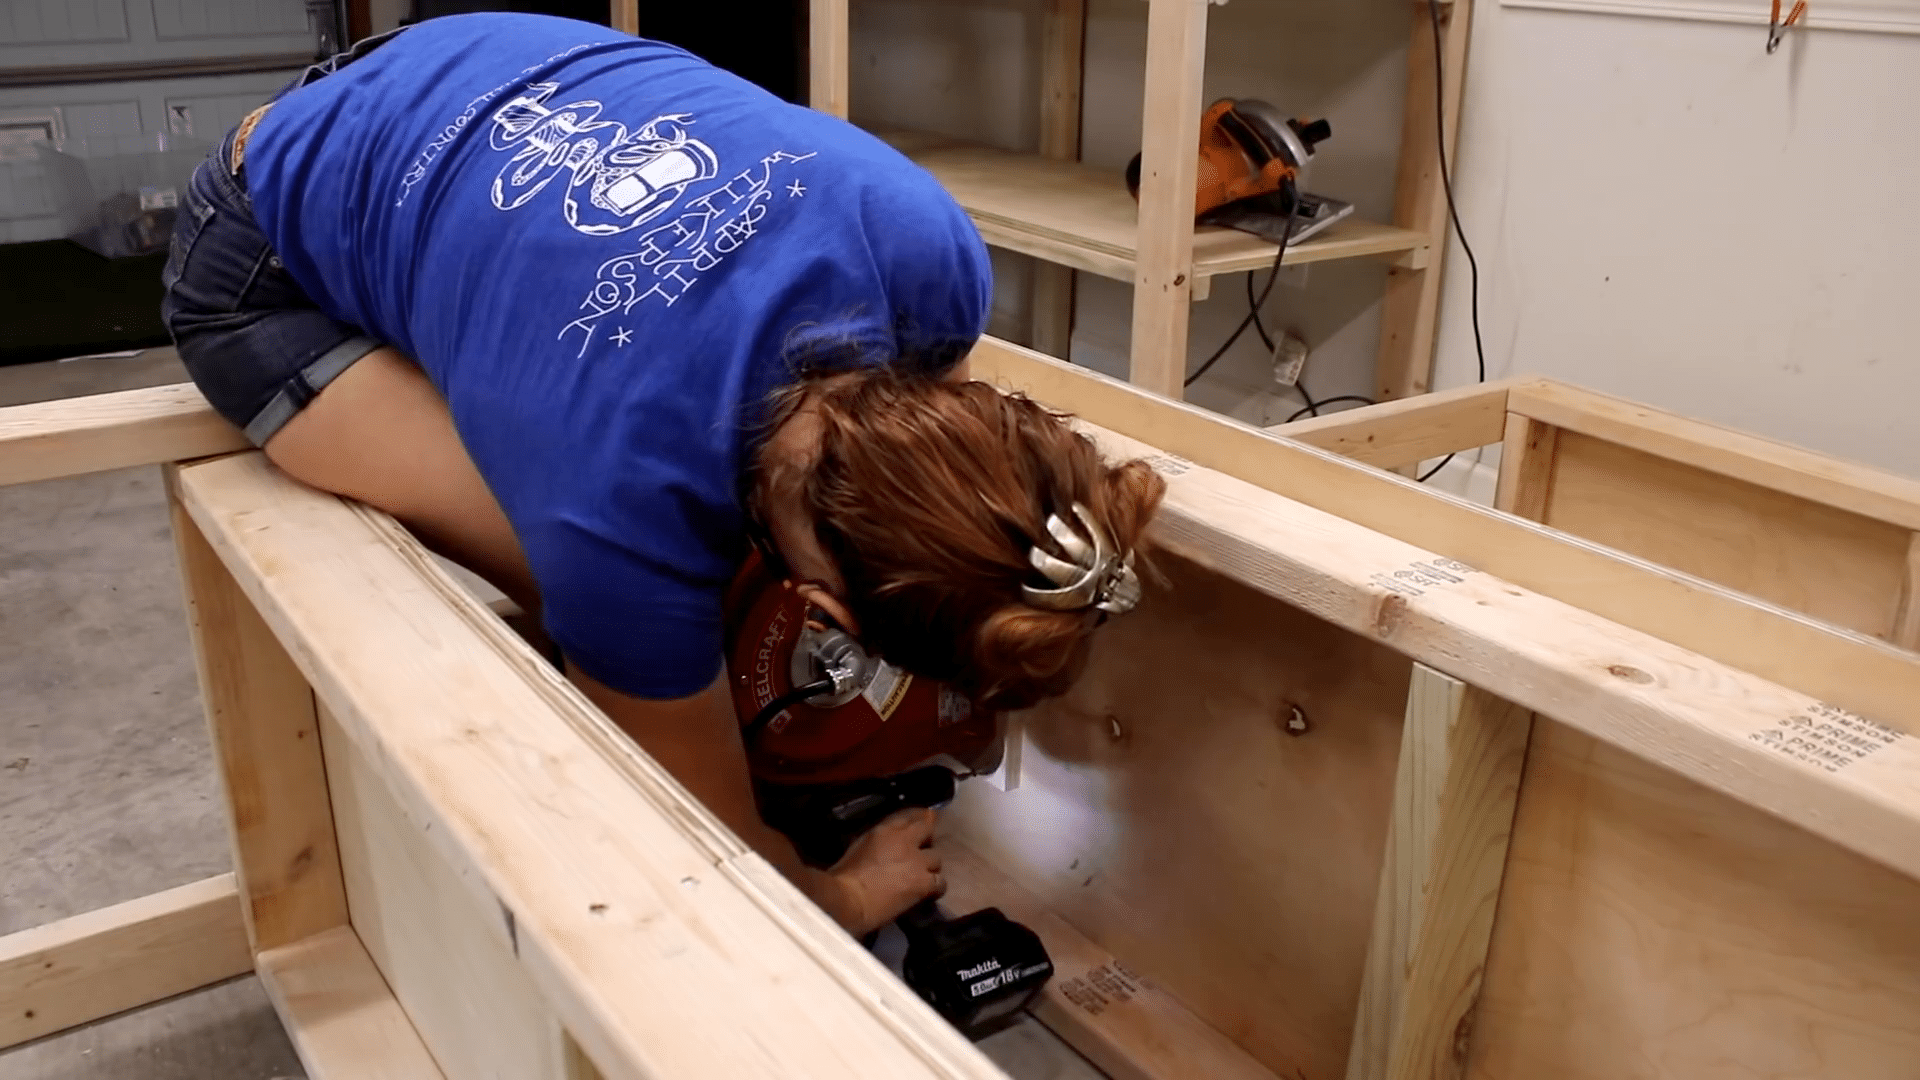
Attaching the Legs
Next, start attaching the legs. Building the workbench on its back makes this easier as it eliminates the need to balance the shelves while attaching them to the legs. Stand each shelf on end, add the third topmost shelf, and set the legs in place. Pre-mark the 2x4s to indicate where the shelves should be positioned. Line the shelves up, apply wood glue for extra rigidity, and nail them in place. Using clamps can ensure the boards remain flush despite the impact of the nails.
Finalizing the Frame
With the back legs attached, move on to the front short legs. For making the process easier, use scraps as spacers. These help set the next board in place accurately. The front leg attached to the topmost shelf might not reach the ground and is there to support the shelf. Adjust its position if you plan on having a wider top shelf.
Adding Shelving and Pegboard
Once the frame is complete, stand the unit upright and deck the shelves with plywood. Start with the main work surface and make sure the front lip can accommodate clamps. Use a 2×4 spacer to help align screws with the frame beneath. For the bottom shelf, it might be easier to cut it into two pieces. The top shelf can also be done in two pieces if you want to use up scraps.
Attach the pegboard in the center by first marking the locations of any outlets or other obstructions. Cut around these areas to ensure a proper fit. Pegboards require a gap behind them to accommodate hooks, so attach batten strips made from plywood scraps to create this gap. Screw the pegboard onto the battens, securing it in place.
Finishing Touches
To complete the workbench, add adjustable feet and a cord reel. Adjustable feet can be made using lag screws, which allow you to level the workbench regardless of where it is placed. A retractable cord reel provides flexibility to work anywhere in the garage without needing multiple outlets.
Another great addition is rolling drawers. These can be repurposed from old furniture like an Ikea bed. Attach casters to the drawers for easy access and storage. If you don’t have drawers on hand, you can quickly make some from scrap plywood.
Maximizing Functionality
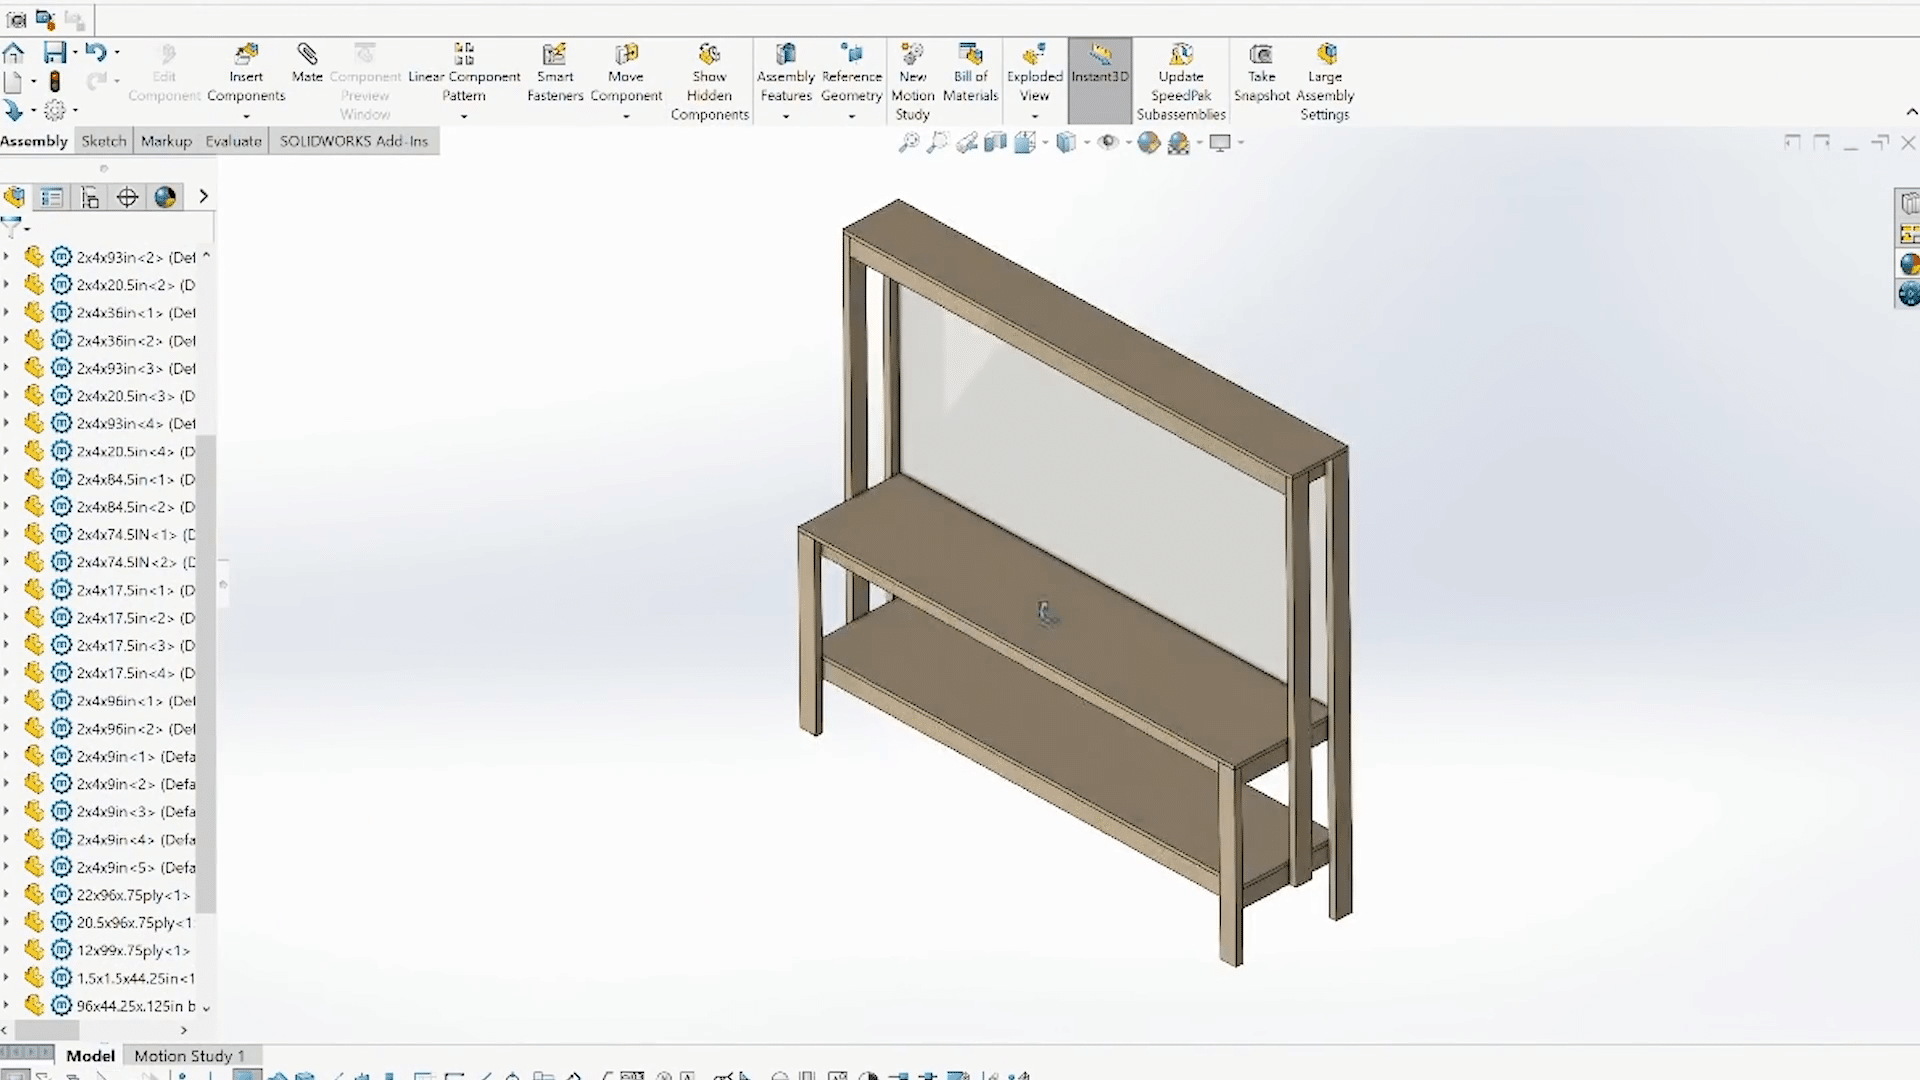
The workbench now offers a dedicated workspace for various projects. The pegboard provides an organized space for tools, while the lower shelf and drawers offer ample storage. The top shelf is perfect for storing long-term items. Using a 3D modeling program like Solidworks can help visualize and plan projects effectively.
For those interested in building a workbench, it’s recommended to check out additional resources and videos that provide further tips and variations to suit different needs. This simple build can greatly enhance your workspace efficiency and organization, making it a worthwhile addition to any garage.
If you’re interested in exploring more about woodworking and other DIY projects, there are numerous templates and tutorials available online to help you get started on your next project.


Additional Resources
-

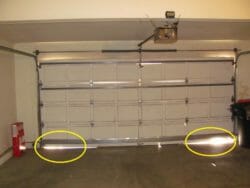
Deteriorated concrete may be a sign of a number of things. For example, the area at the bottom of the garage door is deteriorated. Buyers often wonder if this is structural.
-
Many people put carpet on the garage floor. Especially for kids to play on or if the area is used for gym type work out area. However, there is a danger...
-
Hardly anyone notices a gap at the bottom of a garage door. Mice and a few structural engineers might.